Crème Brûlée Recipe
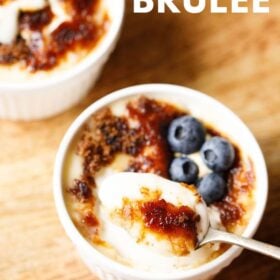
Crème Brûlée is a classic French dessert that looks elegant but is easy to make at home. You only need cream, milk, sugar and some cornstarch to get that smooth custard texture. This Crème Brûlée recipe gives you a silky custard with a proper caramel crust. The dessert tastes rich but feels light because the base is cooked gently and baked in a water bath. It makes a lovely Christmas dessert and works well for small gatherings too.
About Crème Brûlée Recipe
Crème Brûlée is a well-loved French dessert made with a creamy baked custard and a crisp caramelized sugar layer on top. The term crème brûlée literally means “burnt cream,” referring to the caramelized sugar layer over the cream-based custard.
While many traditional recipes follow a different style of custard preparation, this method gives you the same smooth texture with a gentle, cooked base.
This is my own vegetarian version of Crème Brûlée made with cream, milk and a small amount of cornstarch. The custard stays soft, creamy and pourable before baking, then sets beautifully in the oven.
As a trained pastry chef, I have worked on many custard-based desserts. This method gives consistent results even if you’re new to making Crème Brûlée at home. You don’t need any special equipment besides ramekins and either an oven broiler or a kitchen torch.
Table of Contents
For the caramel top of the Crème Brûlée, you can use the broiler option in your oven. A broiler heats from the top and browns food quickly.
Many readers, especially in India, may not be familiar with the broiler function. It is just the top heating element of the oven heating at a very high temperature to melt and brown the sugar.
You can also caramelize the sugar using a kitchen torch (blow torch). A torch is easier to control and gives more even browning. Just handle it with care. Torch flames can move unpredictably and can burn your fingers or nearby surfaces if you’re not attentive.
Both methods give that classic crackly caramel crust you expect in a Crème Brûlée. I’ll show both in the step-by-step section so you can choose the one that works for you.
Crème Brûlée tastes best when chilled properly. Make it ahead, keep it cold and caramelize the sugar just before serving for the best texture.
Which Sugar Is Best for Caramelizing Crème Brûlée
If you are caramelizing the top under a broiler, use brown sugar. It melts faster in a home oven and gives an even golden layer. Regular white sugar tends to stay grainy for long and can burn before it melts.
If you are using a kitchen torch, use regular granulated white sugar. It melts cleanly and gives that thin, crisp glassy crust on the Crème Brûlée.
Avoid icing sugar or very fine castor sugar because they burn quickly. Raw or organic sugar also works when torching, but it takes a little longer to melt.
A note on caramelizing under the oven broiler
If you are not used to broiling in the oven, it’s better to skip this method. The heat is very strong and uneven, so some parts of the sugar caramelize quickly while other spots stay pale.
The darker areas can burn fast and may even smoke. Brown sugar also melts in an irregular way, which makes the risk a little higher.
For beginners, a kitchen torch is much easier to control. You get a more even layer, and you can stop the heat the moment the sugar melts and hardens.
If you are comfortable with the oven broiling method, keep a close eye and work in short intervals.
If you enjoy making custards at home, you may also like my Vanilla Custard recipe. For a popular dessert, you can try my Fruit Custard which, is made with a simple cooked custard base and mixed fruits.
Looking for more Christmas desserts? You can also try:
How to Make Crème Brûlée
Making Crème Brûlée at home is easy when you follow the steps slowly and carefully.
Start by preparing a smooth custard mixture, bake it gently in a water bath and chill it well so the texture sets. The final step is caramelizing the sugar just before serving to get that classic crisp top.
Prepare Custard Base
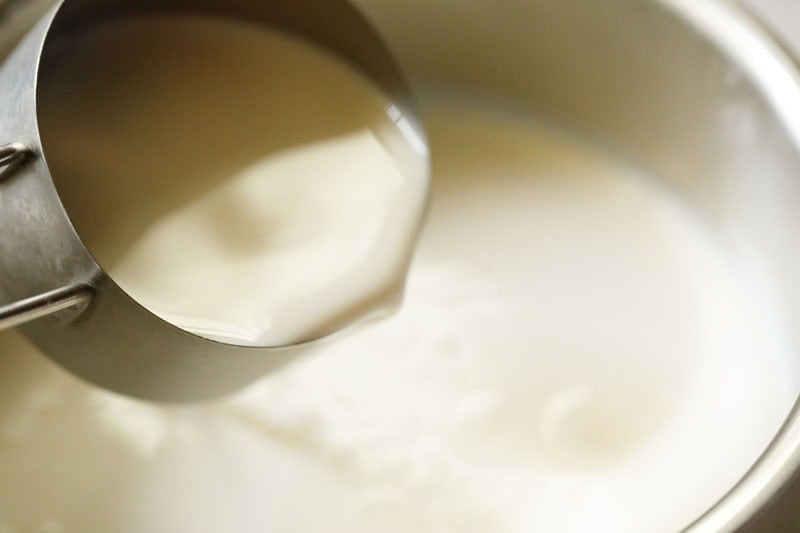
1. Take 2 cups heavy cream or whipping cream and ½ cup milk in a heavy pan.
2. Add 6 tablespoons sugar.
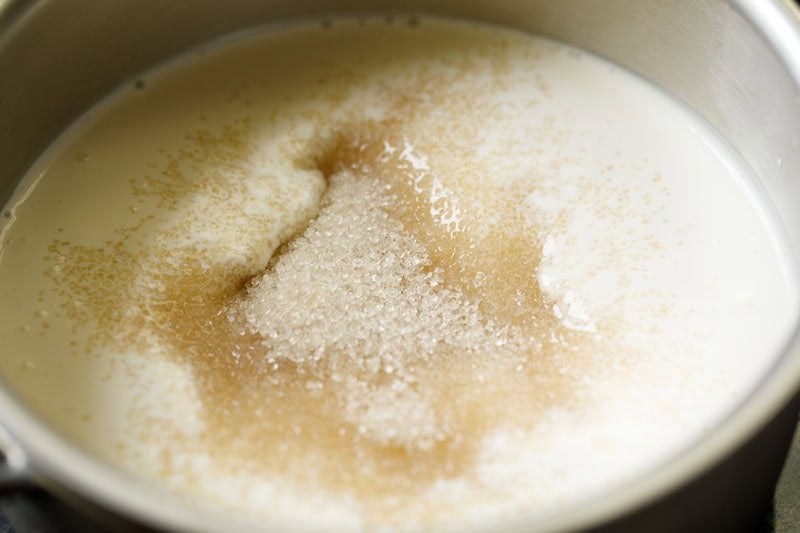
3. Next add 3 tablespoons cornstarch or custard powder, and 1 teaspoon vanilla extract.
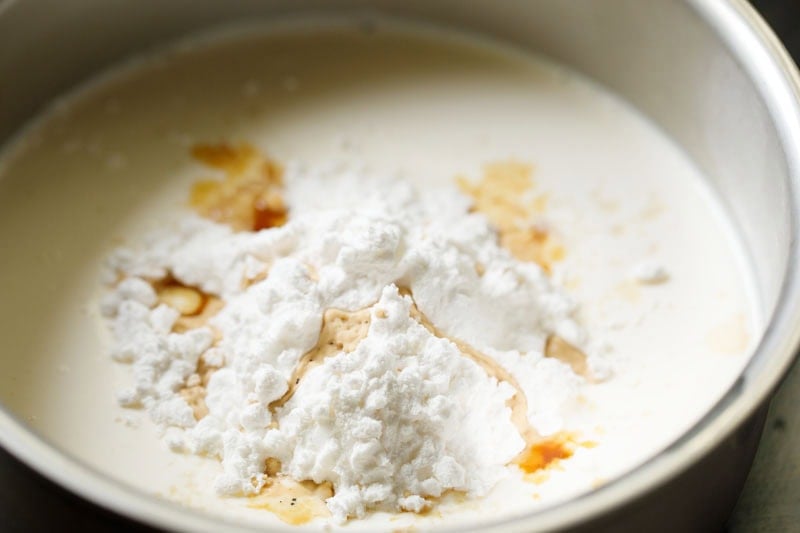
4. Whisk very well so there are no dry lumps.
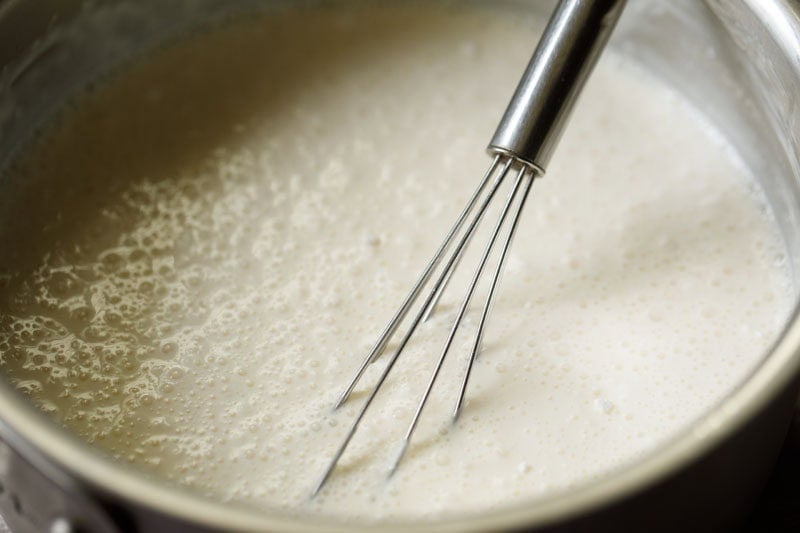
5. Place the pan on low to medium heat and begin to cook the mixture for about 12 to 14 minutes or until the custard thickens.
Note: Use cornstarch (also called cornflour in some countries), not yellow maize flour.
6. Keep stirring nonstop so the mixture heats evenly and the cornstarch cooks properly. The custard will start to thicken.
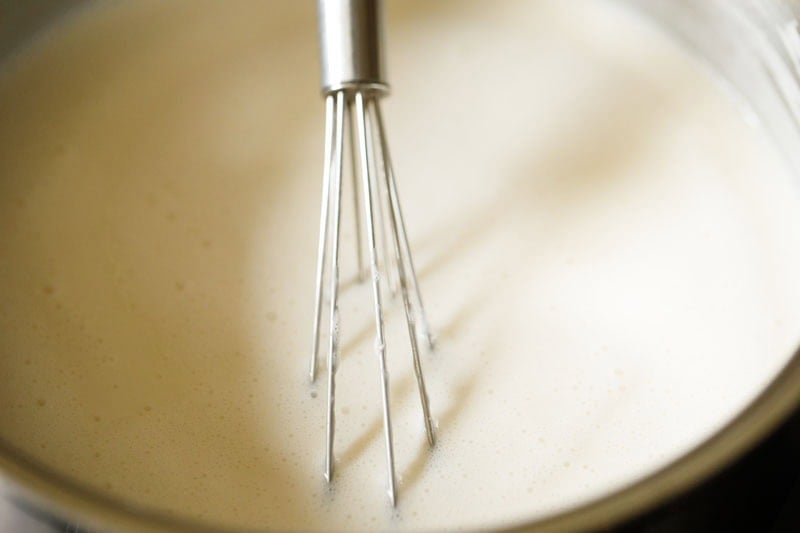
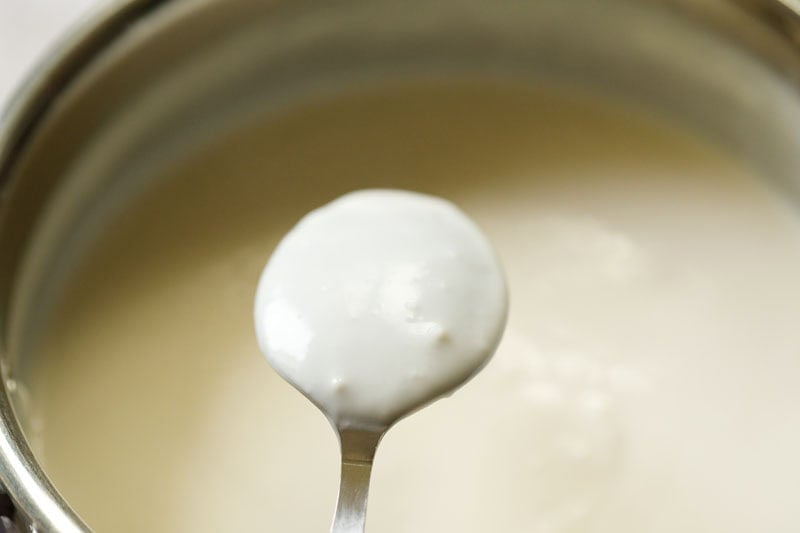
7. Cook till it coats the back of a spoon. It should be medium or medium-thick and pourable, not very thick.
Meanwhile preheat oven for 15 minutes at 150°C (302°F).
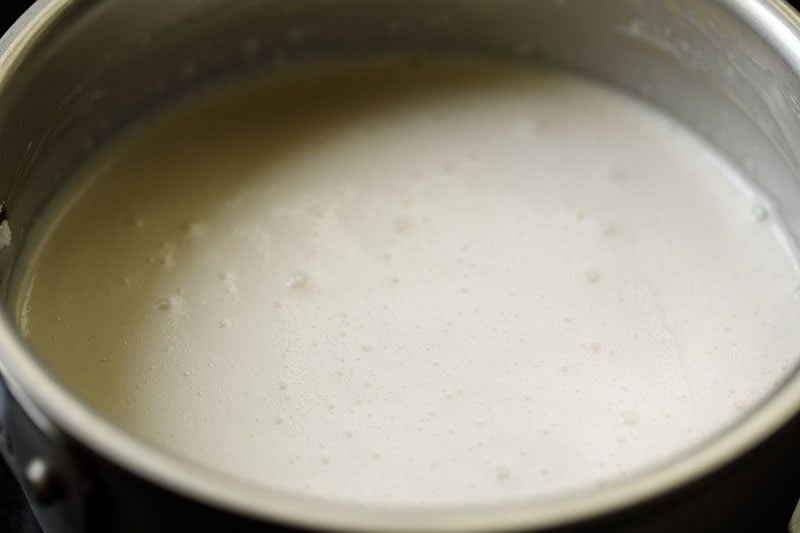
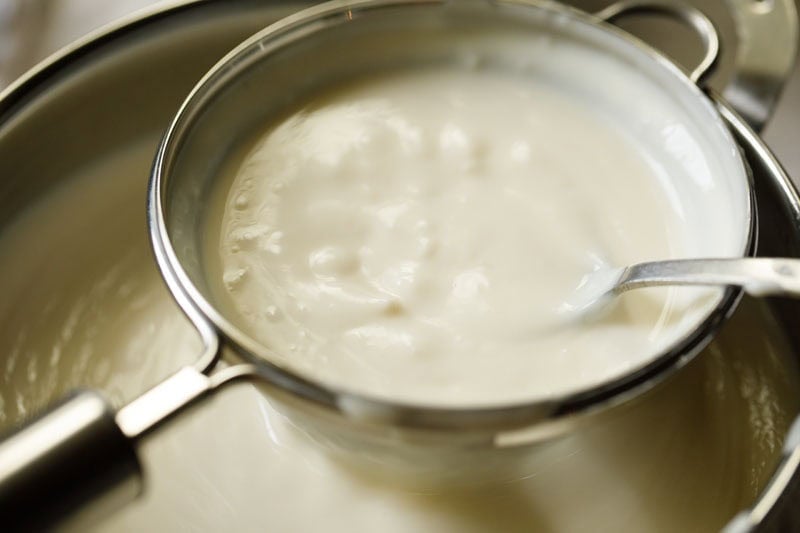
8. If you see tiny lumps, strain it through a fine mesh sieve into a bowl. Stir with a spoon so it passes through easily. This gives you a silky smooth custard.
9. The strained custard should look smooth and even, with a medium-thick, pourable consistency as shown below.
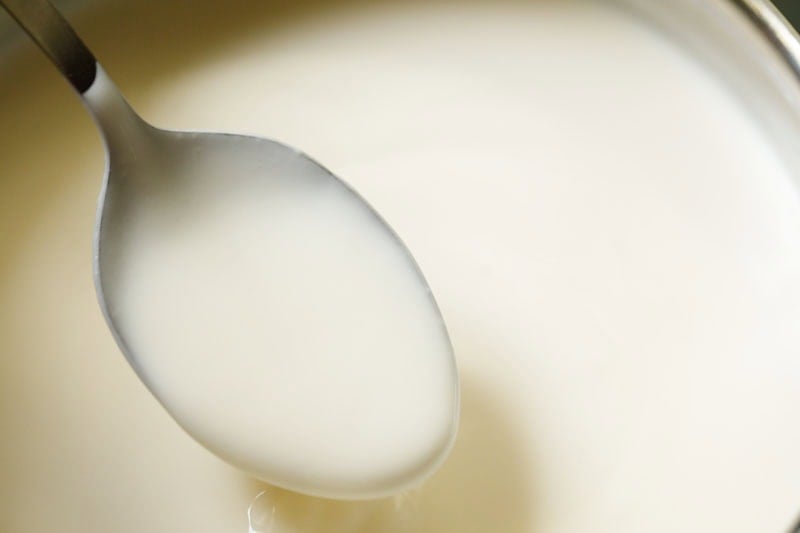
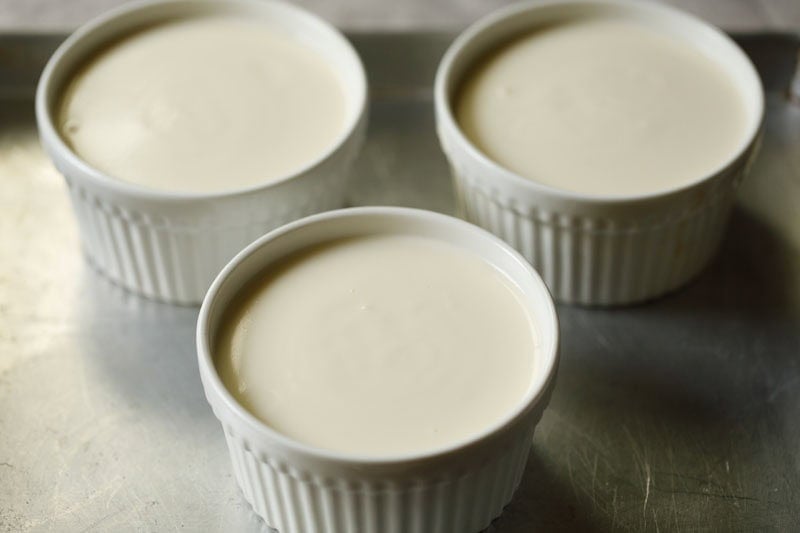
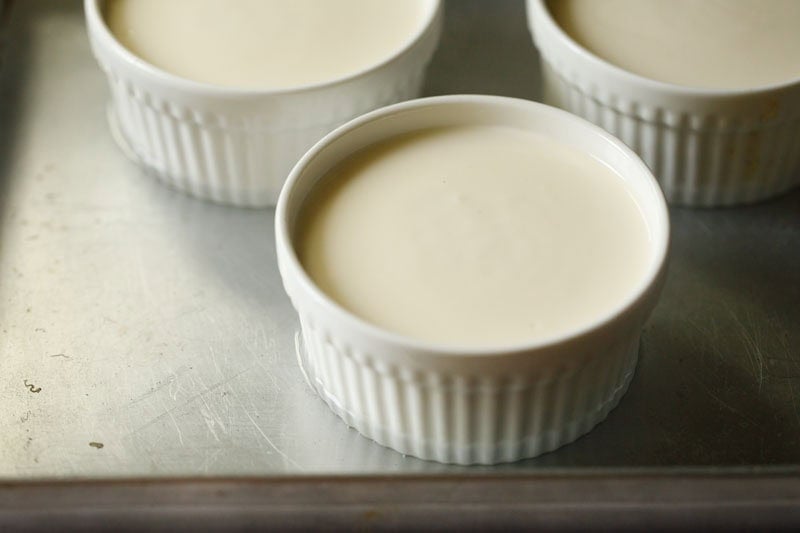
10. Place 3 to 4 medium or 5 to 6 small ramekins on a baking tray. Use a deep pan, cake pan or tray.
Pour the warm custard into each ramekin, filling about ¾ full.
Note: If you don’t have ramekins, you can use any small or medium-sized oven-safe and heatproof bowls or ceramic cups. Just make sure they are thick, heatproof and safe for a hot water bath. Avoid glass bowls unless they are labelled oven-safe.
Also avoid using very thin aluminium bowls or disposable foil cups, as they bend easily in a hot water bath and are unsafe to lift. Use small to medium oven-safe ceramic or stoneware ramekins for best results.
Tip: Use small to medium ramekins. Larger ramekins also work, but the baking time will increase slightly. You can also bake the custard in one larger ramekin or baking dish. The centre will take longer to set, so increase the baking time as needed.
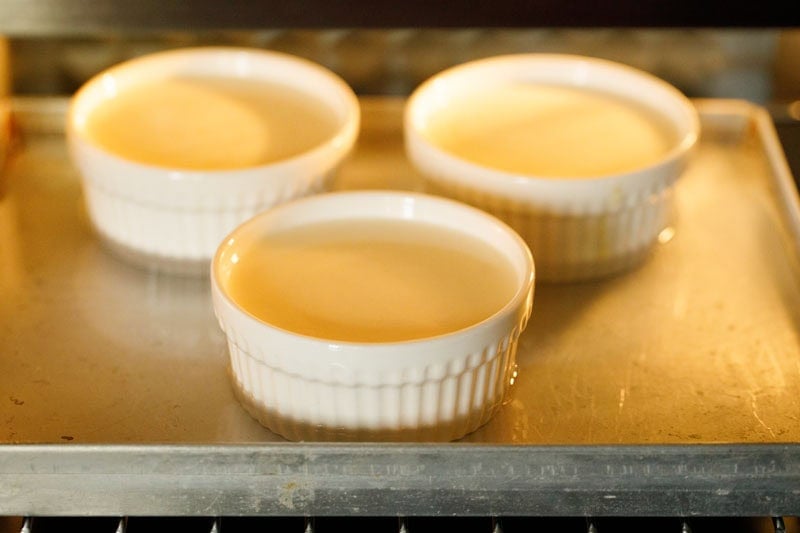
11. Pour hot water around them on the tray till the water reaches ⅓ to ½ the height of the ramekins. This gentle baking method keeps the custard creamy.
It also helps the custard cook evenly, prevents the edges from becoming rubbery, and reduces the risk of the mixture curdling or cracking.
12. Bake at 150°C (302°F) for 40 to 50 minutes. The sides will be set and the centre will look wiggly. That’s perfect.
For a baking tray filled with water, removing it can be tricky. Use oven mittens and move slowly. If you used a cake pan, lift it carefully and then remove the ramekins one by one.
Remove the ramekins carefully using oven mittens.
Note: Crème Brûlée needs gentle heat while baking. Higher temperatures can curdle the custard.
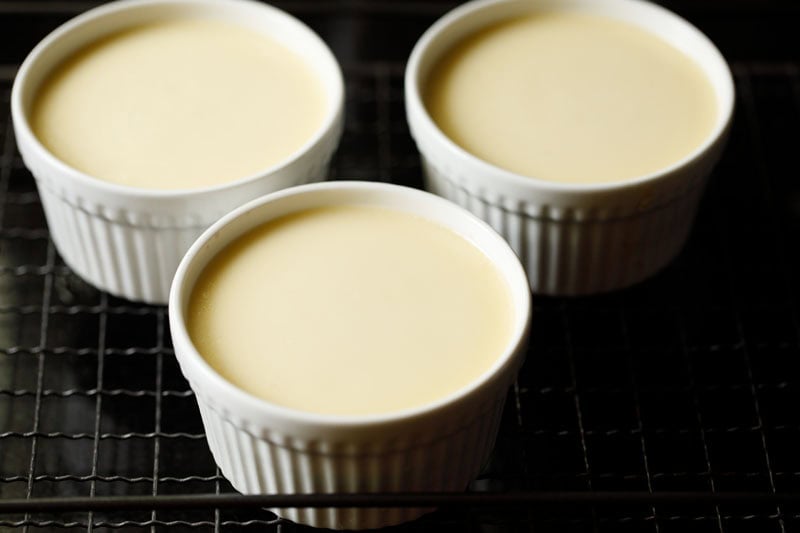
13. Place the ramekin bowls on a wired rack. Let the custards cool at room temperature.
Cover and seal the ramekins with a clingfilm and refrigerate the custards for 4 to 5 hours or overnight.
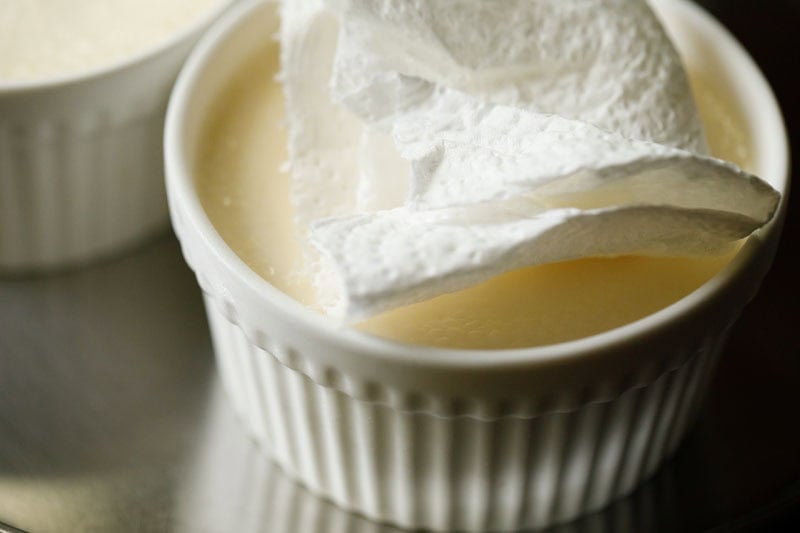
14. Once the custards are fully chilled, you may see a thin layer of moisture or a few droplets on the surface.
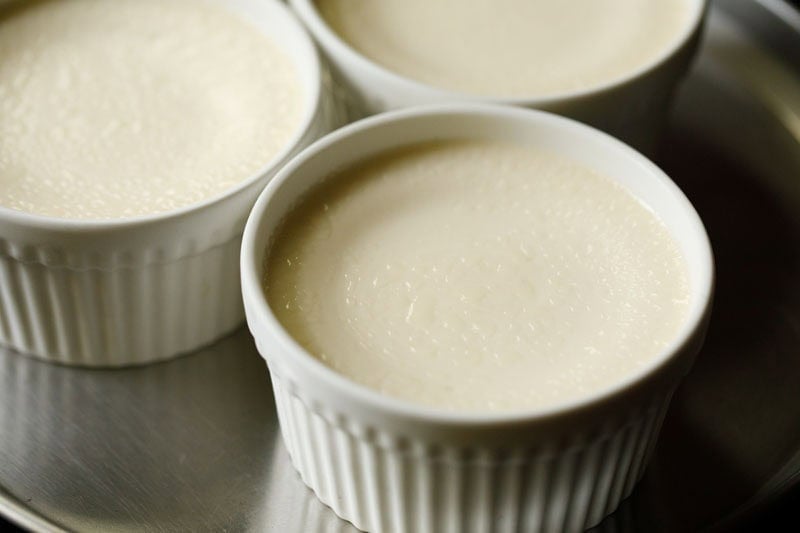
15. Gently blot the tops with a clean tissue or paper towel to absorb the excess moisture. This helps the sugar caramelize evenly later.
Caramelizing Sugar Using Oven Broiler
Note: If you are using the broiler to caramelize the sugar, it’s better to use brown sugar. White sugar takes much longer to melt in a home oven and can burn quickly. I have found brown sugar melts evenly in the oven and gives a cleaner caramel top on the Crème Brûlée.
To conclude, use brown sugar if broiling in the oven. If torching, use regular granulated white sugar for a clean melt.
Keep in mind when using the oven broiler, some brown sugar may stay unmelted because of uneven heat distribution. This is normal.
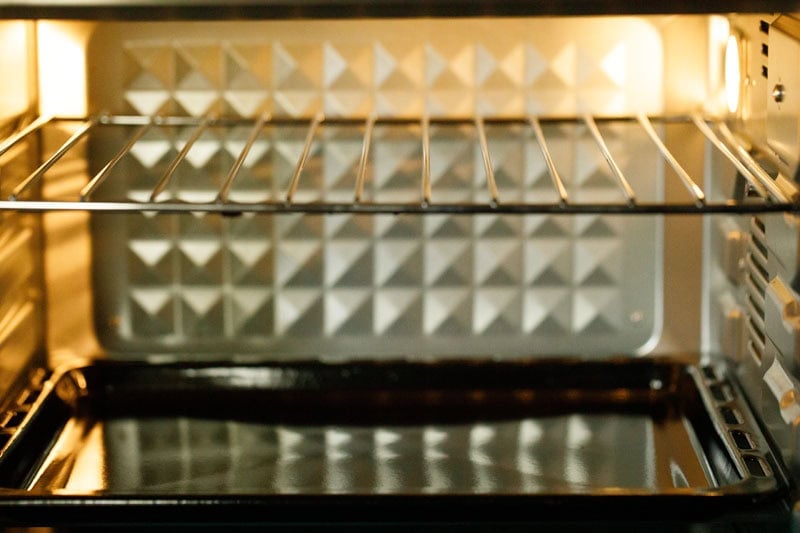
16. Place the oven rack on the top, near the upper heating element, but leave enough space so that when you place the tray with the ramekins, they do not touch the top heating element.
Heat the oven at its highest temperature and heat only the upper heating element.
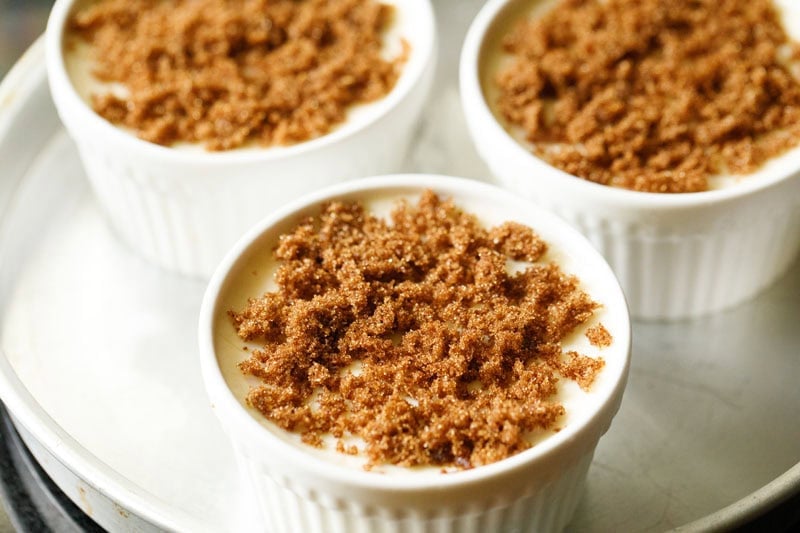
17. Place the chilled custard bowls on a shallow tray or baking pan and sprinkle an even thin layer of brown sugar on top.
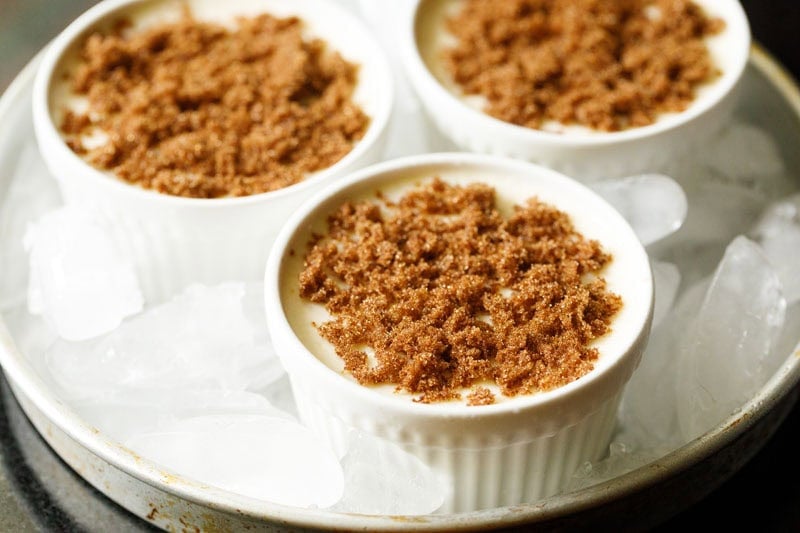
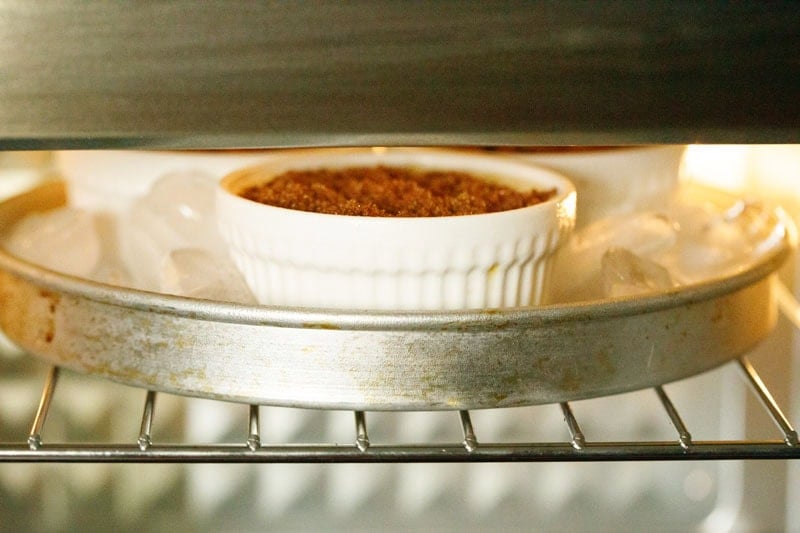
18. Then add ice cubes around the ramekins in the tray. Cover the pan fully with ice cubes.
The ice keeps the custard cold and firm while broiling, so only the sugar melts and caramelizes without the custard turning runny or overheating.
19. Place the pan with the ramekins and ice cubes on the topmost oven tray.
Broil for 1 to 6 minutes or until the tops are caramelized. Rotate the tray midway for even browning.
Keep a close eye on the top at all times while broiling. The sugar can burn very fast and produce smoke quickly, especially in some ovens. If you are not familiar with your broiler, use a kitchen torch instead.
Note: Broiling time varies with each oven. Some ovens with a stronger top element may caramelize the sugar faster, in about 1 to 3 minutes.
In many home ovens, it can also take 5 to 6 minutes. Keep a close watch and remove as soon as the sugar melts and turns golden.
For an even caramelization, you can carefully move the tray. Wear oven mittens while moving the tray. This method is slightly tricky because you have to adjust the tray position.
I suggest placing another baking tray on the lower rack to catch any water when the ice cubes melt.
Note that some custard near the top may cook a bit more even when ice cubes are added.
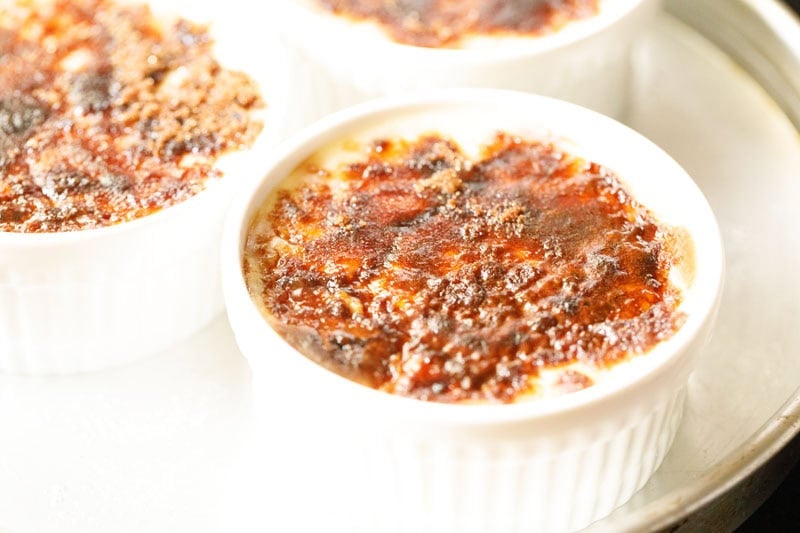
20. Brown sugar caramelizes faster than white sugar. A few tiny unmelted patches are fine and few lightly burnt spots are also fine. Do not push it till too much burnt.
Look for a gentle caramel aroma. If it smells burnt, take it out immediately.
Using Kitchen Torch (Recommended)
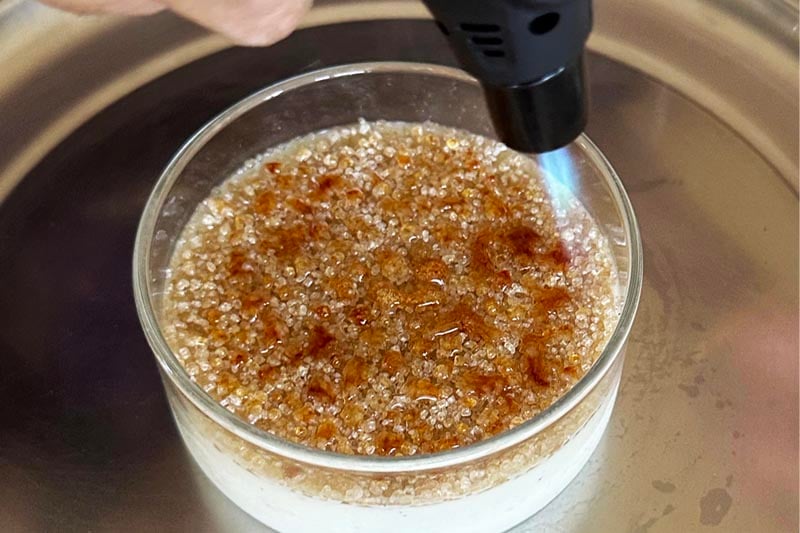
A blow torch or kitchen torch is easier to control and gives an even caramelized top.
Sprinkle sugar (white sugar works best here) on the chilled custard. Hold the torch a little above the surface and move it around gently. Move the flame gently so it doesn’t overheat one area.
Be very careful. Torches can throw the flame sideways. Once, my finger almost got burnt because the flame moved toward where I was holding the torch.
Use a good quality torch, keep your fingers away from the flame path, and work on a heatproof surface.
After Caramelizing
21. Keep the ramekins in the fridge for only 30 minutes. Longer chilling can make the caramel layer soft and sticky.
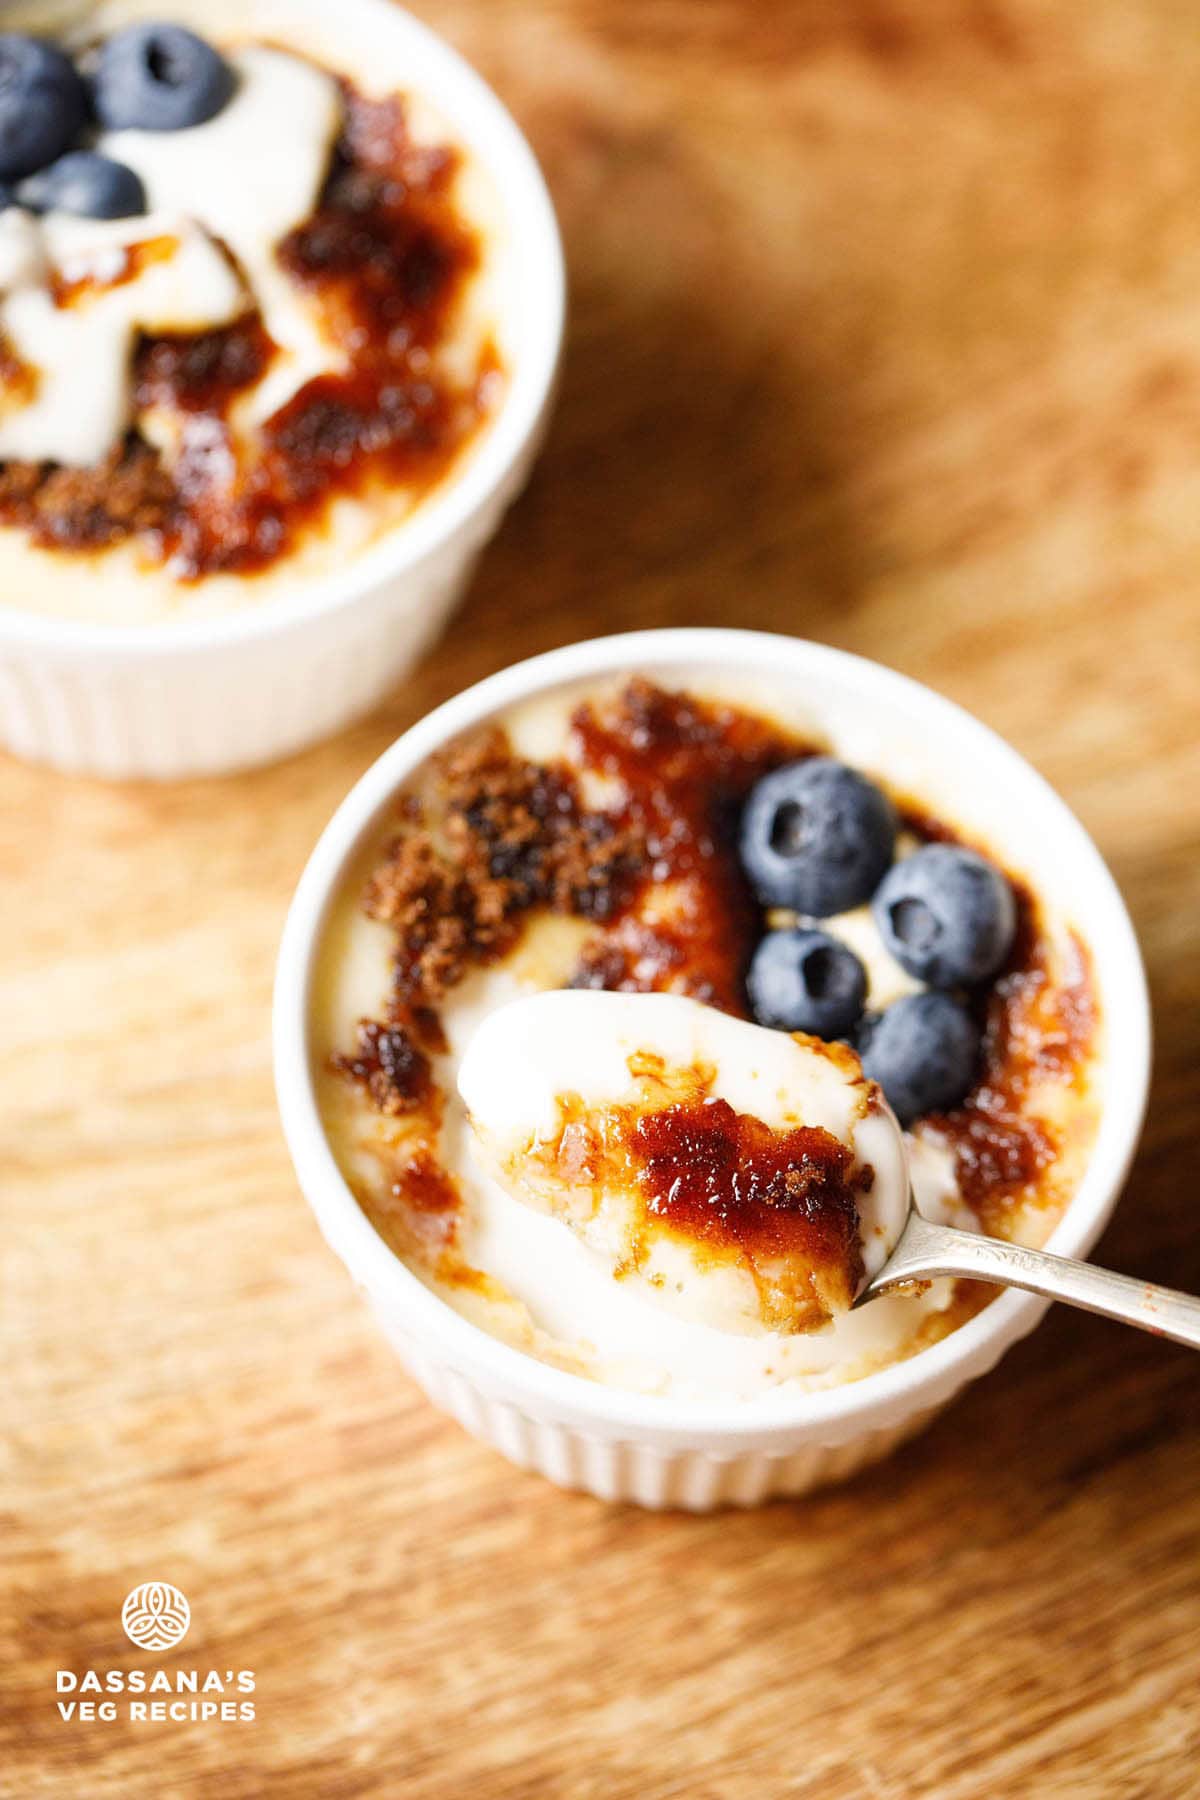
Serve Crème Brûlée chilled.
Serving Suggestions
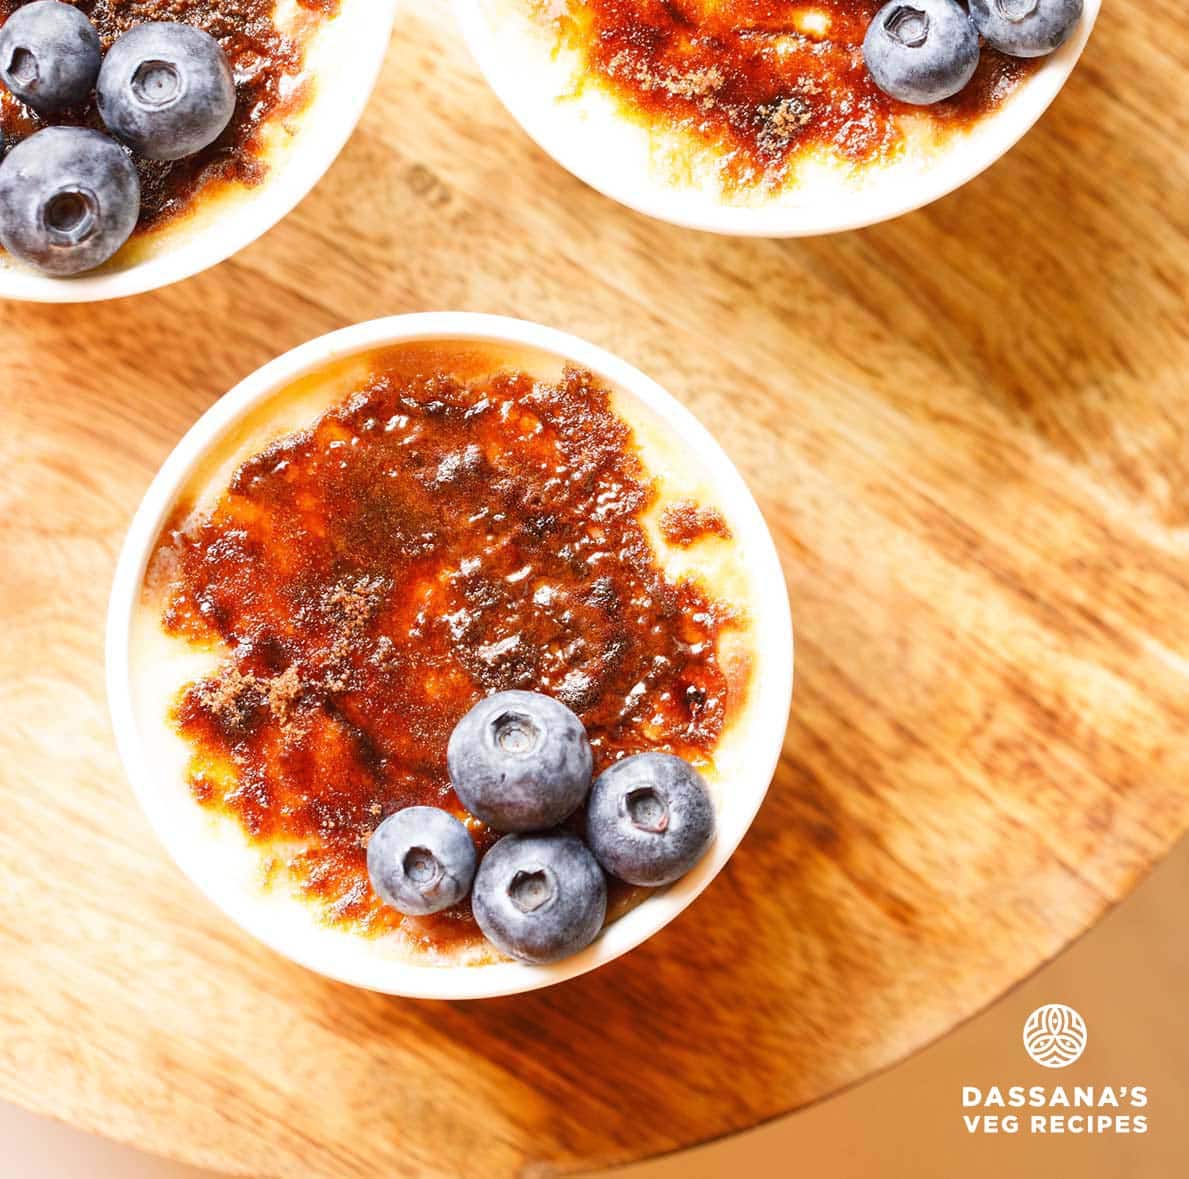
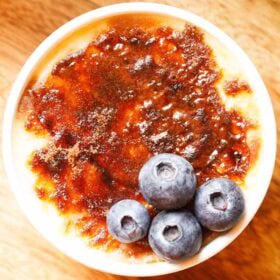
You can serve Crème Brûlée on its own or pair it with something light like fresh berries, a mint sprig or a crisp cookie.
A small spoon of whipped cream also works if you want something simple on the side. Choose accompaniments that don’t overpower the custard or the caramel layer.
Storage
Refrigerate the custard (without the caramelized sugar) for 2 to 3 days. Add sugar and caramelize only before serving, or the top will turn soft. Once the sugar is caramelized, serve Crème Brûlée immediately or after 30 minutes for the best texture.
Dassana’s Recipe Tips
- Custard texture: The custard should not become very thick on the stove. Keep it smooth, medium-thick and pourable so it sets evenly later.
- Stir constantly: Continuous stirring prevents lumps and helps the mixture heat gently without catching at the bottom.
- Strain if needed: If you notice even tiny lumps, strain the custard. This one step keeps the texture silky and makes a big difference.
- Ramekins: Crème Brûlée is best made in ramekins. If you don’t have ramekins, you can use small oven-safe bowls, ceramic bowls, metal pudding cups or stoneware bowls. Avoid thin glass bowls, as they may crack in the water bath.
- Low baking temperature: Bake at a gentle temperature for an even, creamy set.
Soft wobble: The custard should still be wiggly in the centre when you take it out. It firms up in the fridge. - Water bath: A water bath protects the custard from curdling, cracking, or becoming rubbery. It keeps the heat soft and even.
- Safety: Avoid very cheap torches because their flames can be unstable.
- Flame direction: Keep your fingers away from the direction of the flame at all times.
- Oven mittens: Use oven mittens when handling the hot water bath or the broiling tray to avoid burns.
- Flavor: Vanilla extract or vanilla bean paste gives the deepest flavour.
- Infusions: You can warm the cream with a cinnamon stick or a split vanilla bean for a festive touch. Always remove it before cooking the custard.
Safety Note
Broiling and torching involve very high heat. Stay close to the oven and handle everything slowly. Sugar burns fast and can smoke, so use oven mittens and keep your hands away from the direct heat.
Custard & Caramel Know-How
- Brown sugar for broiling: Brown sugar works better under a broiler because the extra moisture and molasses help it melt faster. It gives a deeper colour, but it can also melt unevenly if your oven has hot spots. Keep the tray close to the heat so the top caramelizes quickly without heating the custard too much.
- White sugar for torching: Regular granulated white sugar is the best choice when using a kitchen torch. It melts evenly, forms a thin crackly crust and doesn’t clump. Spread it in a light, even layer so it caramelizes smoothly without turning gritty.
- Even caramel layer: If you want a cleaner crust on the Crème Brûlée, chill the custard well and remove any moisture on top before adding the sugar. Moisture can prevent the sugar from melting fully.
- Avoid burning: Caramel cooks quickly, so it can turn from perfect to burnt in no time. Keep an eye on the color and stop once the sugar turns golden to deep amber. Dark patches or smoke can make the top taste bitter.
- Layering tip: If you want a thicker crust on the Crème Brûlée, caramelize a thin layer first, cool it for a few seconds, then add a second layer of sugar and torch again. This creates a stronger, glass-like crack.
FAQs
Can I make Crème Brûlée without a torch?
Yes. The broiler setting works. Just watch it closely and rotate the tray for even browning.
Is cornstarch the same as custard powder?
No, but you can use either. Custard powder also has a light vanilla flavor.
Why did my sugar not melt fully?
If your sugar layer is too thick, it takes longer. Brown sugar also melts unevenly sometimes. A few unmelted spots are fine on the Crème Brûlée.
Why is my caramel soft after chilling?
If you keep it in the fridge for too long after caramelizing, the sugar absorbs moisture. Chill only for 30 minutes.
Why is the custard cracked?
Overbaking or very high heat can cause cracks. Bake at low temperature and check early.
Step by Step Photo Guide Above
Crème Brûlée Recipe
Ingredients
- 2 cups heavy cream or whipping cream
- ½ cup milk – whole milk
- 6 tablespoons sugar or add as required
- 3 tablespoons cornstarch or custard powder
- 1 teaspoon vanilla extract
- 1 to 2 tablespoons brown sugar – for topping
Instructions
- Whisk the heavy cream, milk, sugar, cornstarch or custard powder and vanilla in a saucepan.
- Cook on low to medium heat, stirring nonstop for 14 to 15 minutes or until the custard turns medium-thick and coats the back of a spoon. Keep it pourable.
- Optional: Strain the custard to remove tiny lumps for a smoother texture.
- Preheat oven at 150°C (302°F) for 15 minutes.
- Place ramekins in a baking tray or baking pan.
- Pour the custard into the ramekins until ¾ full. Pour hot water in the baking tray or pan filling ⅓ to ½ of the ramekin sides.
- Bake at 150°C (302°F) for 40 to 50 minutes or until the centre is wiggly and edges are set.
- Cool the baked custards at room temperature, seal the ramekins with clingfilm and refrigerate for 4 to 5 hours or overnight.
- If there is moisture on top after chilling, blot it gently with a tissue before adding sugar.
For Broiling
- Safety Note for Broiling: If you are not familiar with using a broiler, it is better to skip this method. The heat is very strong and the sugar can burn or smoke quickly, so you have to stay next to the oven and keep an eye on the top the whole time. If you are not comfortable with broiling, use a kitchen torch instead.
- Place the oven rack on the top, close to the upper heating element. No need to preheat.
- Heat only the upper element on the highest setting.
- Place the chilled custard ramekins on a shallow baking tray and sprinkle a thin, even layer of brown sugar on top.
- Add ice cubes around the ramekins until the tray is filled. The ice keeps the custard cold while broiling, so only the sugar melts and caramelizes.
- Keep the tray on the top rack of the oven, close to the upper heating element and broil for 1 to 6 minutes (depending on your oven). Remove once the sugar melts and turns golden.
- Note: Broiling time varies with each oven. Strong broilers may melt the sugar in 1 to 3 minutes. In many home ovens, it can take 5 to 6 minutes. Watch the top and remove as soon as the sugar melts and turns golden.
- Rotate or move the tray gently for more even browning. Wear oven mittens when doing so. Some custard near the top may cook slightly even with the ice.
- Keep a close eye at all times. Sugar can burn or smoke very quickly.
- Brown sugar caramelizes faster than white sugar. A few tiny unmelted or lightly burnt spots are fine.
- Do not broil till very dark or black. Look for a gentle caramel aroma. If it smells burnt, take it out immediately.
- Once caramelized, chill for 30 minutes before serving so the top hardens.
For Torching
- Safety Note for using a Kitchen Torch (Blow Torch): If you are new to using a kitchen torch, work slowly and keep the flame moving. The flame can shift suddenly and overheat one spot. Stop heating as soon as the sugar melts and caramelizes.
- Sprinkle a thin and even layer of regular granulated white sugar on the chilled custard. Raw or organic sugar also works, but it may take slightly longer to melt.
- Hold the blow torch a little above the surface and move it gently in circles.
- Keep the flame moving so that one spot doesn’t burn.
- Heat just until the sugar melts and forms a thin, crisp layer.
- Chill for 30 minutes before serving.
Serving Suggestions
- Serve Crème Brûlée chilled with the crisp caramel layer.
- A few fresh berries or a light dusting of powdered sugar pairs nicely. You can also add a small mint sprig if you want a festive touch.
Storage
- Refrigerate the baked custards for 1 to 2 days without the caramel topping. Cover well to prevent the custards from absorbing fridge smells.
- Add the sugar and caramelize just before serving so the top stays crisp. Avoid freezing, as the texture changes once thawed.
Dassana’s Notes
- Custard texture: Keep the custard smooth, medium-thick and pourable. If you see tiny lumps, strain it for a silky finish.
- Cornstarch: Use cornstarch (called cornflour in some countries). Do not use yellow maize flour.
- Metallic baking trays: Avoid using very thin aluminium trays for the water bath as they bend when lifting.
- If you don’t have ramekins: Use small oven-safe ceramic bowls, metal pudding cups, or stoneware bowls. Avoid glass bowls unless they are oven-safe.
- Low heat baking: Bake at a gentle temperature so the custard sets evenly without curdling.
- Soft wobble: Take the ramekins out when the centre is still slightly wiggly. It firms up fully after chilling.
- Water bath: Always bake in a water bath. It keeps the heat even and prevents the custard from becoming rubbery or grainy.
- Dry the surface: After chilling, blot any moisture on top before adding sugar. This helps the caramel melt evenly.
- Sugar choice: Brown sugar works well for broiling, while regular white sugar melts best with a kitchen torch and gives a crisp crust.
- Avoid burning: Caramelize only till golden to deep amber. Over-melting leads to burnt, bitter spots.