Pav Recipe | Ladi Pav | Pav Bread
There’s so much more to breads in Indian cuisine, than just the well-known flatbreads. For instance, take this Pav, which is also popular under the sobriquet Ladi Pav and is a specialty from the ‘city of dreams,’ Mumbai in Maharashtra. While there’s more to read about this Mumbai style bun in the post, I’m also sharing a step-by-step Pav Recipe for you to easily follow and make this soft, fluffy and light bread at home. The ingredients are not much but the procedure is quite long. So, make sure to follow the recipe well to get the best result.
About Pav Recipe
Pav is basically a small loaf of bread, introduced by the Portuguese in India. Thus, also referred to as ‘pao,’ going by the Portuguese food traditions.
In Hindi, the word Pav refers to ‘quarter or ¼ᵗʰ .’ Sometimes you get the Ladi Pav in a set of 4. It is also said that since the bakers kneaded the dough with their feet at that time, the name is Pav which means ‘feet’ in Hindi.
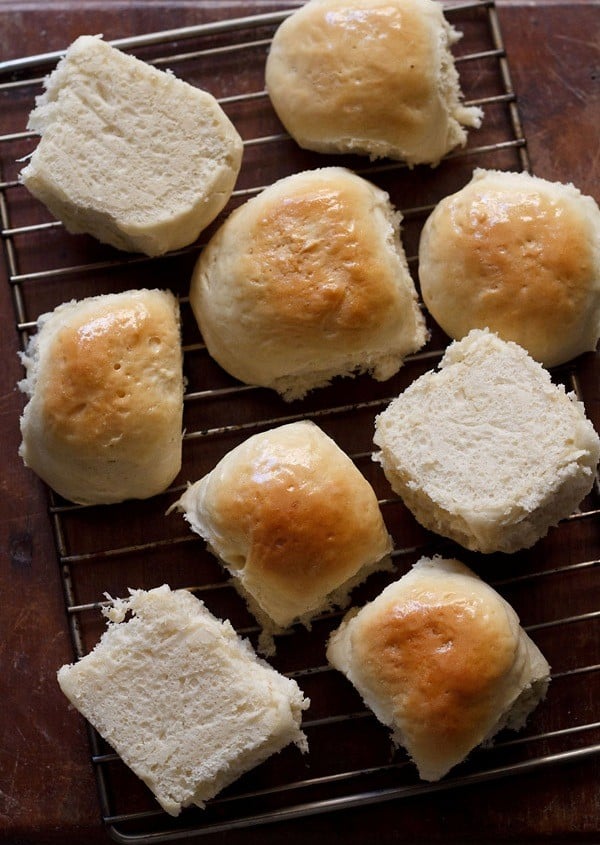
Commercially, Pav is always made with maida or all-purpose flour. However, at home, we can make these small bread rolls with whole wheat flour (atta) or other flours. I also make a Pav Recipe with 100% whole wheat flour.
You could opt to make Pav with equal portions of both all-purpose flour and whole wheat flour. Pav made this way using an equal mix of both the flours also yields a soft and light texture.
The recipe of Mumbai Ladi Pav in this post is made with 100% all-purpose flour (maida). I make these light bread rolls once in a while or on demand, when the regular Whole Wheat Bread or chapatis get monotonous for the family.
I have developed this Pav Recipe over a period of time to get the best result. The recipe method makes use of the sponge or ‘poolish’ method for leavening, resulting in super soft and spongy Pav.
I have added instant yeast in the recipe. However, fresh yeast or dry active yeast can also be used. To get the aroma and taste like that of the Ladi Pav made in the bakeries, it is advisable to use fresh yeast. The proportions of all 3 are mentioned in the recipe card below.
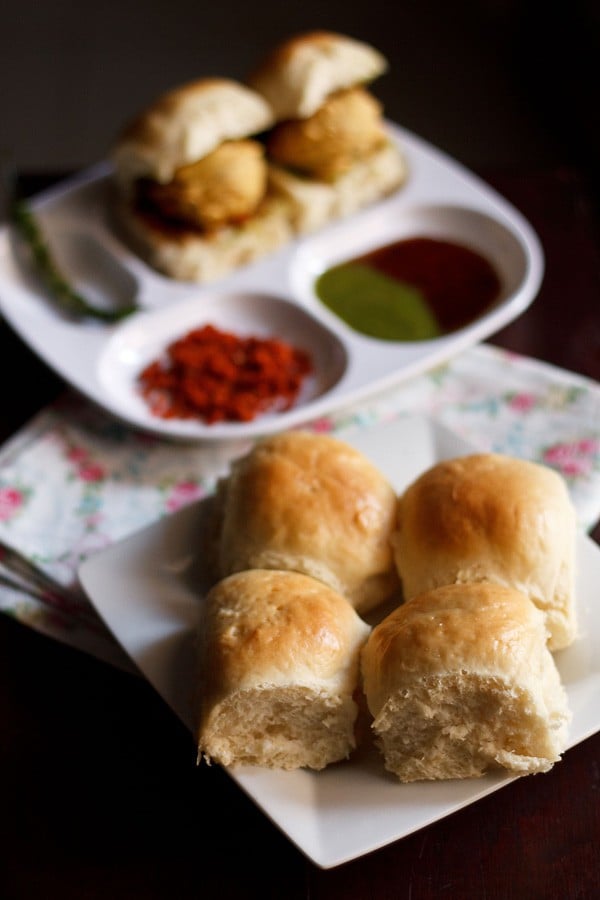
Usually, I make these Mumbai style buns or dinner rolls to be served with Pav Bhaji, Misal Pav, Masala Pav, Vada Pav, samosa pav or pav sandwich. I never buy Pav from outside as this recipe really yields in excellent homemade bread rolls.
How to make Pav
Make Dough
1. In a bowl take, 1 cup all-purpose flour, 1 teaspoon instant yeast (rapid rise yeast) and 2 teaspoons sugar.
Make sure the water is lukewarm. If not then all your efforts will go waste. The water should not be hot.
Note: If using active dry yeast or fresh yeast, then ensure the water is neither hot nor cool. Hot water will destroy the yeast and less warm water or cool water won’t help in activating the yeast.
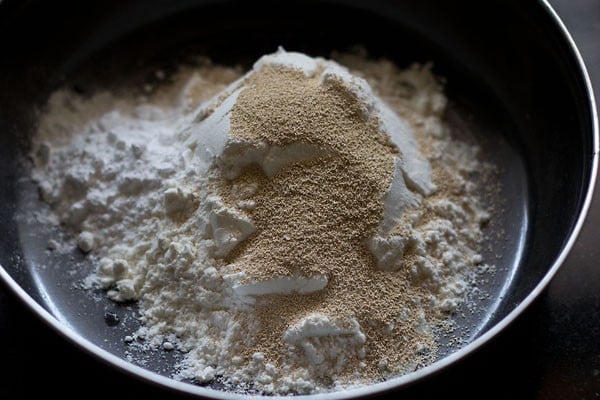
2. Add 1 cup lukewarm water.
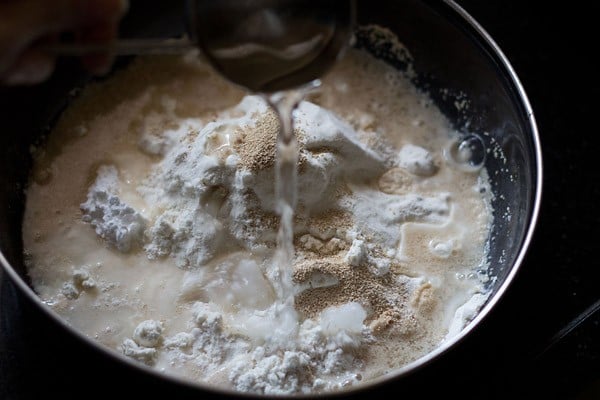
3. Stir or whisk to make a smooth and thick batter without any lumps.
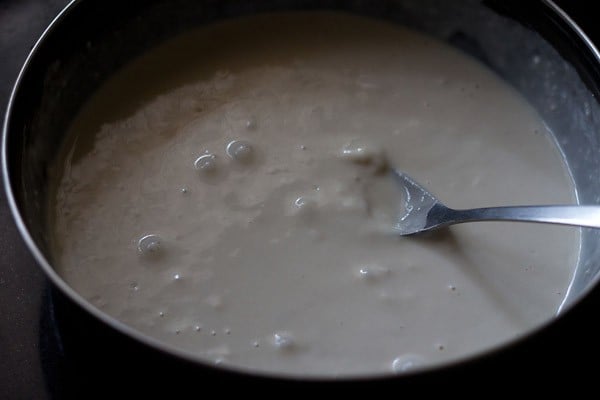
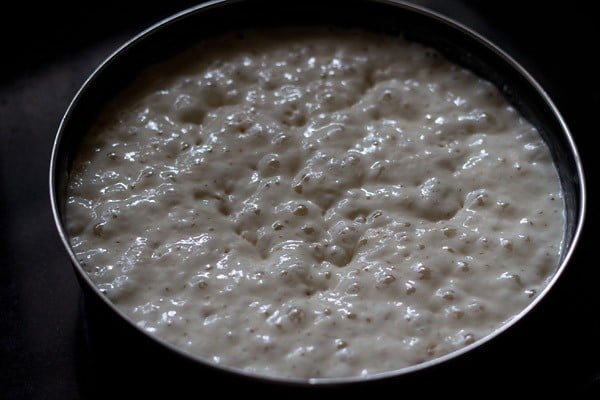
4. Cover and keep the bowl for 30 to 40 minutes or till you see a bubbly and frothy mixture. The batter would also have risen.
The picture below shows the consistency. This is the sponge starter.
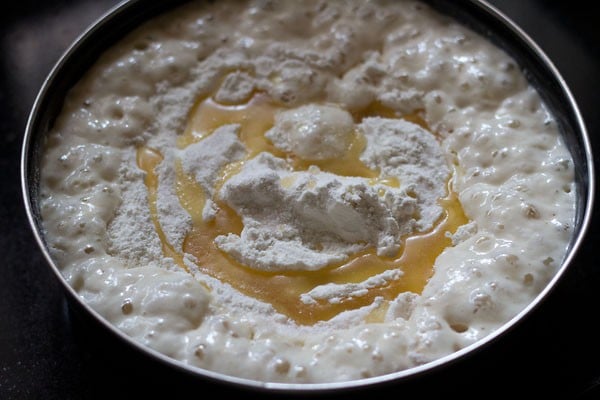
5. Add 2 tablespoons oil, 1 teaspoon salt and 1 cup all-purpose flour.
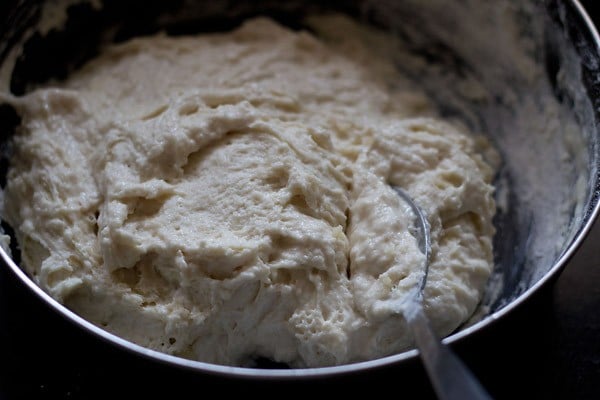
6. Mix with a spoon or spatula.
7. Add 1.25 cups of all-purpose flour.
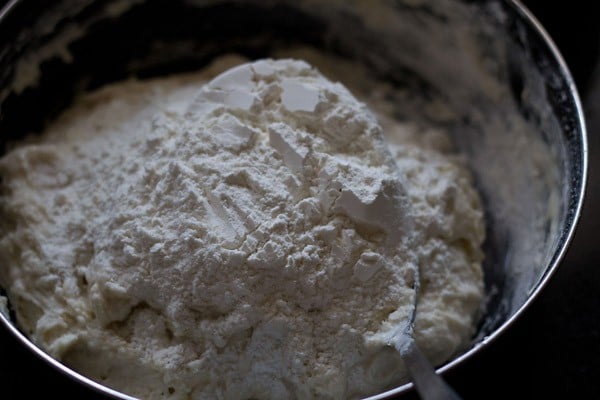
8. Mix and then begin to knead for about 10 to 12 minutes. If the dough appears sticky, then you can add about ¼ to ½ cup flour.
The proportion of water to be added depends on the quality of the flour. Overall, I added 3.25 cups flour and 1 cup water.
You can also knead the dough using a stand-mixer bowl attached to a dough hook.
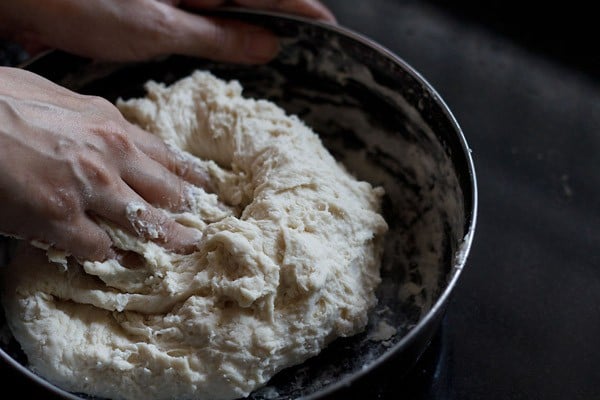
9. Knead to a smooth, pliable, soft and elastic dough. The dough on stretching should not break or tear.
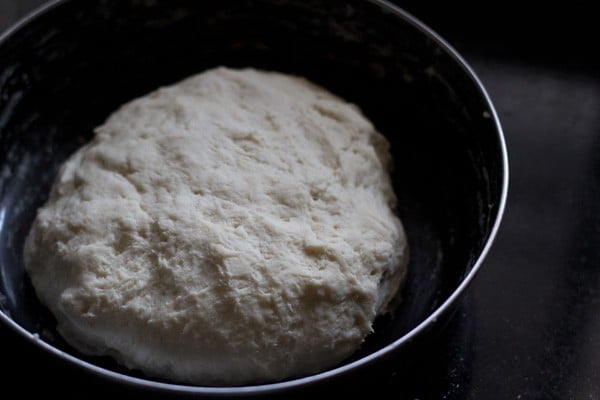
Leaven Dough
10. Spread oil or butter all over the dough. Cover the bowl with a kitchen cotton napkin or a lid and keep the bread to leaven for 20 to 25 minutes.
The leavening time depends on the type of yeast used and the temperature conditions.
- For instant yeast, 20 to 25 minutes of the first rise is enough.
- For dry active yeast or fresh yeast, you will have to keep for about 45 minutes to 1 hour or more.
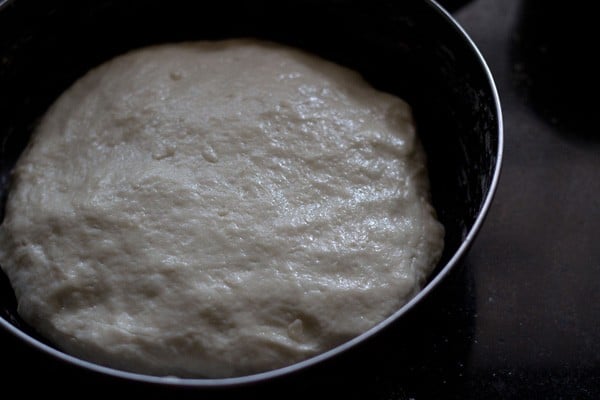
11. The risen and doubled dough for Pav.
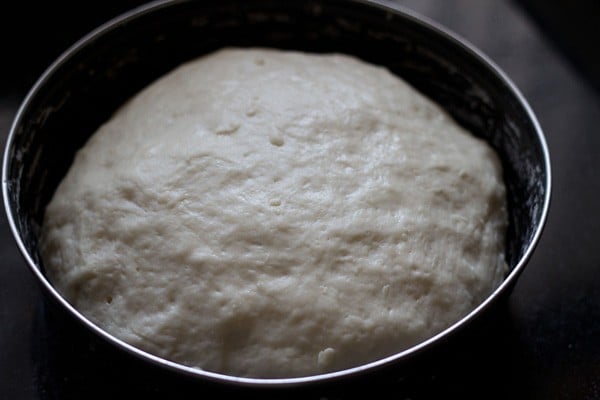
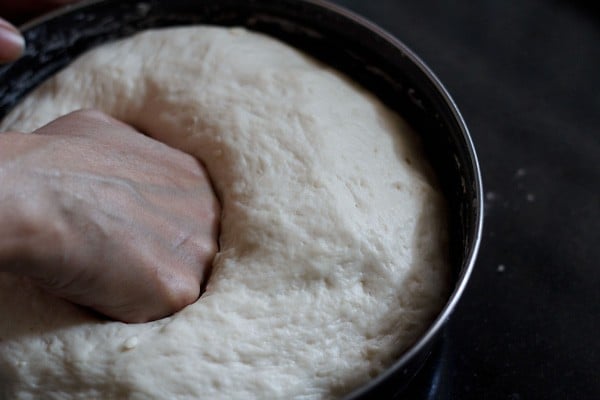
12. Gently punch and deflate the dough and form a log.
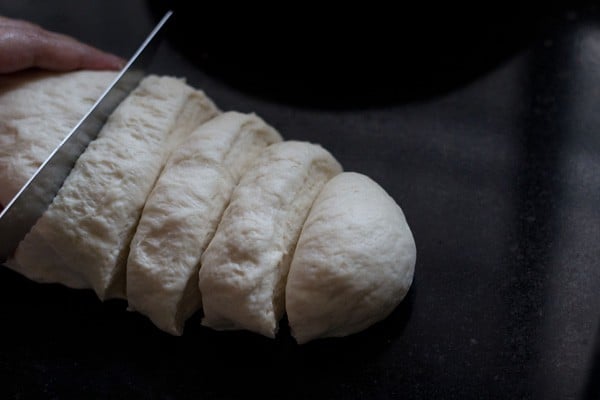
13. Slice the log into equal portions.
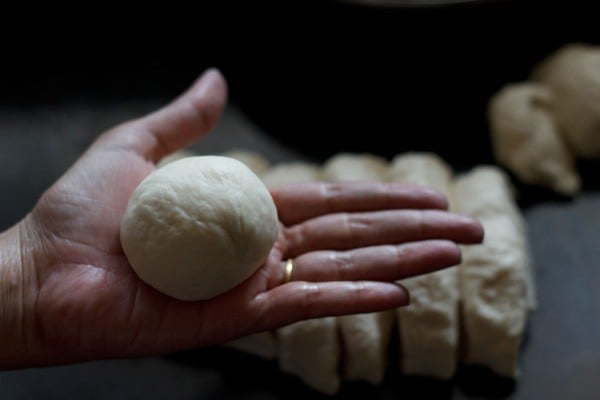
14. Take each portion and roll between your palms to get a smooth round roll.
Bake Pav
15. Make rolls this way and place them in a greased baking tray keeping 1 inch space between each. Cover and keep for 25 to 30 minutes for the second rise. The small buns would increase in size.
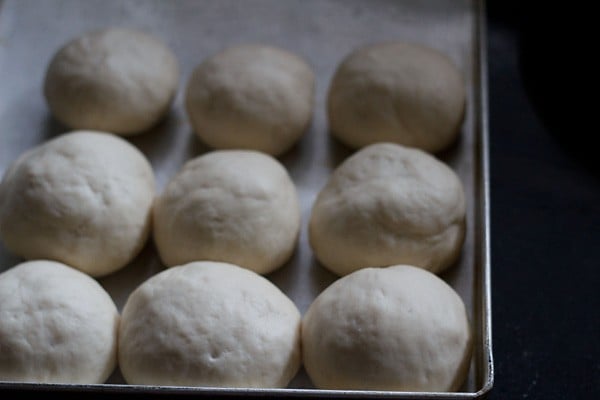
16. Then, brush the rolls with some milk. This gives a golden color to the Ladi Pav.
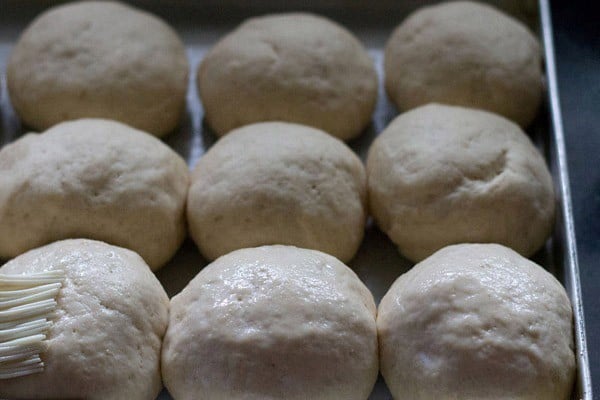
17. Place the baking tray in a preheated oven at 200° C/ 390° F for 25 to 30 minutes or till the tops turn golden and the rolls sound hollow on tapping.
Before baking, remember to preheat oven at for 200° C/ 390° F 15 minutes.
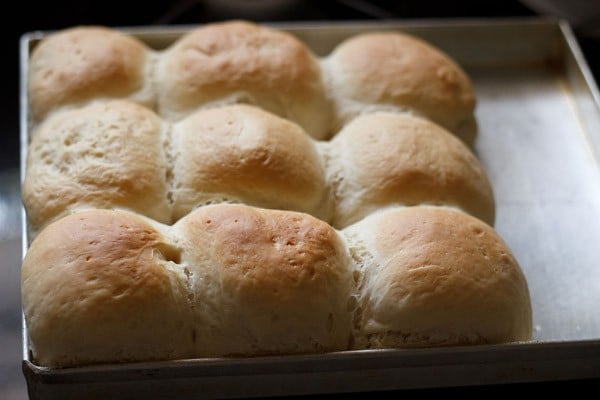
18. Remove the baked rolls from the tray (with a spatula) and place on a wired rack or wired tray, so that they don’t become softened and moist from the bottom due to heat condensation.
Brush melted butter or spread softened butter on top of the Pav for a glaze. This is an optional step.
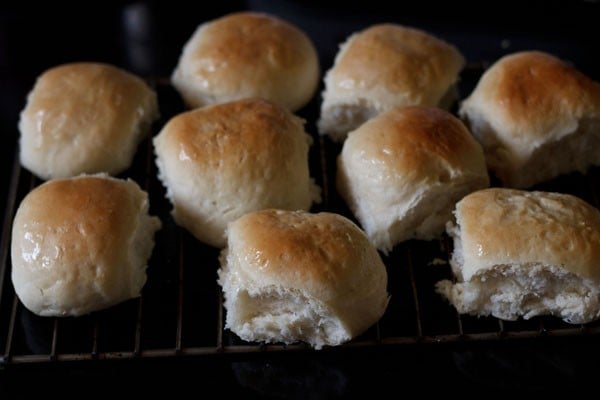
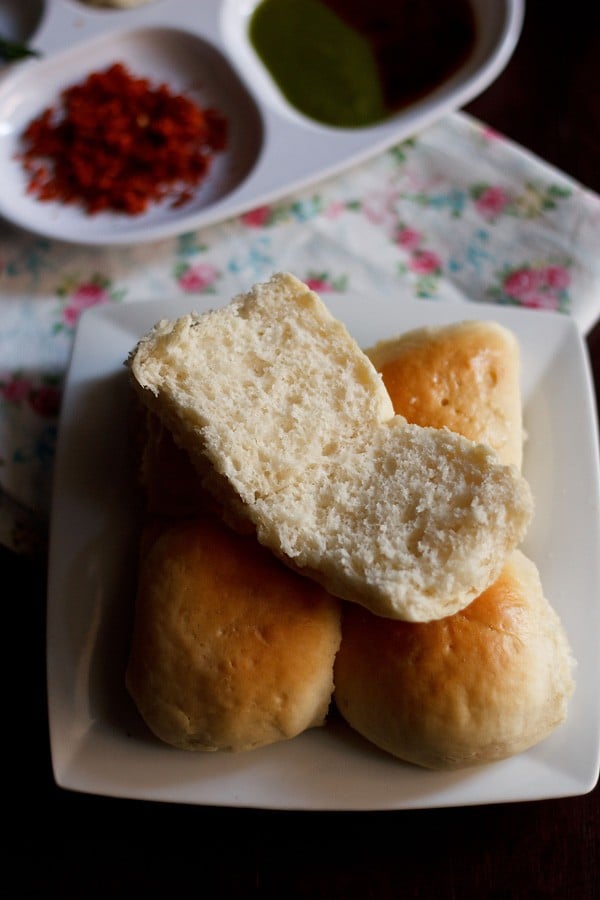
19. Serve Pav warm or at room temperature with any curry like Usal, a vegetable dish or just as plain Maska Pav (buttered rolls) with Masala Chai or Cutting Chai.
You can also use them to make Mumbai street food snacks like pav bhaji, misal pav, vada pav or Kacchi Dabeli.
Leftover Pav keeps well for about a week in the fridge and a few weeks in the freezer.
Expert Tips
- If you can source, then try making pav with unbleached all-purpose flour. You can also make these fluffy dinner rolls with bread flour.
- The quantity of water to be added depends on the quality of flour. If the dough become sticky, then add some flour and if the dough looks dry, then add some water.
- Instead of kneading with hands, you can also knead the dough in a food processor or in an electric mixer with a dough hook.
- If the top surface of the buns browns quickly, then place aluminium foil or parchment paper on the top. This will avoid further browning.
- The leavening time depends on the type of yeast used and the temperature conditions. For instant and fresh yeast, keep for 20 to 25 minutes for the first rise. For dry active yeast, you will have to keep for about 45 minutes to 1 hour or more.
- Brushing the pav bread rolls with some milk gives a nice golden color to them on baking. You can brush the baked buns with melted butter too for a glaze.
- Once the Ladi Pav bread is baked, remove them from the tray and place on a wired rack so that they don’t soften or moisten from the bottom due to heat condensation.
Step by Step Photo Guide Above
Ingredients
- 3.25 to 3.5 cups all-purpose flour (maida) – I added 3.25 cups flour
- 2 tablespoons oil or softened butter, use any neutral flavored oil
- 1 teaspoon instant yeast or 1.5 teaspoon dry active yeast or 1 tablespoon fresh yeast
- 2 teaspoons sugar
- 1 teaspoon salt or add as required
- 1 cup water – lukewarm, do add water if needed later
- 1 to 2 tablespoons milk – for brushing, optional
- 1 to 2 tablespoons butter – melted, for brushing on pav bread
Instructions
Making dough
- In a bowl take 1 cup of all-purpose flour, instant yeast and sugar.
- Add 1 cup lukewarm water. Stir or whisk to make a smooth thick batter without any lumps.
- Cover and keep the bowl for 30 to 40 minutes till you see a bubbly and frothy layer on the top. The batter would also have risen.
- Add oil, salt and 1 cup flour. Mix with a spoon or spatula.
- Next add 1.25 cup flour. Mix again and then begin to knead for about 10 to 12 minutes.
- If the dough appears sticky then you can about ¼ cup flour more or as needed. The proportion of water to be added, depends on the quality of the flour. I added 3.25 cups flour for 1 cup of lukewarm water.
- Knead very well to a smooth, soft, supple and elastic dough.
- Place dough in a bowl. Spread oil or softened butter all over the dough.
Leavening pav dough
- Cover the bowl with a lid or a kitchen cotton napkin and keep the bread to leaven for 20 to 25 minutes.
- Once the pav dough has risen and doubled, then gently punch and deflate the dough and form a neat log.
- Cut the log into equal sizes. Take each portion and roll between your palms to get a smooth round roll.
- Make rolls this way and place them in a greased tray keeping 1 inch space between all of them.
- Cover and allow the second rise for 25 to 30 minutes. The small buns would increase in size.
Baking ladi pav
- Just before 15 minutes you bake the pav, preheat the oven at 200° C/ 390° F.For a regular oven, heat both the top and bottom elements. For a microwave oven with convection mode, preheat for 15 minutes at 180° C/356° F.
- Then brush the pav buns with some milk. This gives a golden color to laadi pav.
- Place the baking tray in the center rack in a preheated oven at 200° C/ 390° F for 25 to 30 mins or till the tops turn golden and the pavs sound hollow on tapping. For baking in the microwave oven at convection mode, bake at 180° C/356° F.
- Remove them from the tray (with a spatula) and place on a wired rack or wired tray, so that they don't become softened and moist from the bottom due to heat condensation.
- Brush melted butter or spread softened butter on top of the pavs. This is an optional step.
- Serve the Pav warm or at room temperature with any curry, vegetable dish or just as plain bun maska pav (buttered rolls) served with masala chai.
- Pav can be stored in the refrigerator for about a week. Keep them in air-tight a container or a bread box.
Notes
- If the dough become sticky then add some flour and if the dough looks dry, then add some water.
- If the top surface of the bread browns quickly than place aluminum foil or parchement paper on the top. This will avoid further browning.
- Instead of kneading with hands, you can also knead the dough in a food processor or in an stand mixer with a dough hook.
- The leavening time depends on the type of yeast used. For instant and fresh yeast, 20 to 25 minutes of the first rise is enough. For dry active yeast, you will have to keep for about 45 minutes to 1 hour or more.
- If possible use unbleached all-purpose flour. You can also make pav with bread flour.
- Pav recipe can be easily halved, doubled or tripled.
Nutrition
This Pav Recipe from the archives first published in October 2014 has been updated and republished on January 2023.

Can I half the recipe
Yes you can.
Fabulous. Made these pavs following the recipe to a T. Got the best Mumbai pav – fluffy, light and so good. Thanks a lot for sharing a foolproof ladi pav recipe.
Great and thanks for the super feedback. Thanks for the rating too.
All recipes are simple and easy. I tried many recipes. Thanks for sharing your recipes
Glad to know and thanks a lot.
Hi Dasana
Thanks for sharing d recipe. Planning to try out just wanted to know if I can use the sourdough starter here also keeping it outside to proof wil it not develop a sour taste esp during summers?
Thanks
Shruti
welcome shruti. you can use a sourdough starter for the pav recipe. with the sourdough starter, there will be some sourness in the dough during these hot summers. otherwise, keep the dough for 30 to 45 minutes at room temperature for the first rise. then keep in the fridge overnight or for a day. then you can bring the dough to room temperature and make the rolls. let the rolls rise and then bake.
Hi dassana,
You mentioned that for bakery-like Pav one may use fresh yeast.. how do we make this fresh yeast?
Ruchi, fresh yeast you have to buy from outside. you will get it in any bakery or super store. it is commercially made.
Tried today, however the outer crust too hard and pav not fluffy and light as mumbai pav
Any specific brand of maida to use in usa ?
you can use bread flour which is easily available in usa. its not a brand but a type of flour used for making breads which has more gluten. but even all purpose flour which we call as maida works very well for making pav recipe. i think here its not the pav, but the yeast that is the problem. could be the quality and freshness or brand or the yeast has not got activated and proofed properly. if you have used dry active yeast or fresh yeast, then lukewarm water water is absolutely essential for the yeast to get activated. if the water is on the cooler side, the yeast won’t get activated. if the water is even slightly hotter, the yeast die. if the yeast has not got proofed well, the bread or pav won’t become fluffy and light.
Hi Dasana, I love your recipes and while I’m not much of a cook your recipes always turn out great. Just wanted to know if I doubled the flour how much yeast would have to be used. Thanks a lot.
Welcome Elaine. Glad to know this. You can double the instant yeast e.g. 3 to 4 teaspoon instant yeast.
hi, i love all your recipes. this one is wonderful and I tried today. everything went well. but the outer part became hard. how can I get soft pav. Fyi, I have used active dry yeast and followed your recipe. The 2 proofs were just perfect.please advice.
looks like the top has got baked too much and hence the hardness. you can bake for less time. since oven temperatures vary, baking can take less or more time.
Hi Dassana
I made pao using your recipe
They turned out perfect!
I started following your recipes and cooking when I relocated alone to another state for job …and none of the recipes have failed
Thank you!!!
Hi Preeti, Nice to know and thanks for sharing.
Hi. Just tried this in USA. I have a stupid question since I never did baking in my life. Are youR temperature units in Celcius or Farenhights?
AMD its alright. the temperature units are in Celsius.
Hi, wanted to get in touch with you for a super opportunity. Is there a way i can get in touch? Manas.
Manas, you can write at this email id: vegrecipesofindia@gmail.com