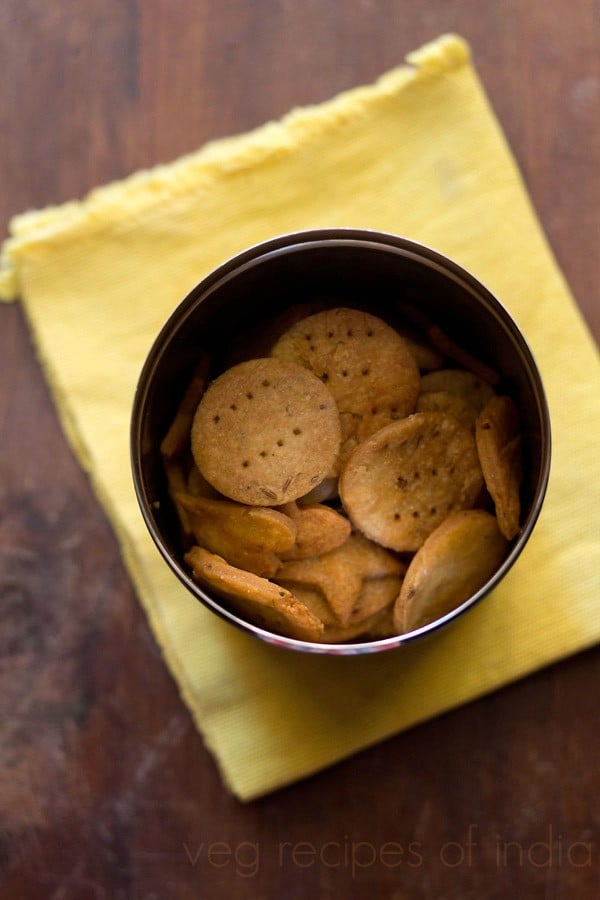
Papdi Recipe | Papri ( Fried & Baked)
Here’s a recipe for one of those Diwali Snacks, which can be made in the baked version also. Thus, making for a healthier choice too. The recipe is that of Papdi which are crisp, small flour crackers or crispy puris laced with either carom seeds, cumin seeds or both. Traditionally, these are deep-fried. But as I said, my Papdi Recipe also has a procedure to bake it. These crunchy, munchy puris are also an important ingredient in many chaat dishes like Papdi Chaat, Dahi Bhalla, Sev Puri, Bhel Puri etc.
About Papdi
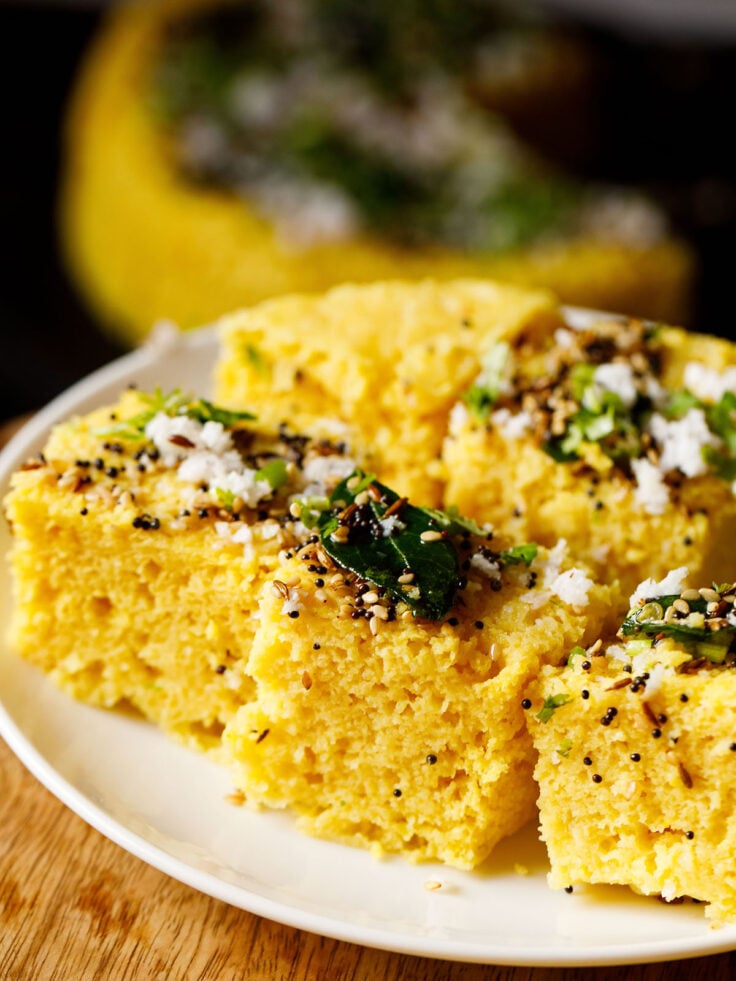
Papdi (also referred to as Papri) can be explained as small savory crispy puris or crackers, essentially made by deep-frying or baking a spiced flour dough.
The most common spices that go in a Papdi Recipe are cumin seeds (jeera), carom seeds (ajwain) or a combination of both. It is usually used to make a variety of chaats or can also be consumed as a snack, in itself.
A classic Papdi Recipe usually has all-purpose flour (maida) as the main ingredient in the dough. But there are many variations which can be prepared with just whole wheat flour (atta) or both maida and atta. My recipe has equal quantities of both these flours.
The recipe of a Papdi has minimal ingredients all together, and has quite a simple methodology too. If you follow the procedure well, it will be easy for you to make a batch of these fresh, crisp puris at home and relish with your near and dear ones. And not just Diwali, you can enjoy it in any other festival too.
More on my recipe
I usually make a good batch of Papdi, as I do not like the smell of rancid oil that’s typical in the readymade ones. Since these are fried again and again in the same oil, they are not good for health too.
But, there may be some exceptions and you might just get lucky to find nice ones available in the market too.
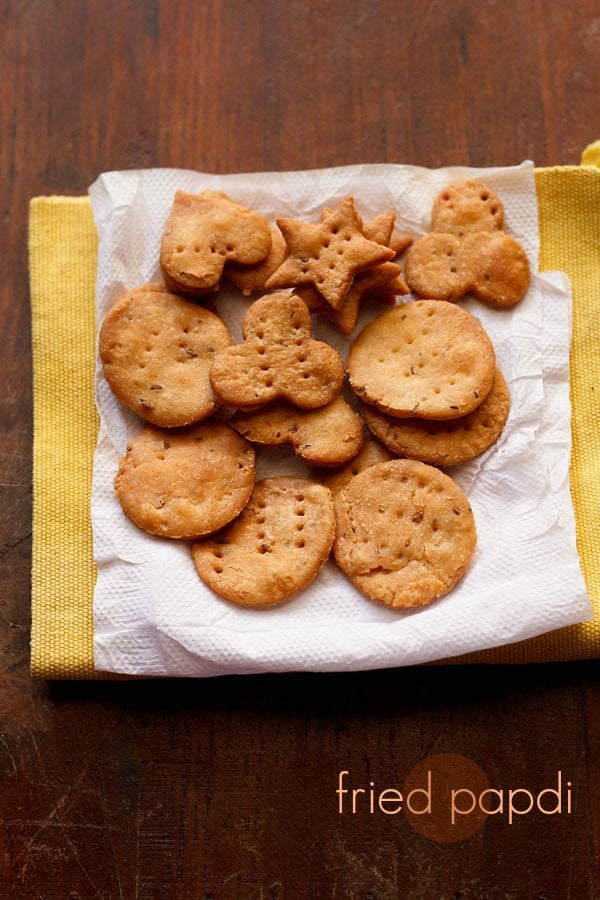
With this Papdi Recipe, I make both fried and baked versions at home. The fried ones are definitely better in texture as well as taste.
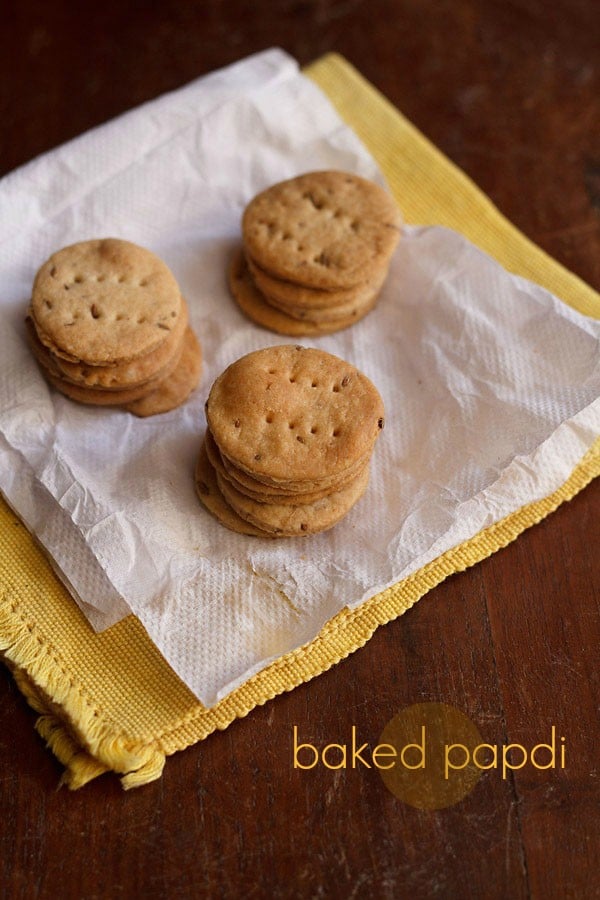
However, the baked ones make for a guilt free snack. I have also tried a lot of chaat dishes with these baked ones and they’ve turned out to be just as good.
Usually, we prefer a little flakiness in these crackers. So, I have incorporated the changes accordingly in this Papdi Recipe as well. Otherwise, you just need to knead the dough directly and then proceed with the rest of the recipe.
Make the Papdi at home, use in your favorite chaats or just have it plain with a cup of tea or as a snack. Store them in an air-tight jar or box.
How to make Papdi
Make Dough
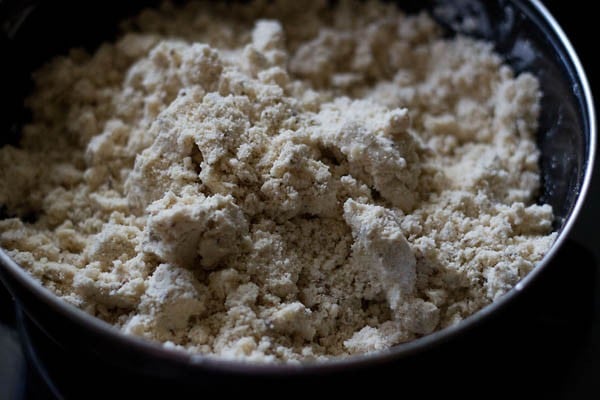
1. Mix 1 cup whole wheat flour (atta), 1 cup all-purpose flour (maida), 1 teaspoon carom seeds (ajwain), 1 teaspoon cumin seeds and salt as required.
Rub or mix 2 to 2.5 tablespoons ghee or oil in the dough till you get a breadcrumb like texture in the mixture. This method helps in making the papdis a bit flaky.
2. Add 5.5 to 6 tablespoons water or as required, and knead to a firm tight dough. Keep it covered for 30 minutes.
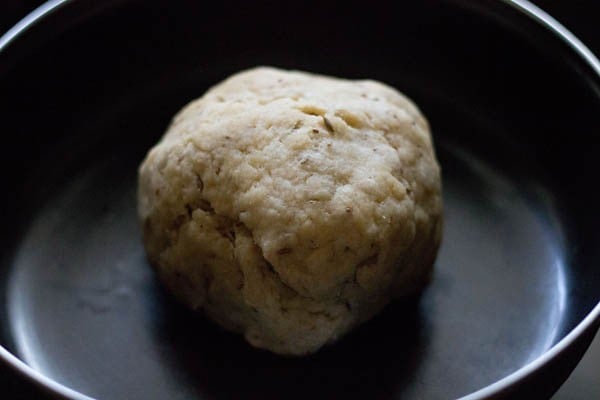
3. Knead again and then divide the dough into 4 equal portions.

Make Papdi
4. Roll each dough portion thin. Using a cookie cutter, cut rounds or different shapes. Remove the extra rolled dough and use to make the rest of the Papdi.
You can also make tiny balls from the whole dough and then roll each into a small puri. But this is time consuming. So, using the cookie cutter makes the work faster.

5. Prick the cut out Papdi with fork, so that they don’t puff while frying and become crisp.
Fry Papdi
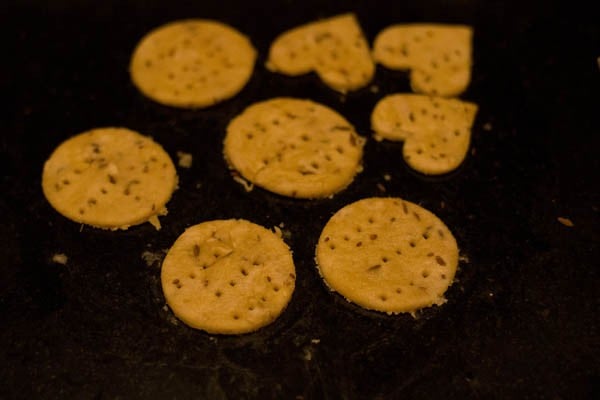
6. To fry papdi, slide them in medium hot oil and with the help of a slotted spoon, fry till golden. The sizzling in the oil stops when the papdi are fried.
After you add the papdi to the hot oil, wait for the papdi to become light golden and then turn them over. Turn over when the second side is light golden.
Fry turning over as needed until both the sides are crispy and golden. Make sure the oil is moderately hot as frying in less hot oil will make the papdis absorb more oil.
While frying in a very hot oil will make them brown faster leaving the insides undercooked.

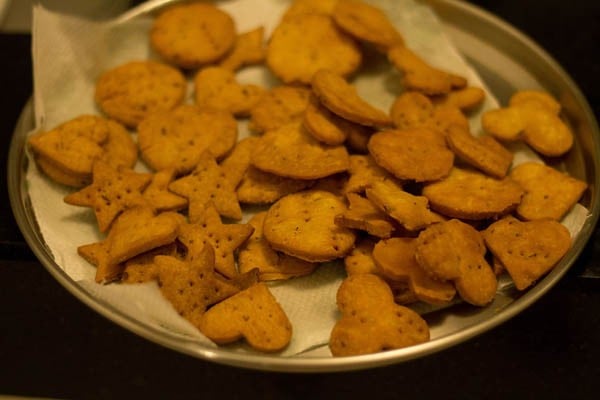
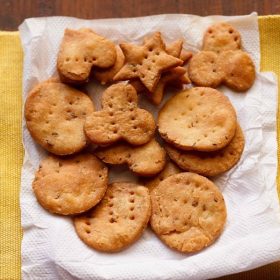
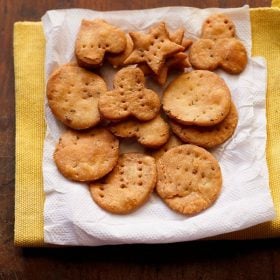
7. Drain the fried Papdi on kitchen paper towels to remove excess oil. Continue and make more in the similar way.
Bake Papdi
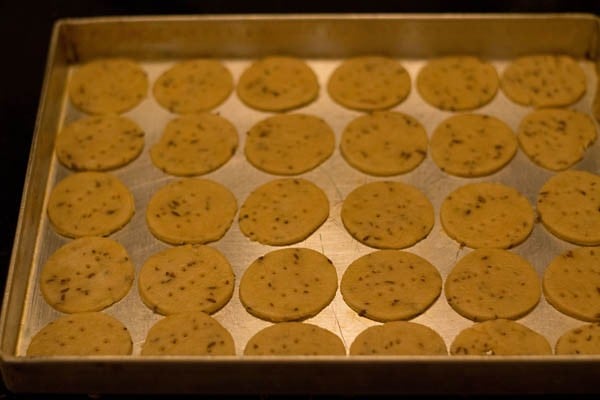
8. To bake papdi, place them in a lightly greased baking tray.
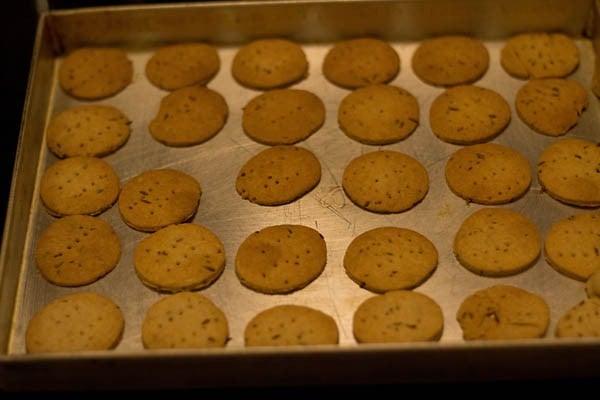
9. Bake in a preheated oven at 180 degrees C for 20 to 25 minutes or till golden. Keep an eye while baking, as sometimes they bake very quickly, especially if rolled very thin.
You can also flip each papdi (with small spatula or small tongs) after baking for 10 minutes and then place them back in the oven to bake further. This ensures that both sides are crispy and evenly baked.
10. Once both the fried and baked Papdi cool to room temperature, add in an air-tight container or jar.
Use them whenever you want to make sev puri, aloo chana chaat or dahi papdi chaat. You can also have it with a cup of hot Masala Chai. One of my favorite ways to enjoy it is to dip it in chai and then have.
Expert Tips
- You can make these Papdis with only whole wheat flour (atta) or all-purpose flour (maida). In these scenarios, the quantity of water to be added will differ. Atta will require more water while kneading, maida will require less.
- For flaky puris, rub the ghee or oil well while kneading, till you get a breadcrumb like texture in the dough mixture.
- Remember to make a tight and firm dough. It should not be soft – as a softer dough will make up for a soft and chewy texture after frying.
- Use a cookie cutter, to fasten the process of making these wafers and to get fun shapes. Otherwise, you can also make tiny balls from the dough and roll each into a small puri.
- Don’t discard the extra rolled dough. You can use it again to make the rest of the pooris.
- Make sure to keep an eye while baking the puris. If you have rolled the puris thin, they might get baked very quickly.
Step by Step Photo Guide Above
Ingredients
- 1 cup whole wheat flour (atta) * check notes
- 1 cup all-purpose flour (maida)
- 1 teaspoon cumin seeds (jeera)
- 1 teaspoon carom seeds (ajwain
- 2 or 2.5 tablespoons Ghee or 2 tablespoons oil
- 5.5 to 6 tablespoons water or add as required
- salt as required
- oil for deep frying, as required
Instructions
Making papdi dough
- Mix the whole wheat flour (atta), all purpose flour (maida), carom seeds (ajwain), cumin seeds (jeera) and salt in a large mixing bowl.
- Rub or mix ghee in the dough with your finger tips, till you get a bread crumb like texture in the mixture.
- Add water bit by bit and knead to a firm and tight dough. Keep covered for 30 minutes.
- Knead again and divide the dough into 4 equal balls.
Rolling papri
- Roll each dough ball thin with a rolling pin. Don't roll very thin.
- Using a cookie cutter, cut round or different shapes from the rolled dough.
- Remove the extra rolled dough and use it to make the rest of the papdis.
- You can also make tiny balls and then roll each into a small round puri.
- Prick the cut out papdis or small puris with fork, so that they don't puff while frying and become crisp.
Frying papdi
- Heat oil for deep frying in a kadai.
- Slid the papdi in medium hot oil and with the help of a slotted spoon, fry them till golden.
- The sizzling in the oil stops when the papdi are fried.
- Drain the papdi on paper towels to remove excess oil.
For baking papdi
- Place the papdi in a lightly greased tray.
- Bake them in a pre heated oven at 180 degrees Celsius for 20 to 25 mins or till golden.
- Keep an eye while baking, as sometimes papdi bake very quickly, especially if rolled too thin.
- Once both the fried papdi and the baked papdi are cooled, transfer them in an air tight box or jar.
- Use papdi whenever you want to make papdi chaat, sev puri, dahi papdi chaat or bhel puri.
Notes
- * You can also use only whole wheat flour or all purpose flour/maida to make the papdis. In these scenarios, the quantity of water will differ. Whole wheat flour will require more water while kneading. All purpose flour/maida will require less water.
- Remember to fry in medium hot oil. If the oil is too hot, the papdi will get browned quickly leaving the inside dough undercooked. If the oil is lightly hot, the papdi will absorb more oil.
- Ensure to knead too a firm and tight dough. So add water little at a time while kneading. If the dough becomes soft, the papdi will become soft and chewy.
- You can make half a portion of the papdi from this recipe easily by scaling it down.
- The approximate nutrition info is for 1 small papdi made from the recipe.
Nutrition
This Papdi Recipe from the archives first published in March 2014 has been updated and republished on December 2022.

I made this recipe for samosa chat. The papdi was really good , but I made a mistake at the start and made it too thick. Definitely make it very thin.
Thank you Dassanaji. Home made always taste better! You know what has gone in! Just love your recipes. Where I look for and find!
Yes agree on that and thanks for the lovely comment.
Loved it! Thank you!
Welcome!
It took a longtime for the dough to come together .. lot of kneading .. any suggestions .. Thank you
Just add some more water if the dough does not come together. Sometimes depending on the quality and texture of flour, more water will be needed.
My daughter used gram flour instead of A P flour …it turns out to be very healthy … today I’m going to prepare papdi thanks.for healthy recipe .. good luck !
Welcome Mansi. Glad to know this variation. Thanks for sharing your positive feedback.
Hi. I just want to know that if I use a microwave for baking papri, what’s d method. Thanks. Waiting for ur reply.
preeti, if you have a convection mode option in your microwave oven, then only you can bake. if there is only microwave option, then it will not work for this recipe.
I love your recipies
However my puris dont stay crisp after just after frying but not for long
I do keep them in an airtight box as soon as its cools .any tip im missing?
try to fry them more and get a nice golden color. also avoid adding too much water while kneading the dough. don’t make a soft dough. pooris will become soft. hope this helps.
Hi Amit,
This recipe came out awesome just like others that i try from your site. I just have one suggestion, it would be more useful if you could write the approximate number of papdi’s that one should expect from this recipe. It is helpful in determining how many papdi’s should be rolled approximately. Even in your other receipes like gulab jamun it will be really helpful
Other than that you rock !!! 🙂 🙂
Thanks Namita for your positive feedback and suggestion. Sometimes I mention in recipes like this. But for this one I didn’t count the number of papdis.
Thank you for the reply 🙂
Welcome Manasi
Gud afternoon Mam, just a suggestion required from u. How will it taste if these papdis are made out of Bajra (atta). Since I wanted to try out something nutritious.
Thanks 🙂
manasi, with bajra the taste and texture will be different. they won’t be flaky (khasta) and can be slightly soft too. some crispness will be there. i had baked bajra papdis from market once and though the taste was good, the texture was dense and chewy. could be as they were baked. but frying will give a better texture than baked ones.
can we make them with the traditional roti atta. will they turn out crispy?
you can use roti atta completely. they will still turn out good.
I love your recipes. Do u have an app?
thankyou sonal we don’t have an app at the moment.
I love all ur recipes.. Thanks fr posting it..and yesy papdi came up really well:):)
thankyou sweta 🙂 pleased to know you liked the papdi.
hi,I tried almost all your recipes. Must say they turn out really yummy and tasty. Can you tell me what rack to keep them in otg. And how long can we store them for.many thanks.
thanks rashmi. keep in the center rack. stays good for a month in an air tight dabba or jar.
I made some of the recipes and they always turned out exotic and am going to try some more I will keep u posted thanks for this site.
welcome jamuna. glad to know this. thanks for sharing positive feedback on recipes.
Hey. I tried ur recipe of veg makkhanwale it was sumptous. Everybody enjoyed, thanx
welcome zeenat. glad to know this. thanks for sharing positive feedback on veg makhanwala.
Hi Dassana,
I tried the baked one, it came out fine but bit hard(not soft as fried ones). Does it come like that or I did something wrong?
hi bhavana, the baked papdis will be a little hard. the fried ones are softer. you have not done anything wrong 🙂
Quick n tasty ……will like to now more such quick recipes. ….
thanks jagruti. check this collection of 15 minute recipes:
https://www.vegrecipesofindia.com/recipe/15-minutes-recipes/
Nice healthy baked papdi receipe, I would like know more receipe. can bake papadi’s in microwave.
please revert back
thanks pallavi. you can not make it in the microwave mode. but if you have convection mode in your oven then you can baked them.
Hi Dassana Amit,
Till today I used to make fried version of papdi. But today I got to know healthy version I.e.baked one.
I sometimes prepare papadi by adding methi leaves. It tastes good with masala tea.
and one more thing… I luv the way u narrate tye recipes. 🙂
thanks shweta. glad to know this.
Hi. I liked ur site. I am eagerly waiting to try much recipes. I dont have oven at home so my much fud preparation is in gas stove. I am happy that u have mentioned on both type of preparation. I would like to know what oil you use for cooking. At my house,we use palm oil. Is it a healthy one. My husband have cholesterol. So I am afraid to prepare oily food.
i use peanut oil or sunflower oil or rice bran oil for frying. sometimes i also use mustard oil. i don’t use palm oil not due to health issues, but because orangutans are killed in the whole process of making palm oil in countries like indonesia, malaysia. the process also causes a lot of deforestation. you will get lot of info about this on the web.
Can I use these papadis for Papdi Chaat ?
yes you can make papdi chaat with these papdis. they taste very good in papdi chaat.
Hi Amit
Thanks for sharing this excellent healthy recipe of papadi.I think this is one of the best recipe
i have ever seen .I will try baked one and once i enjoy with my family and friends i will share
with them this wonderful recipe and more.
Keep it up !!!
thanks bharat. do give the feedback when possible.
if in a microwave oven, i donot wish to heat it up at 180 degrees and keep for 45 min at convection mode, any ideas will it be done in normal mode for 10mins?
by normal mode, you mean microwave mode? i would not suggest to make these in the microwave mode. they can become dry and chewy.
Very nice recipe Dassana, luv the baked version. Thanks for sharing this recipe with us!
welcome mullai.
Hi Dassana.
Def i am going to try this but baked ones . Its looking yummy.
Can u pls tell me how to make gol gappe.
And one more important thing please advise some protein rich eggless breakfast recipes.
Thanks in advance
Meenu
pani puri or golgappe is already posted on the blog. you can search through the google search right on top or through the categories. protein rich breakfasts would be to use beans or sprouts, millets, or paneer or yogurt or milk in the breakfast recipes that you make.
Hello Ms. Dassana,
Your recipes are great ! As for the baked version, which oven do you use ? The microwave cum convection oven that I have, doesnt bake properly. I want to buy a new oven for baking snacks and cakes. Could you please suggest whether I should go for simply a convection oven or a microwave cum convection oven or an OTG..It would be really helpful if you could suggest which brand and model no to go for.
Thanks,
Preeti Agrawal
if you plan to do a lot of baking than and OTG is a good investment. i am using a basic philips OTG. i also have a microwave and convection oven of IFB brand. this also bakes well. but since i already have an OTG, i prefer baking in it, rather than in the microwave oven. baking is more uniform in an OTG. whereas in the microwave, the baking was good, but i would have issues with the crust of breads and cakes getting browned quickly. go for any good brand of OTG.