Kanda Bhaji | Onion Bhaji
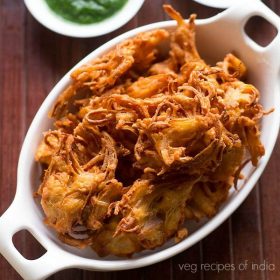
Kanda Bhaji recipe with step by step photos. Kanda Bhaji are fried onion fritters. These crisp fritters are prepared mainly with onion and gram flour (besan). They make for a good tea time snack served with a side of green chutney or tomato ketchup.
Onion bhaji is a popular street food snack in Maharashtra. There are many variations to preparing them. I am sharing here my mom’s recipe which she has been making for many years now.
To prepare Kanda Bhaji, does not take much time and gets done in less than 30 minutes. Bhaji is also known as pakoras in North India and bajji in South India.
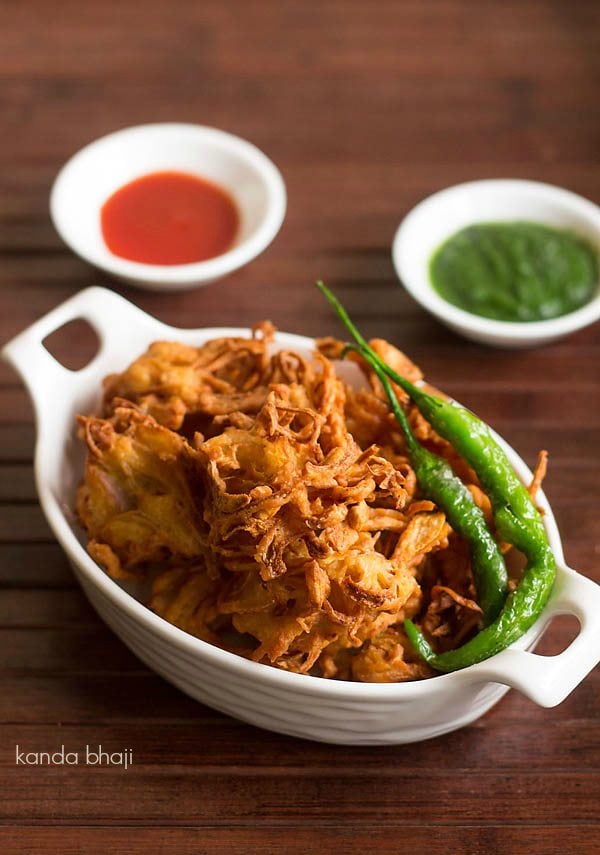
Most Indians are fond of pakoras and hence we get to see a Variety of Pakoda made here. While this recipe just uses two main ingredients for the batter, there are quite a number of variations to make onion fritters in different parts of India.
Some Variations
- Onion Pakoda – North Indian style
- Ulli Vada – Kerala style
- Onion Bajji – South Indian crispy and soft onion rings.
The South Indian style onion fritters has rice flour, curry leaves etc added. At some places in Mumbai, you also get green chillies or coriander leaves or crushed coriander seeds added to the fritters.
Usually Kanda Bhaji has a more crisp texture as compared to other varieties of onion pakoda, as the ratio of gram flour to onions is less. Kanda Bhaji is also known as Khekda Bhaji, due to its resemblance to crabs 🙂
Kanda Bhaji is crisp, yet you would get a hint of soft, sweet flavor coming from the onions. This recipe has no spices added, yet these fritters are flavorful. Sometimes simple recipes brings out the best flavors.
Serve Kanda Bhaji as a tea time snack with some hot Masala Chai. You could also make this snack easily while you have guests at home.
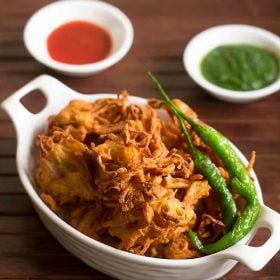
You can serve Kanda Bhaji with a spicy green chutney or Tomato Ketchup and a few fried & salted green chilies.
How to make Kanda Bhaji
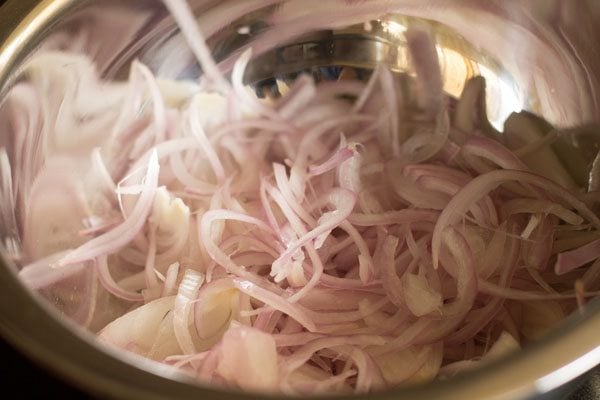
1. Slice 1 large onion thinly and place in a mixing bowl. You should be able to get 1 cup of thinly sliced onions.
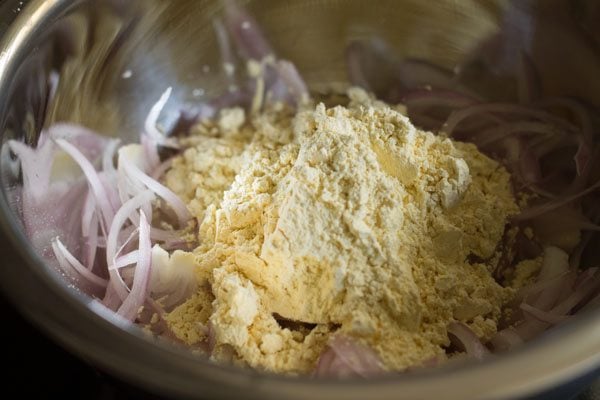
2. Add ½ cup of gram flour (besan) to the sliced onions.
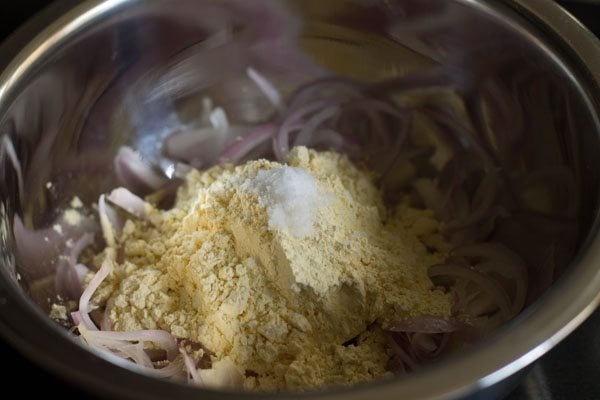
3. Add 1 teaspoon of salt or as per your taste. You can even add less salt, but these pakoras taste better when they are a bit salty.
For a Mumbai style kanda bhaji version, you can even add 2 teaspoons of coarsely crushed coriander seeds at this step. Crush the coriander seeds coarsely in a mortar-pestle.
4. Add 1 teaspoon of oil to this mixture. The addition of oil makes these pakoras crisp and also helps in less absorption of oil while frying the bhajis.
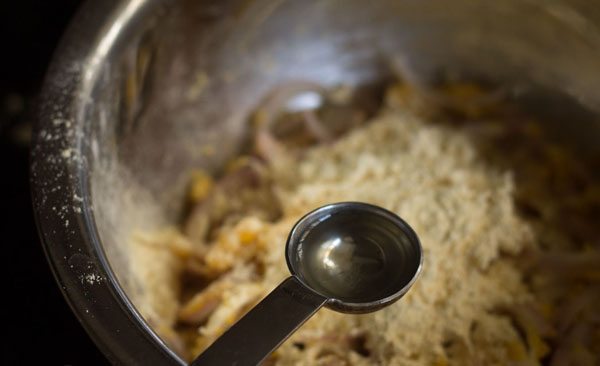
5. With your hands mix everything very well. Allow the mixture to rest for 5 to 6 minutes as the onions would leave moisture. The mixture shouldn’t be too dry nor moist.
If the mixture looks too moist then add 1 to 2 teaspoons of gram flour (besan). If it looks dry, then allow it to rest for a couple of more minutes.
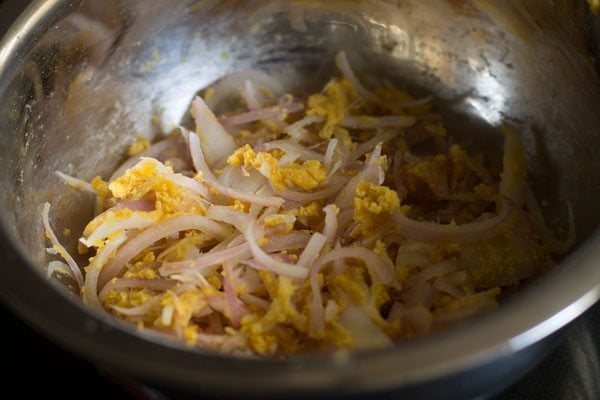
Frying Onion Bhaji
6. Heat oil for deep frying in a kadai or a deep pan. You can use any neutral-flavored oil.
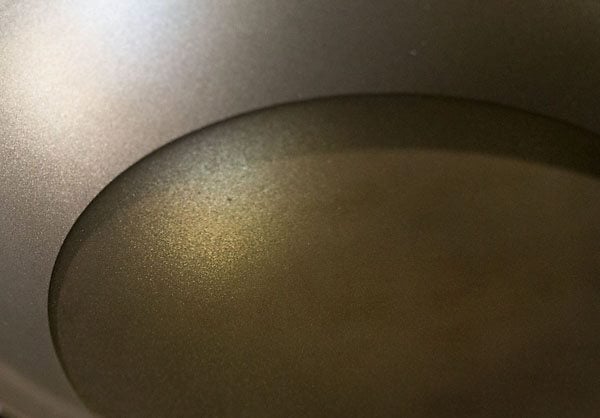
7. For crispy bhaji ensure the oil is hot when you start frying. You could do a small test by adding a pinch of batter to the oil. As right oil temperature for frying is very crucial.
If it does not rise to the surface that means the oil is not hot. So increase the heat to make the oil hot.
If in case the oil becomes very hot the bhajis will get browned quickly and can get burnt also. They will also rise to the surface very quickly.
If it rises smoothly and steadily, then the oil is hot enough for bhaji to be fried. Add spoonfuls of the batter to the moderately hot oil. Fry the bhajis on a medium heat or else they won’t fry evenly.
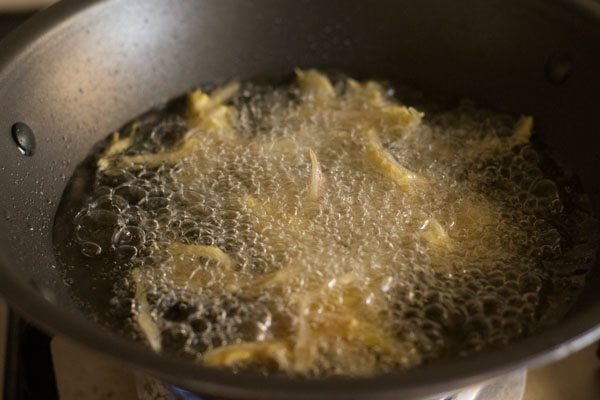
8. When one side is partly cooked and light golden, then flip the bhajis with a slotted spoon.
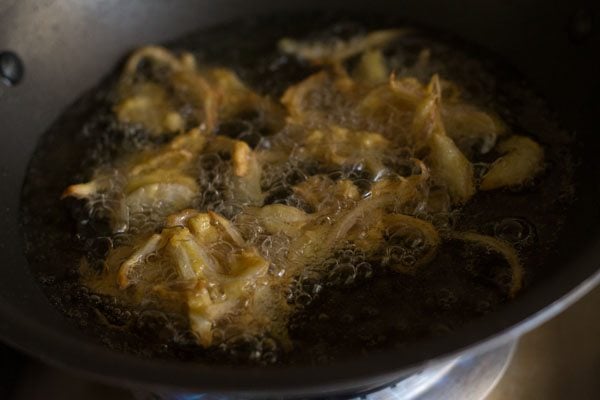
9. Flip a couple of times more and fry them till they become crisp and golden. Fry few kanda bhajis at a time in batches. Don’t overcrowd the pan while frying.
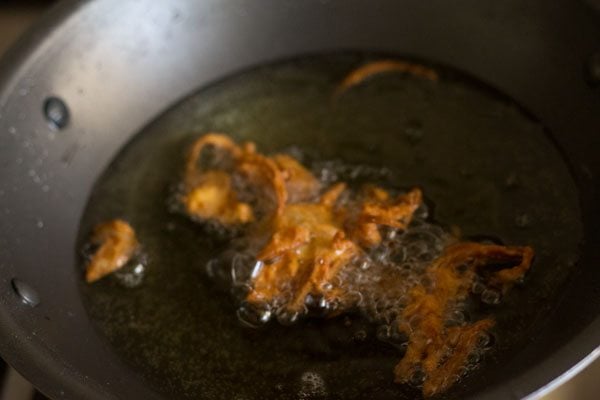
10. Remove the kanda bhajis with a slotted spoon and place on absorbent kitchen paper napkins or kitchen paper towels. In the same way fry the rest of onion bhaji in batches.
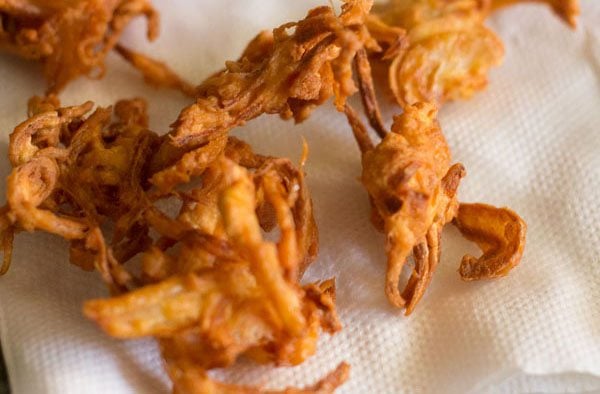
11. Serve Kanda Bhaji hot with fried salted green chilies, Mint Chutney or mint coriander chutney or tomato ketchup.
For the fried green chilies, slit them keeping the entire green chili intact. Fry them in the same oil, till their color changes. Place them on absorbent paper napkins. Sprinkle a few pinches of salt on the green chilies and mix very well.
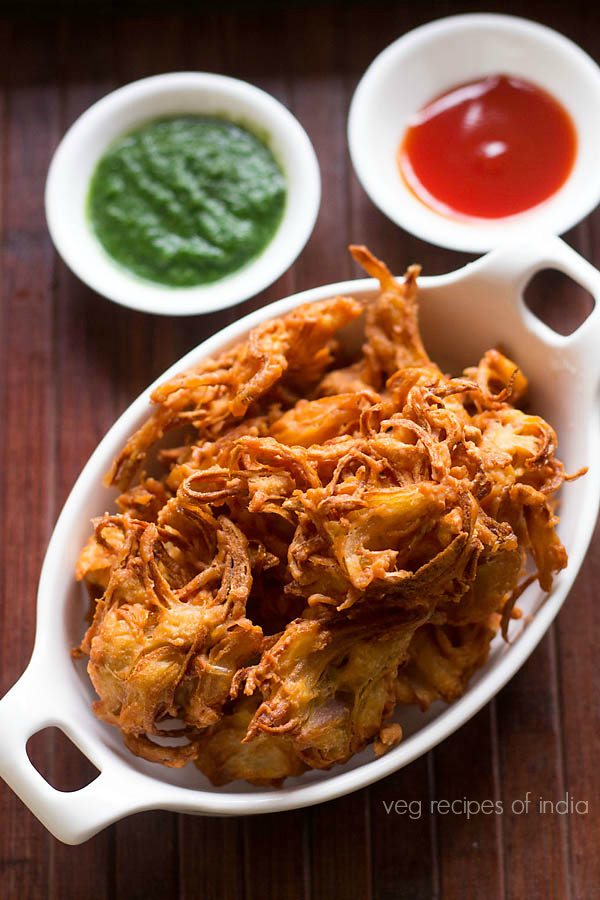
Step by Step Photo Guide Above
Ingredients
- 1 cup thinly sliced onions or 1 large onion, sliced thinly (kanda)
- ½ cup besan (gram flour or chickpea flour)
- 1 teaspoon oil to mix in the bhaji batter
- 1 teaspoon salt or add as per taste
- oil for deep frying
Instructions
making kanda bhaji batter
- Slice the onions thinly and place in a mixing bowl or vessel.
- Add 1/2 cup of besan (gram flour) to the sliced onions.
- Sprinkle 1 teaspoon of salt or as required.
- Add 1 teaspoon of oil to this mixture. You can even add less salt, but these pakoras taste better when they are a bit salty.
- With your finger tips mix the besan, salt and oil very well with the onions well. Allow the mixture to rest for 5 to 6 mins, as the onions would leave moisture. If the mixture looks too moist then add 1 to 2 teaspoons more of the gram flour.
frying kanda bhaji
- Heat oil for deep frying in a deep pan/vessel or kadai.
- For crispy bhajis ensure the oil is hot. You could do a small test by adding a pinch of batter to the oil if it rises smoothly and gradually, then add spoonfuls of the batter to the hot oil. Fry the kanda bhajis on a medium flame, else they won’t fry evenly.
- While frying, flip the bhajis with a slotted spoon. Fry few bhajis at a time.
- Fry them till they turn crisp and golden brown.
- Remove the onion bhaji with a slotted spoon and place on absorbent kitchen napkins or kitchen paper towels.
- In the same way fry the rest of onion bhaji.
- Serve hot with fried green chilies, spicy green chutney or tomato ketchup.
Notes
- Fry the kanda bhajis on a medium heat. If the oil is not hot enough, the bhajis will absorb too much of oil and become soggy. If fried in very hot oil, then they will get browned quickly from the top leaving the onions uncooked from inside.
- There is no need to add water to the pakora batter as the onions leave their juices.
This Kanda Bhaji Post from the blog archives, first published in July 2016 has been republished and updated on December 2022.

I am a huge onion pakoda fan but unfortunately never could make it as we get in the market. And ever since the lockdown has started I could not eat from the thelas. And whenever I would make, it would turn out into a disaster. But I am fortunate enough to find the right recipe and for the first time ever I made the perfect pakodas
Good to know and thanks for sharing your experience and feedback. Thanks for the rating too. Happy Cooking.
I tried it today.. Very very tasty..
thank you.
Nice recipe
thanks pooja.
Hello Sir
Receipe of kanda bhaji is very nice
thanks.
Awsome is d word for u yaar?too good ? just keep it up?
thanks akanksha for your kind words
I ever tried spicy pakoras this week i try your recipe.i hope it can make like this
thanks shaista 🙂 hope you liked the kanda bhaji recipe.
Nothing like these in monsoon. Whenever I try these either all the pakoris stick together or they are not crisp enough. Going to try your recipe this sunday,hope I can make it like this.
Thnaks.
surely try and dont forget to share your feedback on the kanda bhaji 🙂 welcome.
My bhajis don’t become crispy…
Where I go wrong???
hummy, fry in hot oil. if you fry in oil which is not hot then kanda bhaji will not be crispy.
Can we make this in air fryer…if yes how what would be the changes in the recipe
you can. there are no changes in the recipe as such, since there is no thick or medium batter consistency. so you can make these in an air fryer.
good one…
thank you
thanks for the share
welcome dipika 🙂