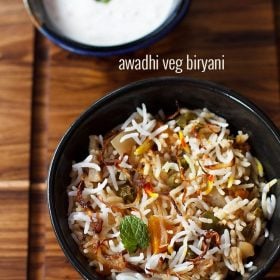
Lucknowi Biryani | Awadhi Biryani (Veg)
Veg Lucknowi biryani recipe with step by step photos – aromatic, light, mild and a subtle flavored Awadhi dum biryani made with mix vegetables. Awadhi biryani is also called as Lucknowi biryani. It is a satisfying and healthy dish that features fresh veggies simmered in a rich gravy, then layered with aromatic rice and dum cooked to perfection.
After getting a lot of requests for Awadhi biryani, I am finally sharing my vegetarian version. I first learned the Awadhi style of cooking in my home science cooking training and we did make some recipes from the Awadhi cuisine. I still remember me and a fellow student were given a project on Awadhi cuisine, which we had to present to the whole class.
Like most dum cooked biryani recipe, Awadhi biryani also takes time to prepare. the taste & flavor of Awadhi biryani is very different from the Hyderabadi biryani or the South Indian biryani varieties like Ambur biryani, Kerala biryani.
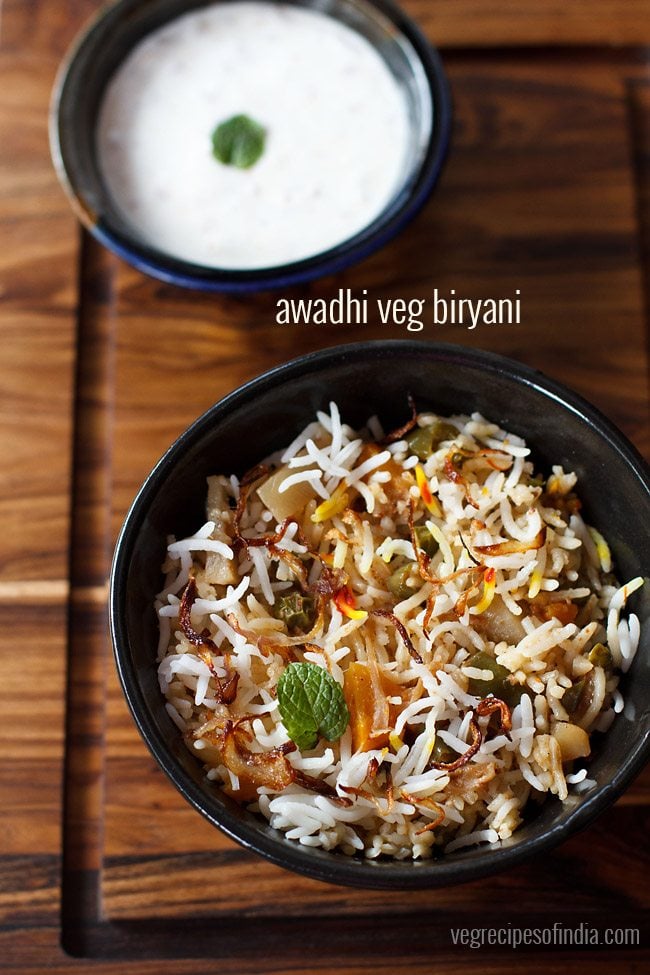
All the spices, flavorings, gets blended very well with each other in this dish. If you are a biryani lover, then you should try Awadhi biryani.
There can be minor variations in the recipe as to the way each household prepares it. Here I am sharing the way I prepare this Lucknowi biryani.
Tips for making Lucknowi biryani
- Being a vegetarian, I have used mix veggies, but you can also use paneer, soy chunks and tofu to prepare this dum biryani.
- Generally sella basmati rice (parboiled basmati rice) is used to prepare this biryani. Though you can also use a good quality aged basmati rice. I do get sella basmati rice easily available here, so I use it while preparing this veg Awadhi biryani.
- Yellow chilli powder is added in Lucknowi biryani. Since yellow chilli powder is not easily available everywhere, I have used red chilli powder. Also I have kept the recipe such that everyone can prepare it with the ingredients easily available.
- Rose water or kewra water or meetha ittar is also added. If you do not have rose water, then you can also use dried rose petals while layering. Both saffron and rose water or kewra water are essential ingredients. So do not skip them.
I have divided the step by step post in three parts – preparing veg gravy, cooking rice and layering. You can choose to cook the veg gravy or cook the rice first. If cooking the rice first, then strain the rice and keep aside.
Serve Lucknowi biryani with hot raita or a korma or shorba gravy(side gravy recipe for biryani, pulao).
How to make Awadhi Biryani
Cooking veg gravy
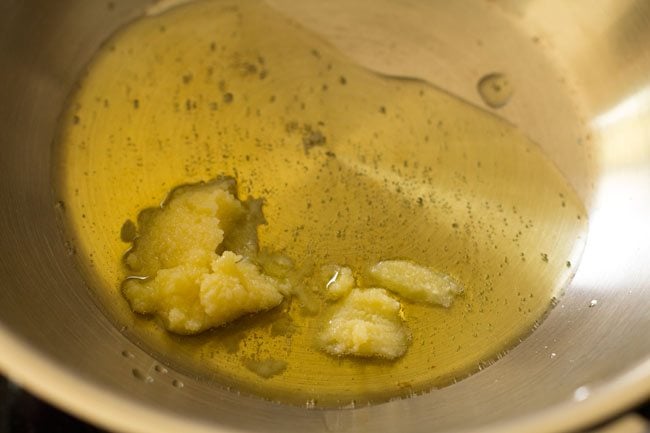
1. Heat 2 tablespoons of ghee in a kadai or pan.
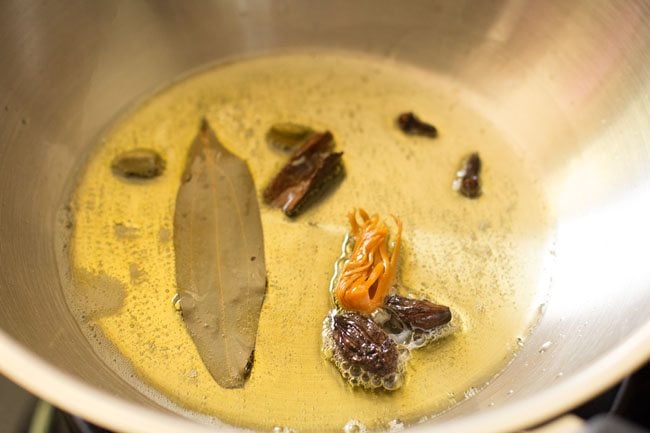
2. Then add the following spices and let them splutter and become aromatic – 1 tej patta (Indian bay leaf), 2 cloves, 1 inch cinnamon, 2 black cardamoms, 1 mace flower and 2 green cardamoms.
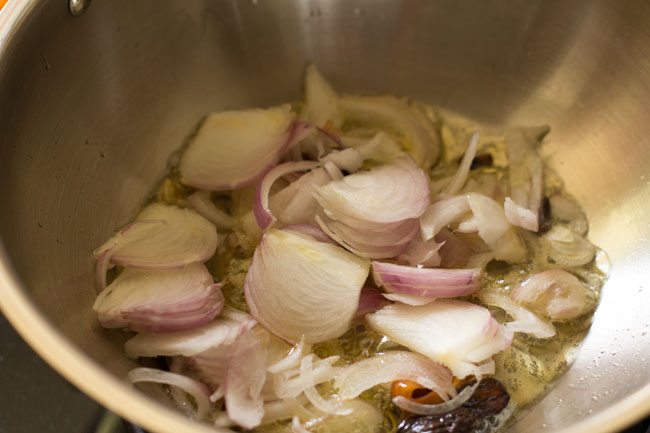
3. Next add ¾ cup of thinly sliced onions.
4. Begin to saute on a low to medium heat stirring often.
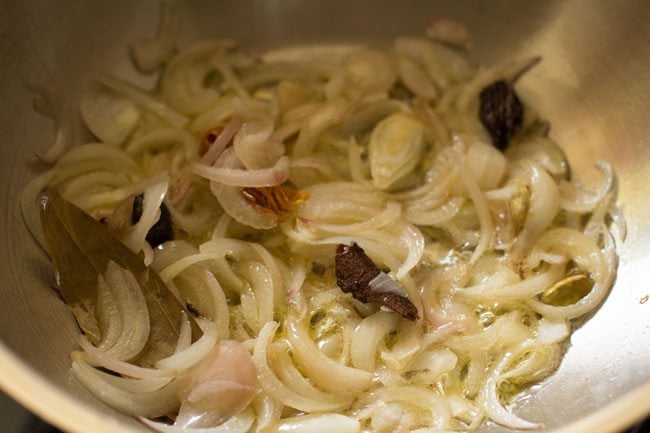
5. Saute till the onions begin to get golden.
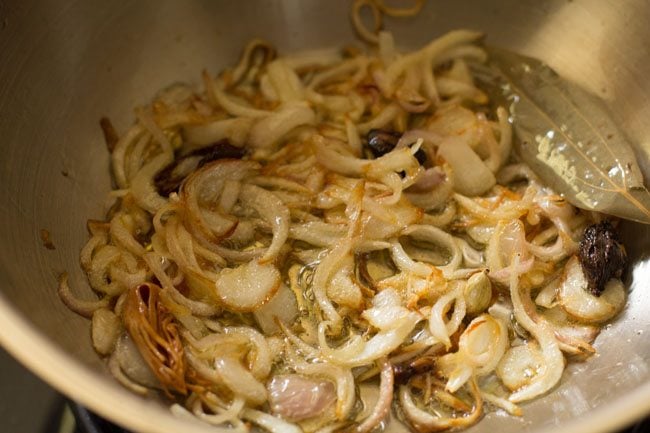
6. When the onions get golden, then add 1 teaspoon ginger-garlic paste.
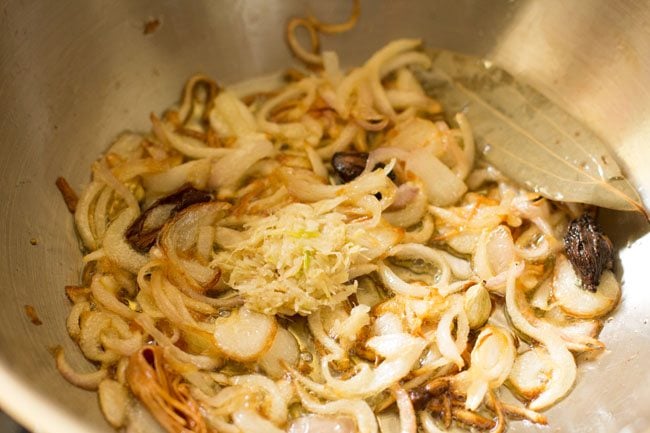
7. Mix well and saute for a few seconds or till the raw aroma of ginger-garlic goes away.
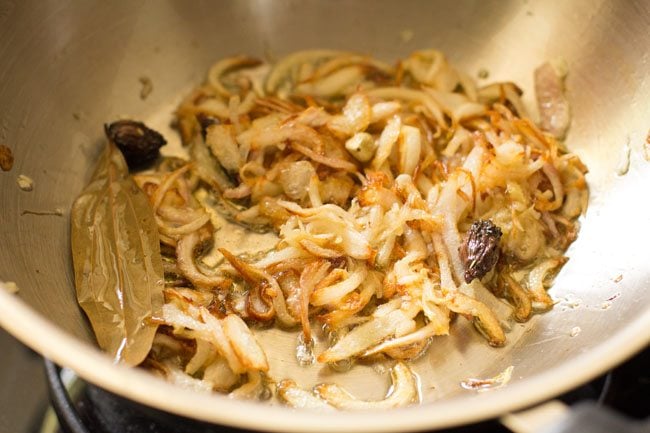
8. Now add 2 to 2.5 cups chopped mix veggies and ⅓ cup green peas. You can add veggies like carrots, potato, cauliflower, capsicum, french beans, mushrooms. I have added carrots, capsicum, green peas, french beans and potatoes.
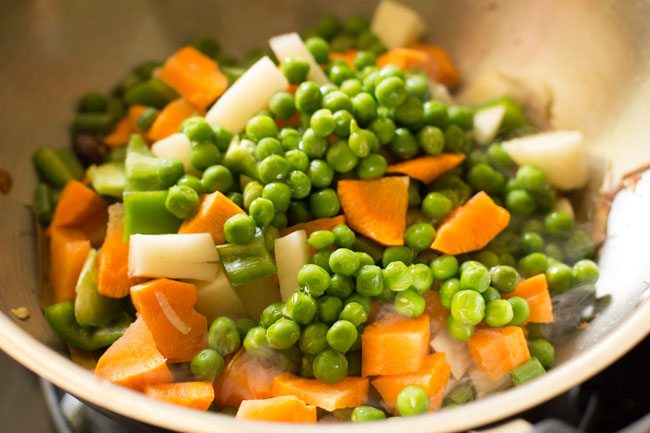
9. Stir and mix the veggies very well.
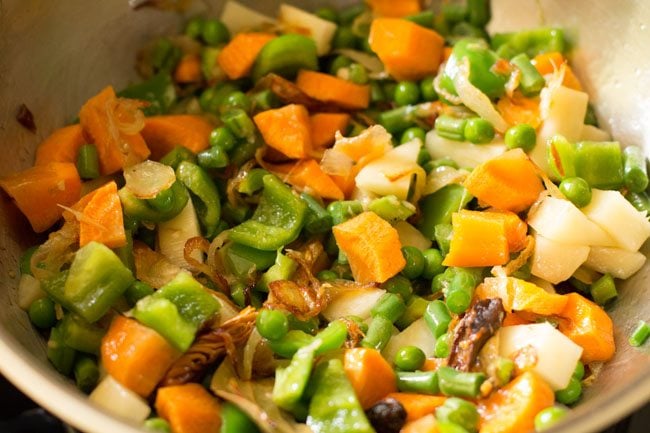
10. Add 1 teaspoon of red chili powder or yellow chili powder. Stir again and mix very well.
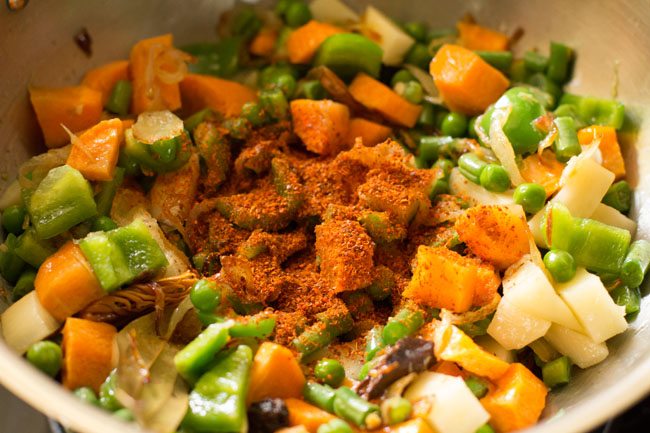
11. Then add 1 teaspoon garam masala powder – do make sure that the garam masala powder has coriander seeds in it. You can also use biryani masala.
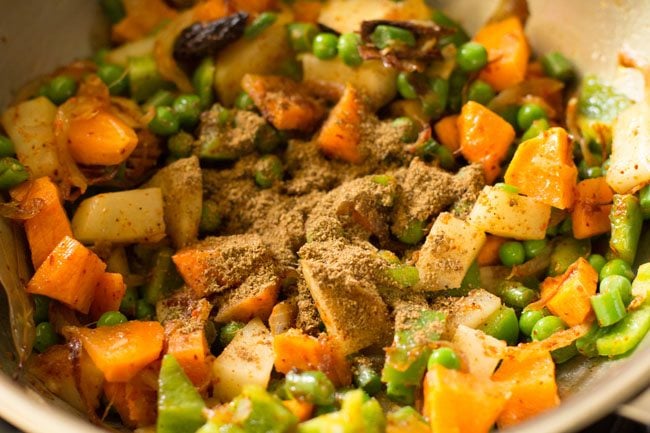
12. Stir and mix again.
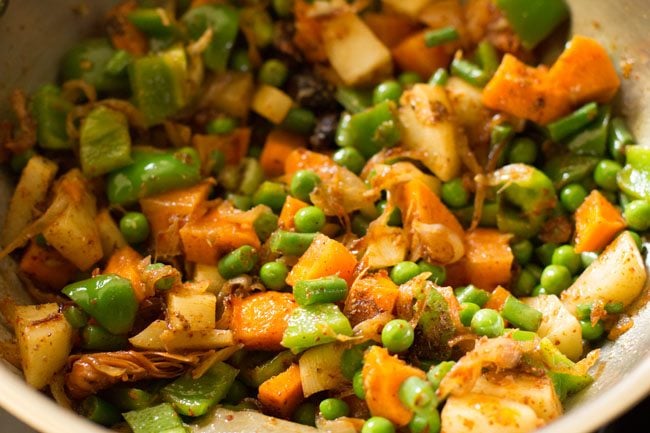
13. Keep the heat to a low and add ¼ cup fresh curd (yogurt)
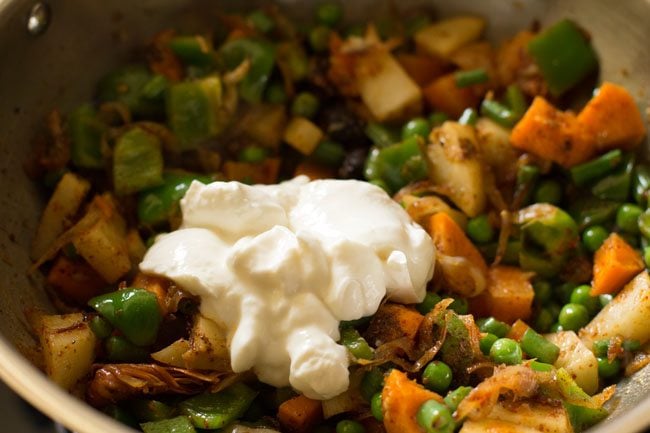
14. As soon as you add curd, mix it very well with the veggies.
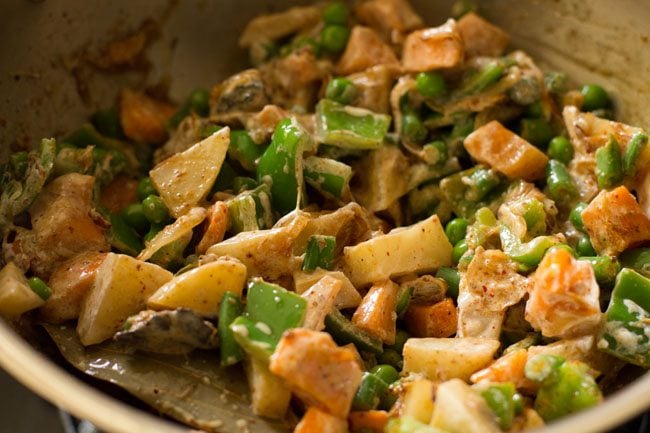
15. Then add 1 cup of water and stir. You can also add blanched almonds if you want in the gravy.
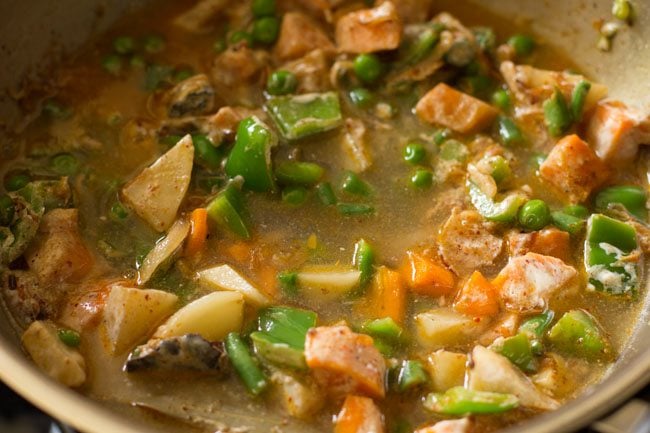
16. Season with salt as per taste.
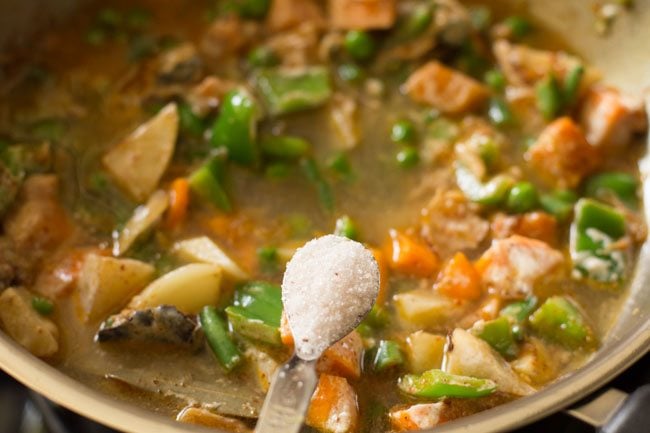
17. Stir and mix very well.
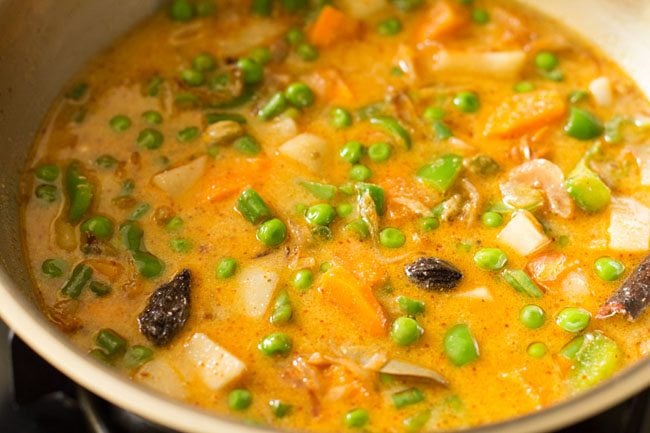
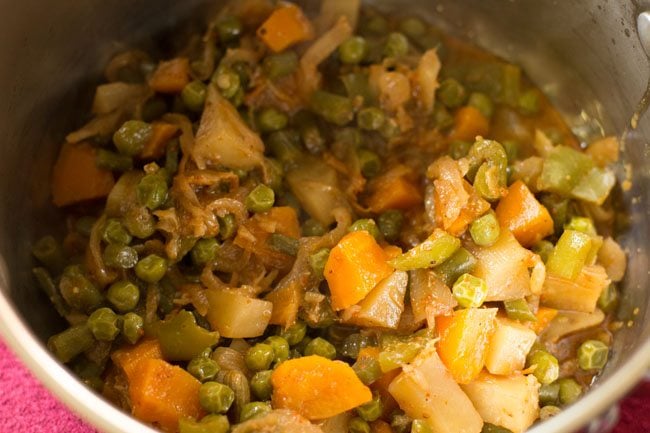
18. Cover the pan with its lid and simmer on a low to medium heat, till the veggies are almost cooked.
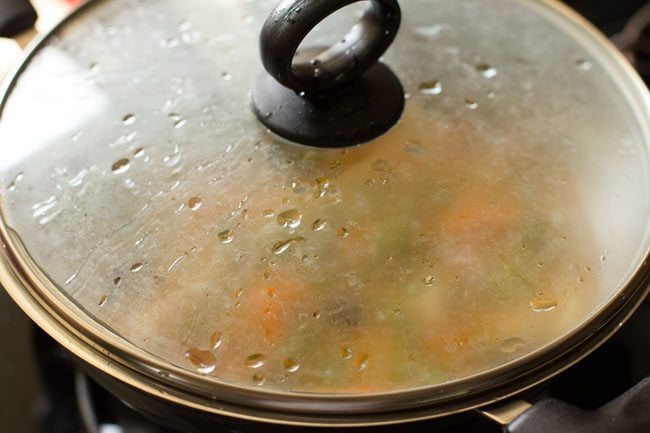
19. By the time the veggies are done, the gravy will also thicken and reduce. Do not overcook the veggies.
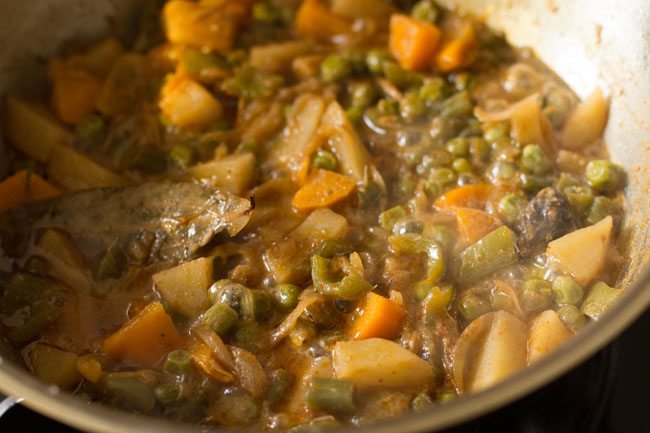
20. Layer the veg gravy in the pan in which you will be making the biryani. Remove all the whole spices from the gravy. Do use a thick bottomed heavy pan or pot. Keep aside.
Prepping and cooking rice for Lucknowi biryani
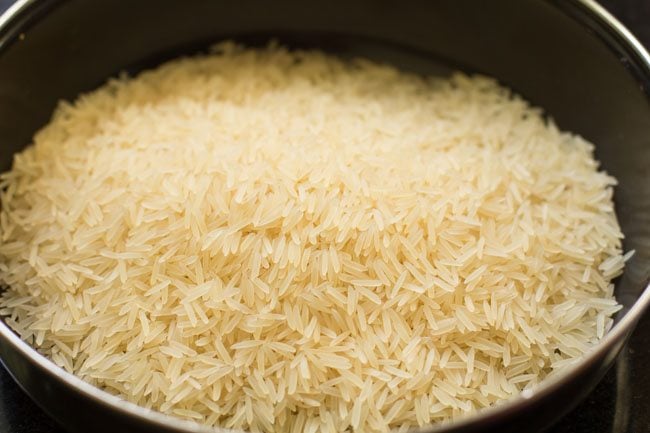
1. In a bowl take 1.5 cups of sella basmati rice (300 grams). If you do not have sella basmati rice, then use good quality and aged basmati rice.
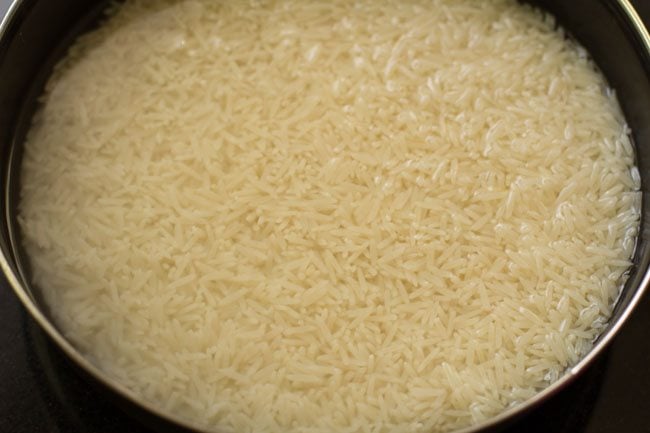
2. Rinse very well till the water runs clear of starch and soak sella basmati rice for 1 hour. If using basmati rice, then soak for 30 minutes. When the rice is soaking, you can prepare the veg gravy.
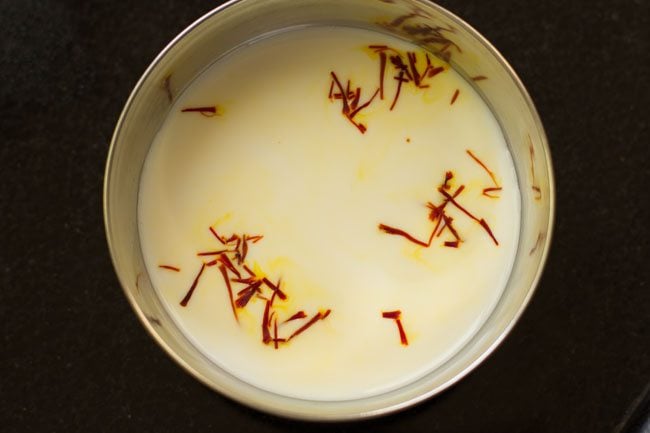
3. Also soak 1 pinch of saffron strands in ⅓ cup warm milk for 15 to 20 minutes.
4. Heat 5 to 6 cups water in a large pot or pan along with 1 teaspoon salt and the following spices – 1 tej patta (Indian bay leaf), 2 green cardamoms, ½ inch cinnamon and 2 cloves.
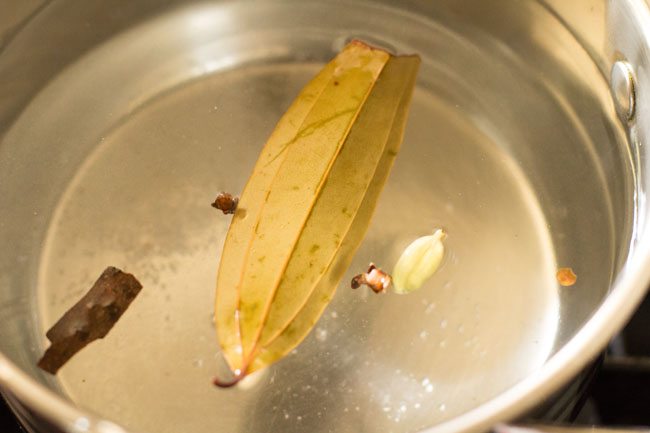
5. Bring this water to a rapid boil on a high heat.
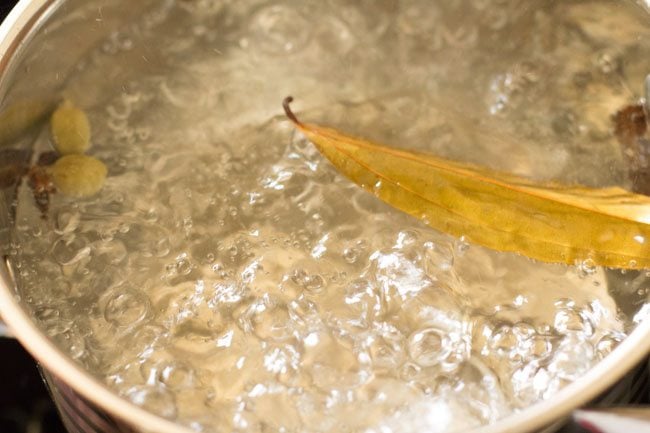
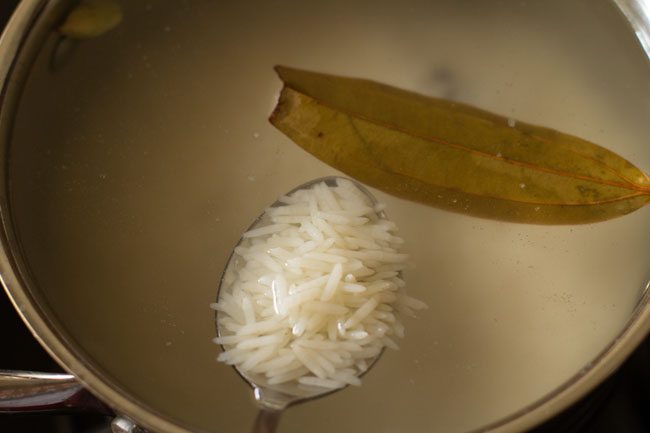
6. When the water comes to a boil, add the rice. You can also add a few drops of lemon juice while the rice is cooking. Check the taste of the water and it should be slightly salty.
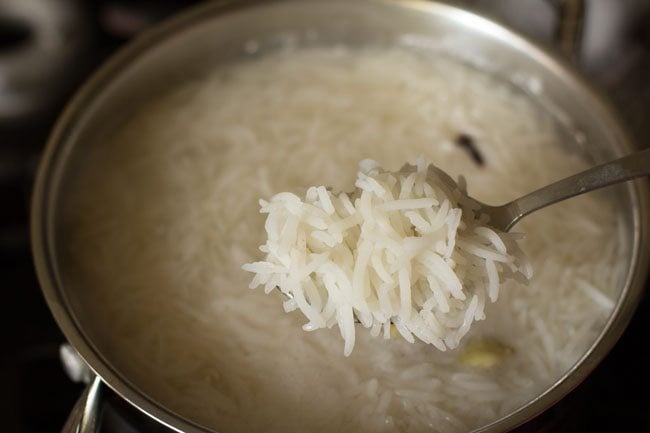
7. Continue to cook on a high heat without the lid till the rice is ¾th or 75% cooked.
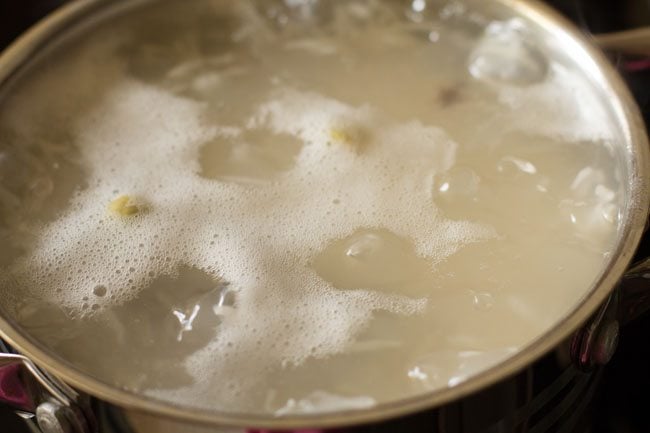
8. There should be some bite in the rice grains and they should not be completely cooked.
Layering and dum cooking Lucknowi biryani
1. Now with a strainer take the 75% cooked rice grains and drain well to remove the water. Remove the whole spices from the rice if you see them. There should be no whole spices in the rice as well as in the vegetable gravy.
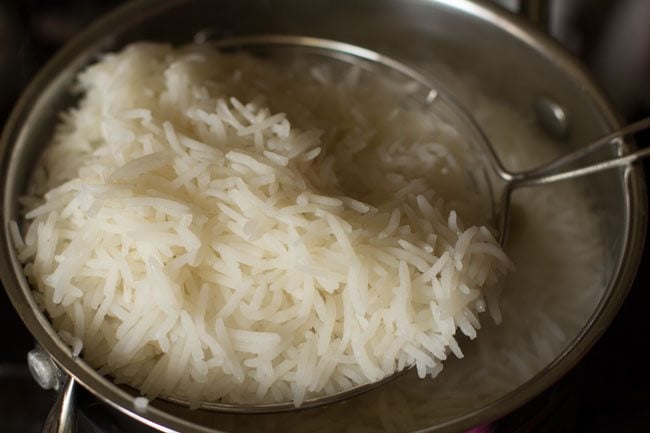
2. Layer the veg gravy with the rice.
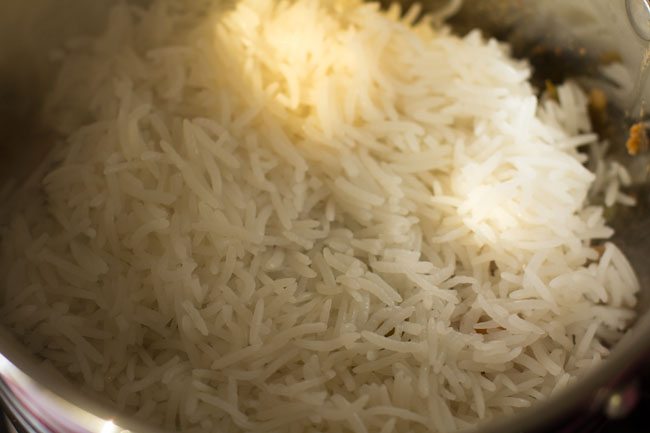
3. This way remove all the rice with the help of the strainer and then layer the veg gravy with the rice.
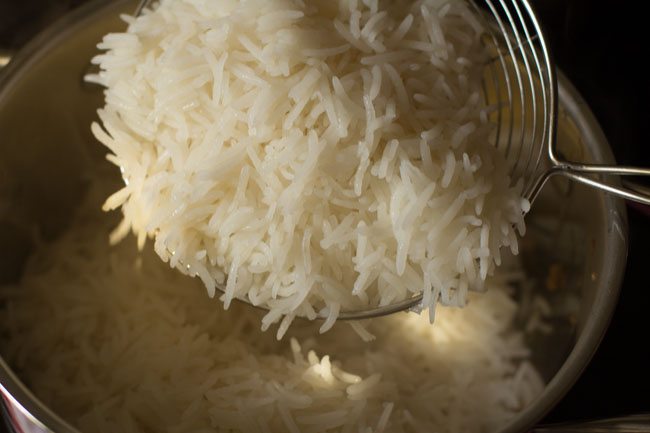
4. I made 2 layers of the veg gravy and rice. If you want, you can even make 4 layers.
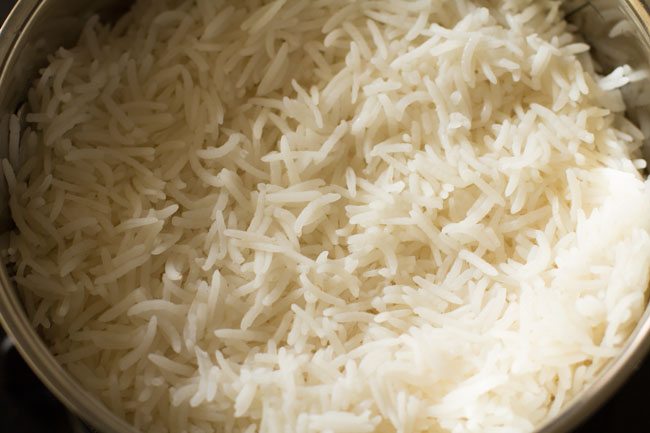
5. Lastly add the saffron soaked milk all over the rice layer.
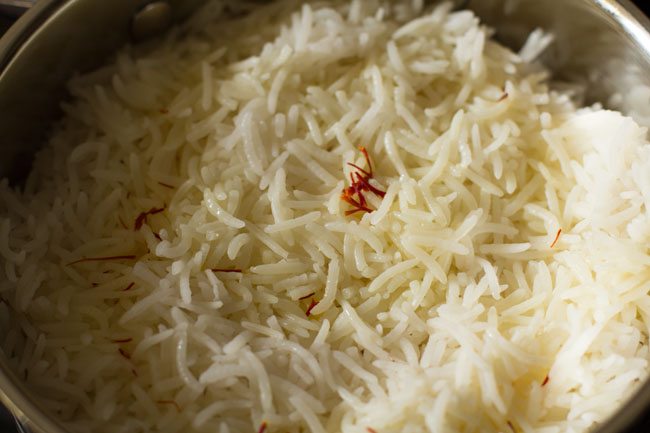
5. Then take ⅓ cup of the stock in which the rice was cooked and pour it gently along the edges of the pan. If you have used regular basmati rice then add ¼ cup of the rice stock.
In case the rice has been cooked more and is about 90% cooked, then do not add any rice stock.
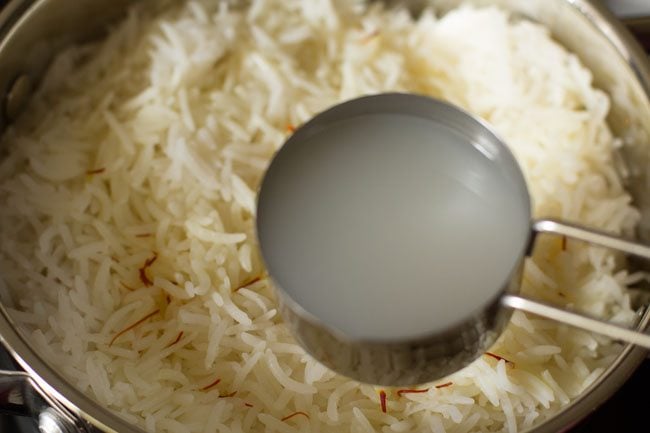
6. Next add 2 teaspoons kewra water or rose water. You can also add meetha ittar or biryani ittar.
If using ittar, then just add a few drops or mix the ittar with 1 to 2 teaspoon water and then sprinkle the water on the rice.
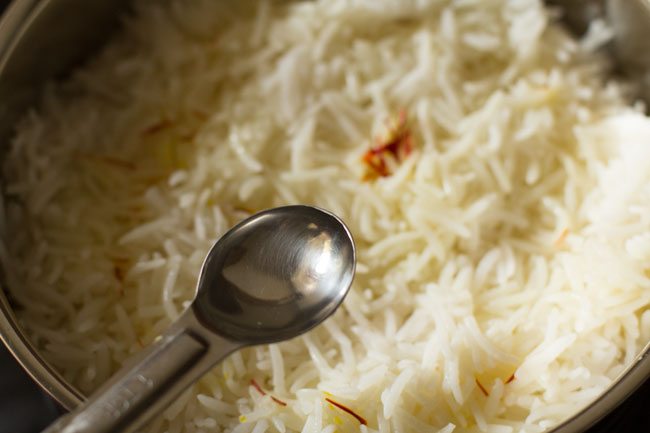
7. Dot with ½ to 1 tablespoon ghee all over the rice.
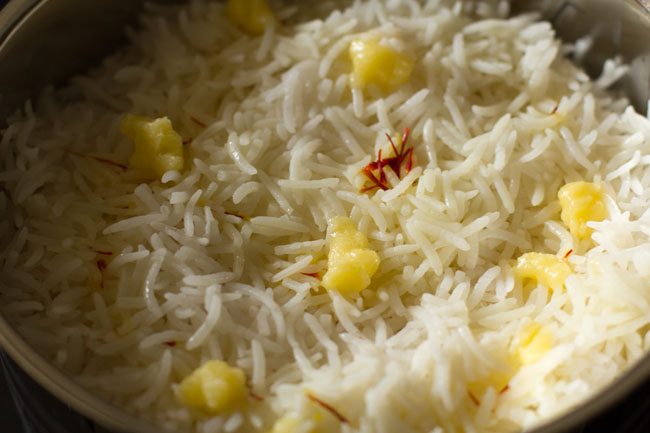
8. Seal the pan with an aluminum foil.
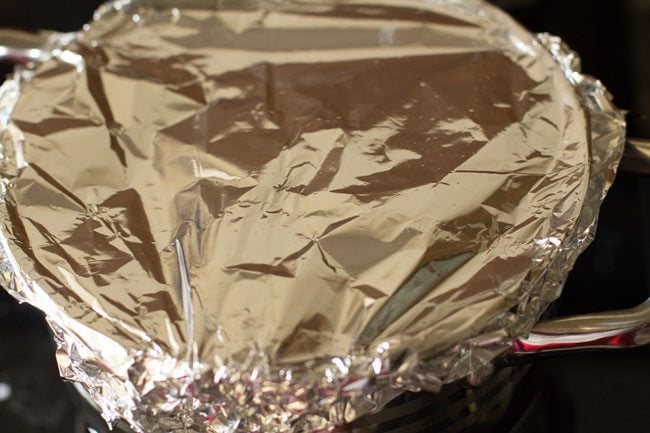
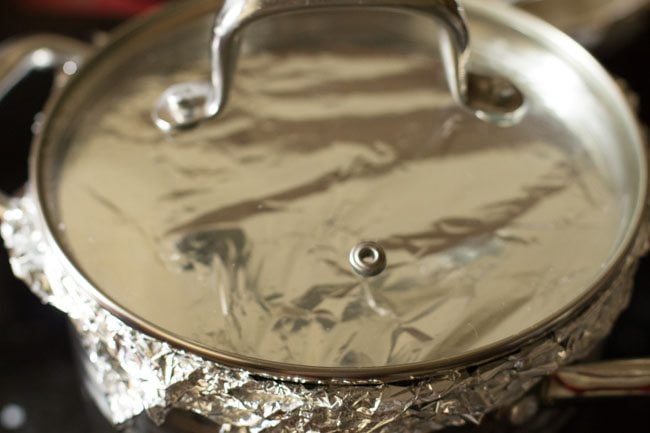
9. Cover tightly with the pan’s lid. Keep the pan on a tawa which is kept on the burner. On a low heat dum cook for 30 to 35 minutes.
If baking then preheat oven at 180 degrees celsius for 10 minutes. Bake lucknowi biryani for 30 to 35 minutes at 180 degrees celsius. Use an ovenproof pan if baking in an oven.
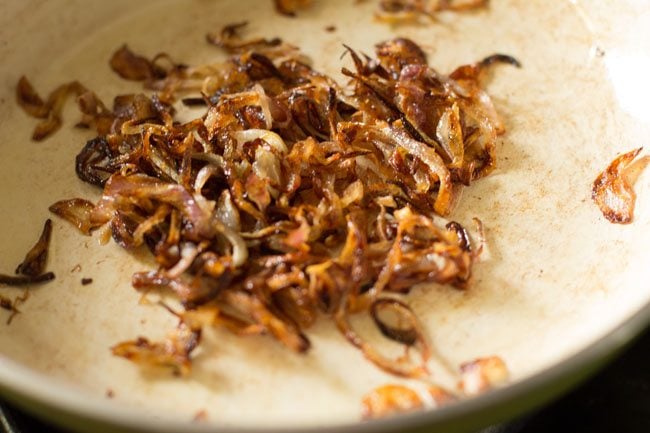
10. When the Lucknowi biryani is getting dum cooked, then we can prepare the fried onions garnish for it. Heat 1 tablespoon ghee in a small pan. Then add ½ cup thinly sliced onions.
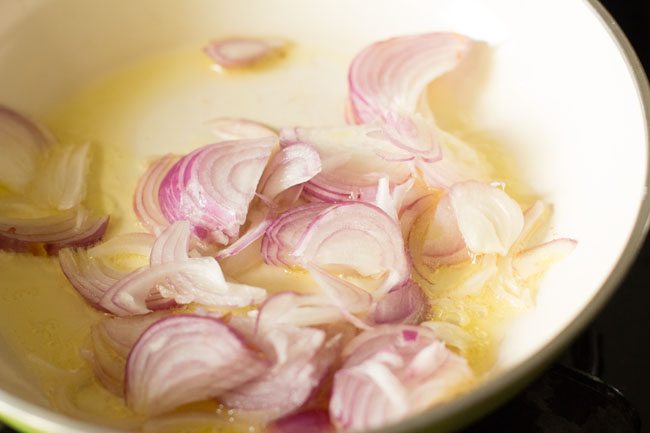
11. Saute the onions till they turn golden and crisp. Remove and keep them aside.
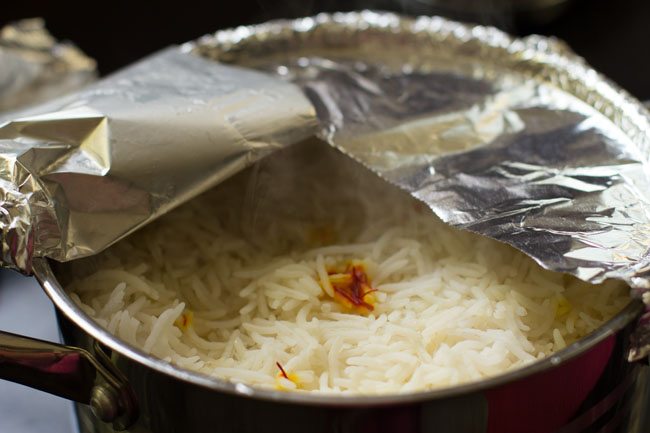
12. Once the Lucknowi biryani is done, then give a standing time of 7 to 10 minutes and then open the foil. There should be no liquid or gravy at the bottom of the pan. If there is some gravy, then seal again and continue to dum cook for some more minutes.
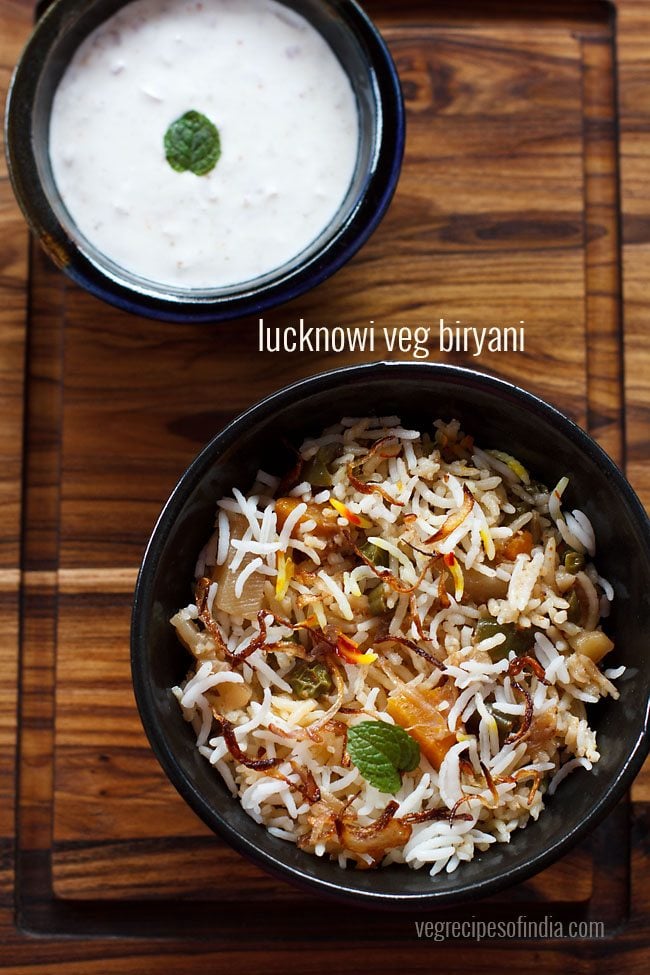
12. Gently fluff and Serve Awadhi dum biryani hot or warm garnished with the fried onions. You can serve this Lucknowi biryani with veg korma or raita or shorba gravy or plain yogurt (curd). You can also garnish with some mint leaves if you want.
More biryani varieties
Step by Step Photo Guide Above
Ingredients
for cooking rice
- 300 grams sella basmati rice or regular basmati rice or 1.5 cups sella basmati rice
- 5 to 6 cups water
- 1 teaspoon salt or add as required
- 1 tej patta (indian bay leaf)
- 2 green cardamoms
- ½ inch cinnamon
- 2 cloves
for veg gravy
- 2 to 2.5 cups chopped mixed vegetables like carrots, potato, cauliflower, capsicum, french beans, mushrooms
- ⅓ cup green peas
- 2 tablespoons Ghee
- 1 tej patta (indian bay leaf)
- 2 cloves
- 1 inch cinnamon
- 2 black cardamoms
- 1 mace flower
- 2 green cardamoms
- 85 grams onions or ¾ cup chopped onions or 1 medium to large onion, thinly sliced
- 1 teaspoon Ginger Garlic Paste or ½ inch ginger and 4 to 5 garlic cloves – crushed to a paste in a mortar pestle
- 1 teaspoon Red Chilli Powder or yellow chilli powder
- 1 teaspoon Garam Masala – do make sure that the garam masala powder has coriander seeds in it
- 1 cup water
- ¼ cup Curd (yogurt)
- salt as required
for layering awadhi biryani
- 1 pinch of saffron strands
- ⅓ cup warm milk
- ½ to 1 tablespoon Ghee
- 2 teaspoons kewra water or rose water or meetha ittar
- ⅓ cup of the stock in which the rice was cooked
for garnish
- ½ cup thinly sliced onions
- 1 tablespoon Ghee
Instructions
cooking veg gravy
- Heat 2 tablespoons ghee in a kadai or pan.
- Then add the following spices and let them splutter and become aromatic – 1 tej patta, 2 cloves, 1 inch cinnamon, 2 black cardamoms, 1 mace flower and 2 green cardamoms.
- Next add ¾ cup chopped onions and begin to saute on a low to medium flame stirring often.
- Saute till the onions begin to get golden.
- Then add 1 teaspoon ginger-garlic paste and saute till their raw aroma goes away.
- Now add 2 to 2.5 cups chopped mix veggies and ⅓ cup green peas.
- Mix the veggies very well.
- Add 1 teaspoon red chilli powder or yellow chilli powder, 1 teaspoon garam masala powder. Mix very well. you can also use biryani masala.
- Keep the flame to a low and add ¼ cup fresh curd (yogurt or dahi)
- As soon as you add curd, mix it very well with the veggies.
- Then add 1 cup water and stir. You can also add blanched almonds if you want in the gravy.
- Season with salt as per taste.
- Cover the pan with its lid and simmer on a low to medium flame, till the veggies are almost cooked. Do not over cook the veggies.
- By the time the veggies are done, the gravy will also thicken and reduce.
- Layer the veg gravy in a the pan in which you will be making the biryani. Remove the spices from the gravy. Do use a thick bottomed heavy pan or pot. Keep aside.
prepping and cooking rice
- In a bowl take 1.5 cups sella basmati rice (300 grams). If you do not have sella basmati rice, then use good quality and aged basmati rice.
- Rinse very well till the water runs clear of starch and soak sella basmati rice for 1 hour. If using basmati rice, then soak for 30 minutes.
- Also soak 1 pinch of saffron strands (kesar) in ⅓ cup warm milk for 15 to 20 minutes.
- Heat 5 to 6 cups water in a large pot or pan along with 1 teaspoon salt and the following spices – 1 tej patta, 2 green cardamoms, ½ inch cinnamon and 2 cloves.
- Bring this water to a rapid boil on a high flame.
- When the water comes to a boil, add the rice. You can also add a few drops of lemon juice while the rice is cooking.
- Continue to cook on a high flame without the lid till the rice is ¾th or 75% cooked. There should be some bite in the rice grains and they should not be completely cooked.
layering and dum cooking lucknowi biryani
- Now with a strainer take the 75% cooked rice grains and drain well to remove the water. Remove the whole spices from the rice if you see them. There should be no whole spices in the rice as well as in the vegetable gravy.
- Layer the veg gravy with the rice.
- This way remove all the rice with the help of the strainer and then layer the veg gravy with the rice. I made 2 layers of the veg gravy and rice. If you want, you can even make 4 layers.
- Lastly add the saffron soaked milk all over the rice layer.
- Then take ⅓ cup of the stock in which the rice was cooked and pour it gently along the edges of the pan. If you have used regular basmati rice then add ¼ cup of the rice stock. In case the rice has been cooked more and is about 90% cooked, then do not add any rice stock.
- Next add 2 teaspoons kewra water or rose water. You can also add meetha ittar or biryani ittar. If using ittar, then just add a few drops or mix the ittar with 1 to 2 teaspoons water and then sprinkle the water on the rice.
- Dot with ½ to 1 tablespoon ghee all over the rice.
- Seal the pan with an aluminium foil.
- Cover tightly with the pan’s lid. Keep the pan on a tawa which is kept on the burner. On a low flame dum cook the biryani for 30 to 35 minutes. If baking then preheat oven at 180 degrees celsius for 10 minutes. Bake for 30 to 35 minutes at 180 degrees celsius. Use an oven proof pan if baking in an oven.
- When the awadhi biryani is getting dum cooked, prepare the fried onion garnish for it. Heat 1 tablespoon ghee in a small pan. Then add ½ cup thinly sliced onions.
- Saute the onions till they turn golden and crisp. Remove and keep aside.
- Once the lucknowi biryani is done, then give a standing time of 7 to 10 minutes and then open the foil.
- There should be no liquid or gravy at the bottom of the pan. If there is some gravy, then seal again and continue to dum cook lucknowi biryani for some more minutes.
- Gently fluff and Serve awadhi biryani hot or warm garnished with the fried onions. You can serve this lucknowi style biryani with veg korma or raita.
- You can also garnish the biryani with some mint leaves if you want. You can also use lemon juice if you want while cooking rice.
Nutrition
This Lucknowi Biryani post from the blog archives first published in December 2016 has been updated and republished on December 2022.

This is one of my favorite recipes as I love the subtle flavors ( Vs the Hyderabad version which is a bit more intense).
I do have a question- I have no luck with the crispy onions – they end up getting all soggy and limp. i have tried both Tawa and Oven broil. Can you share pro tips for making crispy and not-too-oily onions?
Thank you for the feedback on the recipe. Agree this version has subtle flavors, which I also like.
I usually pan fry them, with a little extra oil than usual. Continue to fry till the start to look crisp. You do have to stir often for even browning of the onions. After they are fried crispy golden, place them on kitchen paper towels for the extra oil to be absorbed. Then when cooled, store in an air-tight container if not using straightaway, so that the crispiness stays for some time.