Khoya Recipe | Mawa Recipe
Khoya, also known as Mawa or Khoa, is an essential milk product used in many Indian sweets, especially in North Indian cuisine. It is prepared by slowly cooking milk until it thickens, reduces and becomes slightly granular. Traditionally, khoya is made by simmering milk in a kadai or large pan with continuous stirring. This homemade khoya recipe shows the traditional way of making mawa at home by slowly cooking milk.
What is Khoya?
Khoya, also known as mawa or khoa, is dried evaporated milk solids. Milk is slowly simmered in a large iron kadai (wok) till all its moisture evaporates and it reduces to solids.
As I have mentioned above, Khoya is traditionally made by slow cooking, simmering and thickening milk in a large kadai.
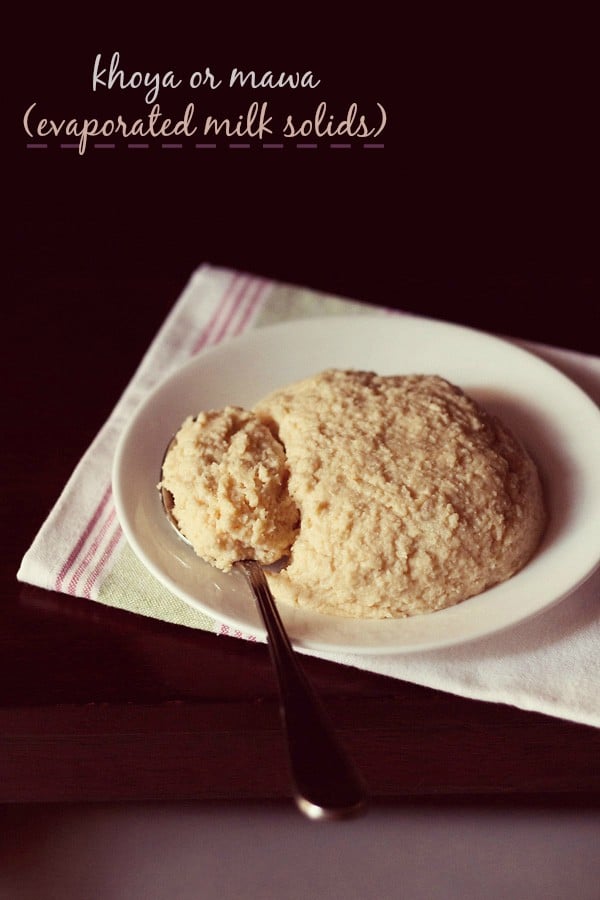
Table of Contents
As a result most of the water gets evaporated from the milk and what remains is milk solids. This process of making mawa recipe takes time and needs patience as constant stirring is required.
In Indian cooking, especially in the northern parts of India, khoya forms a base of almost all sweets. Khoya is also added to curry recipes and unique cake is also made from it, the Mawa Cake.
There are several types of khoya (read on below), which can range from being hard to soft to granular.
A few of the Indian sweets recipes where khoya is used are:
Variants
Depending on the duration of cooking milk and the moisture content, there are three types or variants of khoya that are made and are used specifically to make some sweets or curry dishes.
- Chikna Khoya: In Hindi, as the name suggests the word ‘chikna’ means soft and smooth. This khoya variant has a smooth, soft texture and hence the name. Chikna Khoya can be easily made in homes. It has more moisture content as compared with the other two mawa variants.
It can be used to make Indian sweets like gujiya, kheer, halwa, rabri, carrot halwa, pantua, kala jamun and gulab jamun. Chikna khoya is also used in making rich and creamy, gravies or curries that may or may not include kofta.
A similar variant with more moisture is the Dhaap Khoya which is used to make sweets like various jamuns and halwas. - Danedar Khoya – The word ‘danedar’ in Hindi means granular. So as the name implies, this khoya variant is granular. While making danedar khoya the milk is curdled slightly by using alum or an acidic ingredient like citric acid or lemon juice.
This slight curdling results in a more grainy and granular texture. Danedar khoya is used to make sweets like kalakand, milk cake and various peda or barfi where a granular texture is needed. - Batti Khoya or Pindi Khoya – This variant is dry, hard and has a smooth even appearance. It is sold in in the form of moulds or balls. Since Batti Khoya is hard, it is grated/shredded and then used.
It has the least moisture as compared to the other two variants. It is also used to make various barfi, peda and ladoo that need a dry texture.
About Khoya Recipe
If I’m being honest, I usually buy khoya from the store. It saves time and prevents me from having to go through the long process of cooking.
However, if you prepare the khoya as a side task while you are doing something else in the kitchen, then it is a simple task.
The milk gets reduced over a low heat and all you have to do is stir and scrape it at intervals. It is not tedious.
I do suggest preparing khoya simultaneously when you are cooking or doing some other chore in the kitchen. This is multi-tasking and you have to be attentive, but it’ll make the process feel like it’s going much more quickly. 🙂
This is not a recipe as such, but more of a method of how to make khoya. You can use any amount of milk to prepare khoya depending on your needs.
Like all homemade stuff, homemade khoya is also 100 times better than the store-bought kind. There is only the richness & goodness of milk in this homemade khoya, with no additives or preservatives.
Tips To Remember
1. Milk: The milk has to be fresh. Whole milk gives better results. 1.25 litres of milk yielded 250 gms of khoya. Depending on the quality and fat content, the khoya yield can vary. I suggest making khoya recipe with 1 litre to 2 litres of milk.
2. Pan: The pan for making mawa recipe should be thick bottomed. This is so that the milk does not get burned or browned from the bottom. If the milk gets scorched, whatever effort you have put out goes waste.
The pan has to be deep too, so that the milk does not overflow while simmering. I used my large non-stick kadai to make the khoya. Non-stick works very well when making products like khoya.
You could also use a sauté pan or a wok. The size of these cooking pans will vary with the amount of milk you use.
3. Stirring Often: It is important to stir the milk often as it simmers, cooks and thickens. So make sure to stir and scrape at intervals so the milk or the khoya doesn’t burn or stick to the pan.
4. Storage: This khoya stays good for about 3 to 4 days in the refrigerator or 6 to 8 days in the freezer.
If you enjoy making basic ingredients from scratch, you can also try these homemade dairy staples:
How to make Khoya or Mawa (Stepwise)
1. Pour milk in a large, thick-bottomed pan and place the pan on the stove top.
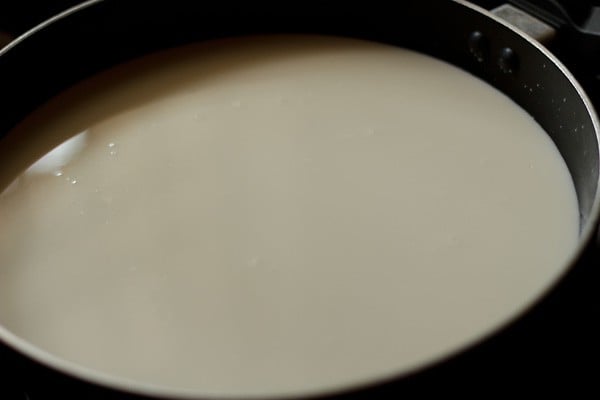
2. Bring milk to a gentle boil on a low to medium heat.
3. Then lower the heat and simmer the milk. Stir at intervals whilst the milk is simmering.
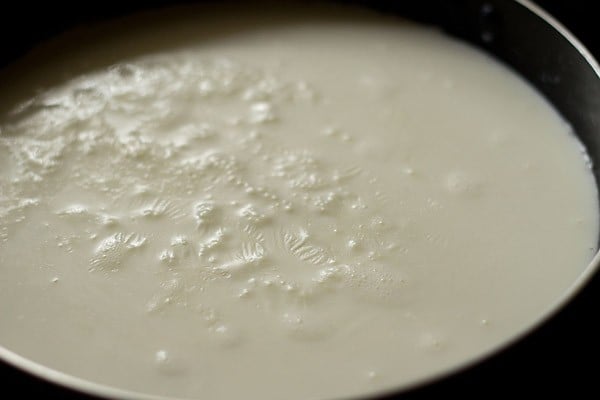
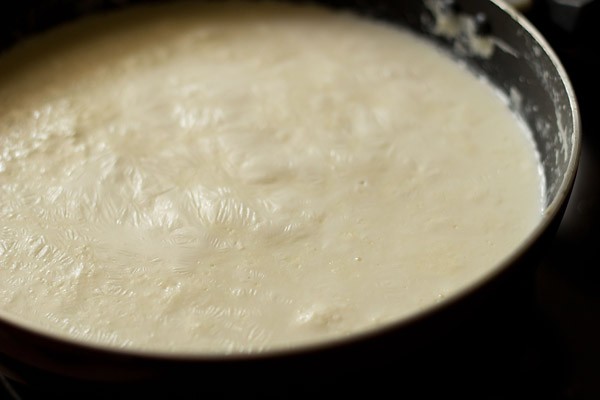
4. This is the consistency of the milk after 23 minutes right from the beginning. You can see it is getting thicker and there is a skin on the top.
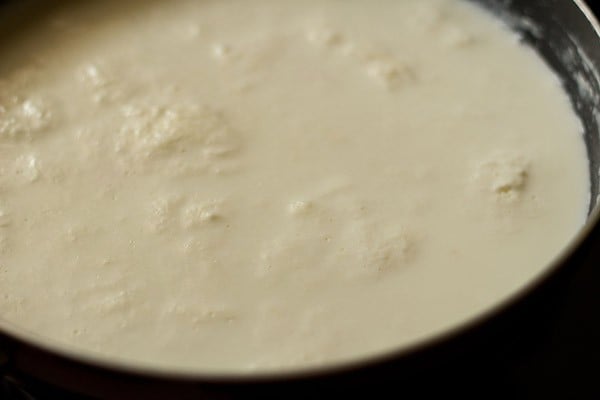
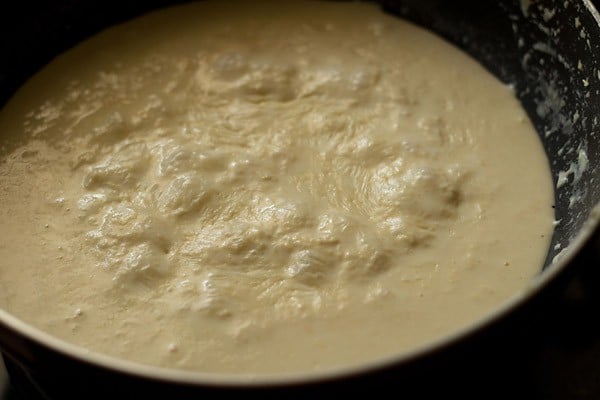
5. The milk will froth many times, while its being simmered.
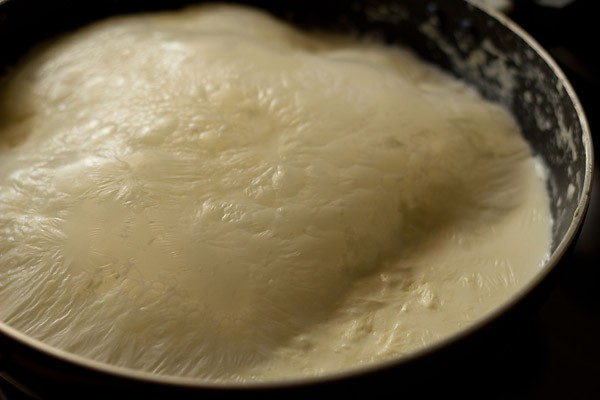
6. So when you see this happening, stir the milk with a spatula.
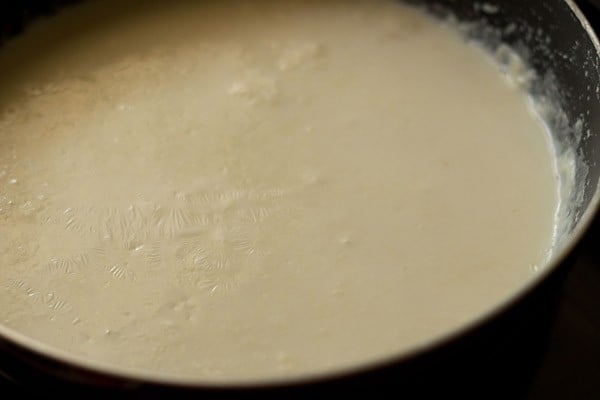
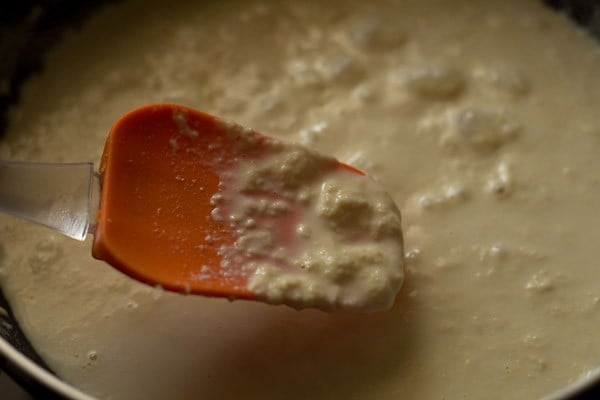
7. Scrape the milk solids from the sides and add them back to the milk. The consistency after 1 hour 40 minutes. The milk has reduced considerably.
8. Stir and continue simmering.
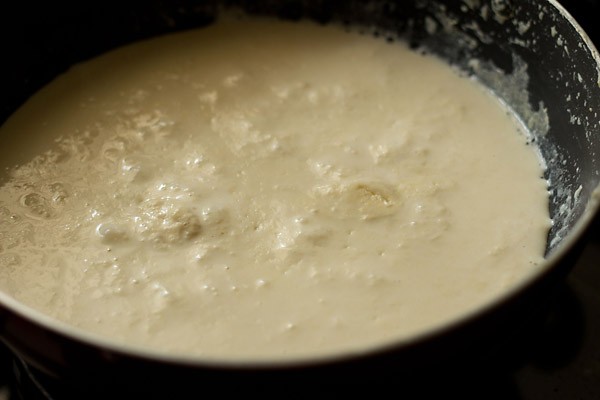
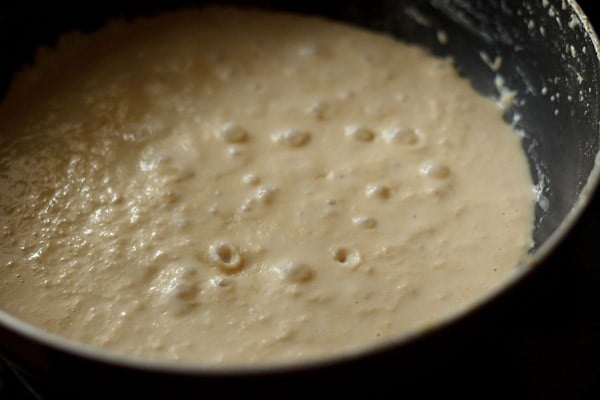
9. You can see below the consistency like that of Rabdi.
10. This is what we get after 2 hours of simmering. Just few minutes more 🙂
11. After 3 more minutes this how the consistency appears.
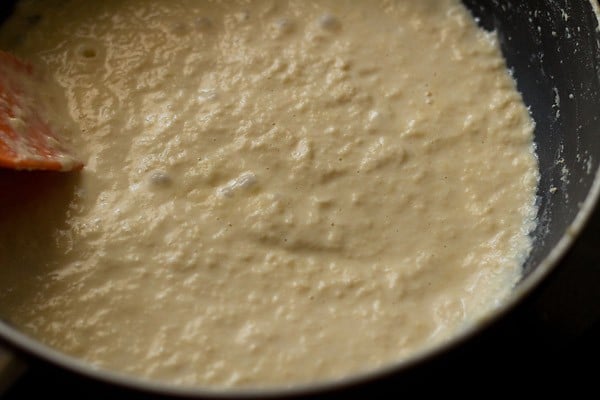
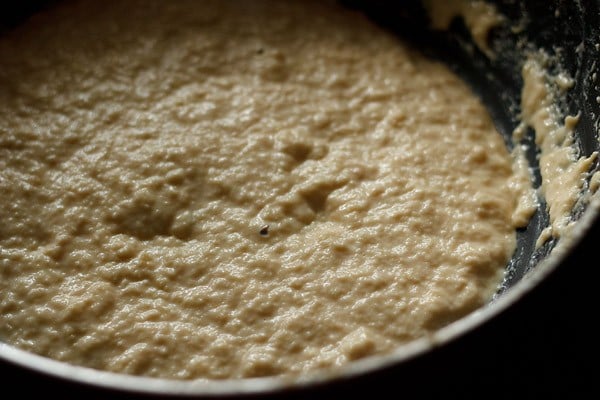
12. Towards the last 7 to 8 minutes, you will see bubbles bursting in the reduced and condensed milk. At this stage, continuously stir the reduced milk.
If you don’t then the bottom will get browned or burnt. The bubbles signify the presence of moisture in the reduced milk.
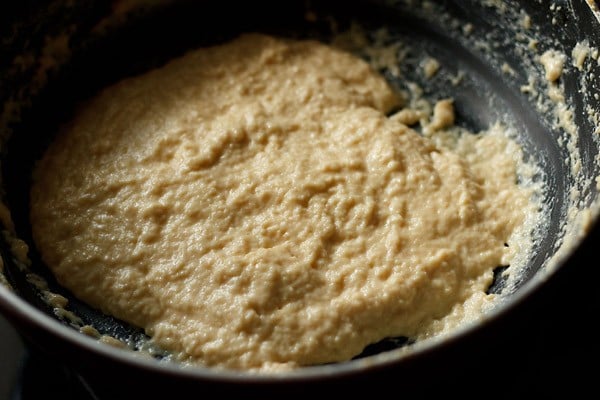
Stir and simmer till you see no bubbles in the milk solids. You will also see some granular texture in the reduced and thickened milk.
13. When you see no bubbles bursting, it’s time to turn off the heat. It took me 2 hours and 8 minutes overall on a low heat.
While the mawa was reducing, I was prepping and cooking veg fried rice along with mushroom manchurian.
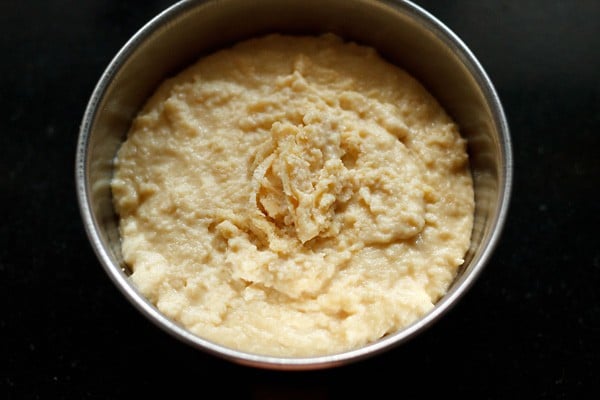
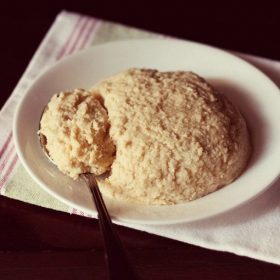
14. Once done, collect the khoya or mawa in a bowl. With a spatula, scrape the milk solids from the sides and add these to the bowl.
Cover the bowl and let the khoya cool at room temperature. Then you can refrigerate it in an air-tight container.
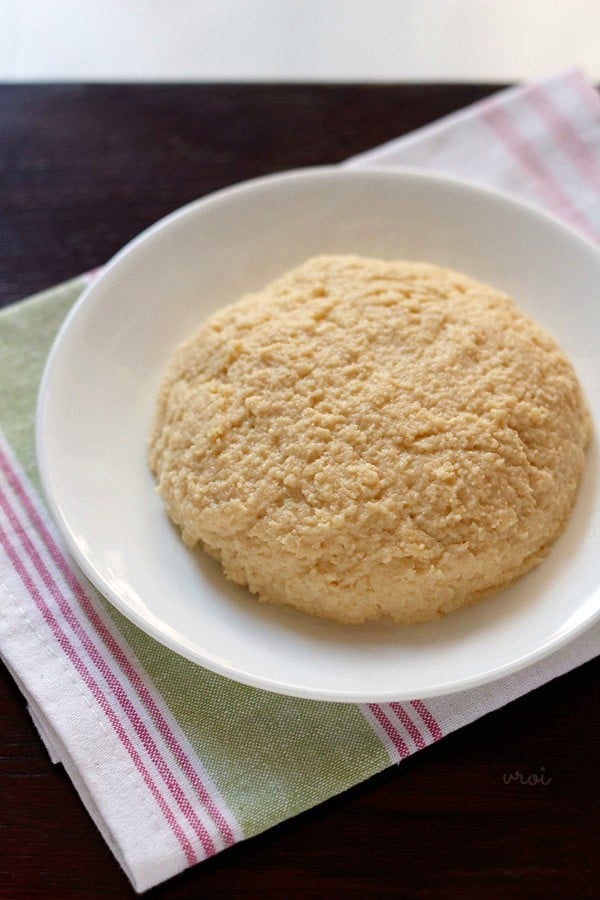
15. Add this homemade khoya or mawa to various Indian sweets or Indian curries. Remember to store in an airtight container in the refrigerator or freeze it.
Questions Readers Ask
How long does homemade khoya last?
It will keep in an airtight container for 3 to 4 days in the refrigerator, or 6 to 8 days in the freezer.
How much mawa will 1 liter of milk yield?
About 180 to 200 grams, depending on the quality of milk.
I used collected malai (cream) to make the khoya and it turned a little brown. Is this okay?
If there is no off smell or aroma from the khoya, then it’s fine to use. In fact, the batti variety of khoya is sometimes aged for months or up to a year and has mouldy surface.
Is there a way to make the process of making khova go faster?
If you use a wider heavy-bottomed pan with more surface area, the liquid will evaporate more quickly. I suggest doing this if you are making a large batch.
Can I make mawa recipe using unsweetened condensed milk or evaporated milk?
I haven’t tried it myself, but I have seen some other recipes that have used this method. If you do try it, let me know how it turns out in the comments below!
Step by Step Photo Guide Above
Khoya Recipe | Mawa Recipe
Ingredients
- 1.25 litres whole milk or 1250 ml
Instructions
- Pour the milk in a large thick bottomed pan and place the pan on the stove top.
- Bring milk to gentle boil first on a low to medium heat.
- Then lower the heat and simmer the milk. Stir at intervals whilst the milk is simmering.
- The milk will froth many times, while its being simmered. So when you see this happening, with a spatula stir the milk.
- Scrape the milk solids from the sides and add to the milk.
- The milk will continue to reduce and thicken as its being simmered on a low flame.
- A stage will reach when the reduced milk will resemble rabdi (an indian sweet).
- Continue to simmer and stir.
- Towards the end when the milk has reduced much, you will see bubbles bursting in the reduced milk. At this point continuously stir. If you don't then the reduced milk will get browned or burnt. The bubbles are due to moisture in the milk.
- When you see no bubbles in the reduced milk, its time to switch off the flame. It took me 2 hours and 8 minutes overall on a low flame.
- With a spatula, scrape the milk solids from the sides and add these to the bowl. Cover the bowl and let the khoya cool at room temperature. Then you can refrigerate it.
- Add this homemade khoya or mawa as needed while making various indian sweets or Indian curries.
- When cooled, store khoya in an air-tight container. Refrigerate for 2 to 3 days or freeze for 6 to 8 days.
Dassana’s Notes
- Use a thick bottomed and heavy kadai (wok) or sauté pan.
- Ensure to stir the milk often as it simmers and slow cooks.
- Patience is a key when making homemade khoya from scratch with the traditional technique. You also need to be attentive so that the milk does not burn or get browned.
- Remember to use whole milk which is within its shelf period.
- Pair the task of making khoya with your other kitchen chores that need you to be in the kitchen.
Nutrition
Khoya recipe from the archives was first published on October 2014.
We made mawa using canned evaporated milk (not sweetened). I haven’t tried it using normal milk so can’t compare, but this way was reasonably quick. We used it to make mawa cake. Really yummy!
Lovely simple technique well explained. Thanks
Welcome and thanks.
Very nice and simply explained, very happy ?, will definitely prepare it. How long can I keep this in my fridge.
Thank you. Homemade khoya keeps well for 3 to 4 days in the refrigerator. In the freezer, it will keep well for 6 to 8 days.
Can I use this khoya in ur Gulab jamun receipe?
Will this work same as dhaap ka khoya readymade one? pls reply
Yes you can. But make it cook more for some more time than what I have done. Yes it will.
Hi Dassana,
One litre of full fat milk will how much khoya in grams.
Trupti
Will yield about 180 to 200 grams depending on the quality of milk.
Can’t we store khoya for longer time…because it’s so tedious..ek Baar Bana liya then when ever need can use ..
You can freeze it. It will stay good for some months.
Hi dassana… I am big fan of your food blog..since many years I m following your great recipes and for everyone I suggest to follow your recipes..I want to clear my doubt about khoya..i made it from malai,which i collected…it became little brownish.. can I use this for halwas
thank you shaila. some times some strains of moulds can be seen on khoya. if there is no off smell or aroma from the khoya, then its fine to use. in fact the batti variety of khoya is sometimes aged for months or upto a year and has mouldy surface.
Hii.. I have cow’s milk. will mawa come out well with this?
Ridhi, yes you can use cow’s milk to make khoya.
Tried this today, for 5 cups of 2% milk took me 3.15hrs. Thanks for the step by step pics, really helped.
Welcome Vidya. Nice to know this.
Hello Mam. Thank u so much for all ur recipes. I have been following you since I got married in 2014 and now I am appreciated by everyone for my food. All thanks to you. I didn’t know anything about cooking before that. This is my first comment but I have always thanked you in my heart 🙂
I tried this khoya recipe and it came out just the way it should. Thank u again and very Happy Diwali to u and ur family:)
Welcome Deepika. Glad to know that I could help you in learning cooking. Wishing Happy Diwali to you and your family.
Omg !! This was so time taking. I made it for the first time today. I took 2 litres full fat milk and it took me 3 hours and 45 minutes to get the khoya. But at the end it was all worth it because the khoya came out so well. Feeling proud of myself 🙂
rashmi, preparing khoya does take time. with two litres of milk, it will take more time. but as you say its worth it and homemade khoya is better than the store brought ones.
I feel that 2 things are important.
1] Take a wide thick bottomed pan. If the surface area is more, the whole process will be quicker.
2] If you are going to stand next to it, it may not be necessary to simmer on very low heat. I used medium-slightly high heat, stirring continuously and was done in 1 hr 45 mins for 1 gallon milk.
Thank you Dassana for inspiring us!!
agree SV. thanks for these helpful suggestions and inputs. it will help the readers for sure. also thanks for the last comment.
Hello Dear,
Tried this recipe yesterday for the first time & it came out exactly the same as shown in pics here. Thank u so much. Please share some more recipes of ladoos & barfi made with khoya which can be prepared on diwali.
glad to know this. i will be adding some more barfi and ladoo recipes before diwali.
Can we use toned milk or full cream milk for this recipe
sindhu, you can use either. i have used full cream milk.
thanx mam,everytime i make ur recipe it turned out soo well than any other channel or show…keep inspiring us
thanks a lot naman 🙂
Love your recipes and pics. Just reinforces stuff/processes that I remember.
thanks manali
Hi
I tried this khoya recipe today for my lauki halwa and it came out fantastic. This is the first time I made khoya. Thank you for the recipes. I have tried some of them till now and they were loved by my family. Your pics really help in the process of cooking. Please keep adding more recipes along with the pics. I really depend on the pics a lot.
thank you bhagya for your positive views 🙂 we will surely add pics on our step by step recipes. allow us some time to do the same thanks.
Thank you very much.
This is very useful esp. When we khoya is not available in small quantities , anybody with little efforts and lot of patience can prepare at home.
????
thanks and welcome. true, does not take a lot of effort but takes some time and patience 🙂
Very delicious I hav tried some helpful to those who don’t know how to make snacks n sweets
thankyou renuka 🙂
Thanks for all your recipes Dassana. I enjoy reading and making some of them.
Can you make khoya from condensed or evaporated milk?
Best wishes.
Faiza
thanks faiza. from condensed milk, khoya can be made. since we often use condensed milk as a substitute for khoya. but to tell you honestly, i have never tried making khoya with condensed milk. i have seen some methods online but never tried it. with evaporated milk i have no idea, as we do not get evaporated milk in india and so i have never got the opportunity to use it.
Hi Dassana, I am a big fan of all your recipes. You make tough recipes look so easy. I was looking for gulab jamun recipe and then switched to how to make khoya. I always make Khoya at home. Earlier I also used to make khoya in non stick kadhai. BUt when I got to know about the negative aspects of cooking in non stick utensils, I have stopped using them. Can I make khoya in iron kadhai? I use my iron kadhai a lot for almost everything as non stick material can be carcinogenic at high temperatures. You can also refer to this article and it will surely leave you craving for your good old cast iron utensils. Just like your old paniyaram chatti.
I know its not a comment related to recipe but I felt like sharing it with you.
thanks a lot akriti. yes you can make khoya in iron kadai, but it has to be thick bottomed one and a heavy kadai. which article? you can share the link. i only have two non stick pans and one ceramic one. the rest of all my pans are steel and iron based ones. for the blog pics, i use non stick and i cook food at low or medium temperature. so till now no issues with the non stick. perhaps i need to reinvent my kitchen utensils 🙂
Very nice recipe.Will try it soon coz I want to make khoya kaju with home made khoya.Thnks.
welcome falguni
Helloo…
Its a nyc recipe
i’ll try this someday
I love your all recipes
I need your help
Mjhe MISHTI DOI ki recipe chahiye please tell me
nd maine aj tak nai banaya hai so please
thanks misbah. i will try to add the recipe soon.
Hi – thank you for this recipe – I love Indian gulab jamun and have been looking for a way to make it at home. I am wondering if I can use cream (10% or 35%) instead of homogenized milk (3.8%) – would this yield more milk solids?
i have seen some recipe with cream, but myself never tried making one. i think using cream should work.
If someone doesn’t want to make especially then while preparing home made ghee the khoya left out can be stored in freezer for few days and use it too.
Can I make khoya by evaporating unsweetened condensed milk?
bhavana, i don’t know. i have never tried.
thank you very much for the receipe….god bless
welcome bindu
oh my god, Iam surprised because yesterday I was thinking about the Receipe of the homemade khoya, thanks a lot dassana madam, I live in japan so here not easy to find fresh full creme milk, please teach us also how to make khoya with dry full creme powder please please please
thats a nice coincidence sony 🙂 you can make with toned milk too. but the amount of khoya will be less. i have not tried with milk powder. but i think it won’t be rich and good as the one made from milk. i know a few recipes though of making khoya this way. i will see if i can get the time to add this.