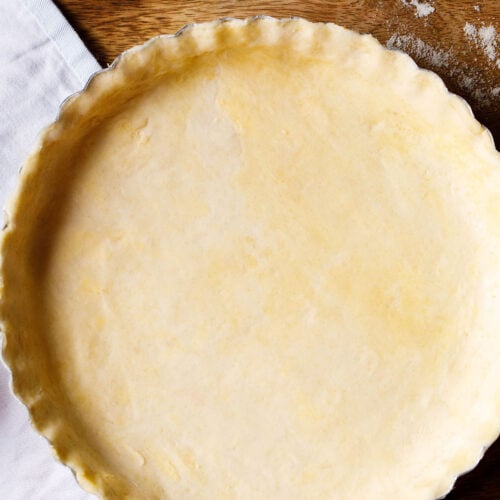
This simple all butter pie crust recipe gives you a flaky, tender, and delicious pie crust perfect for both sweet and savory pies. Made with just 4 basic ingredients, this homemade pie dough is easy to prepare and so much better than store-bought crusts. Once you try making it from scratch, there’s really no going back. Below, I also share my tried-and-tested tips to help you make the most buttery, flaky pie dough — plus how to roll it out evenly and decorate the edges with a classic fluted pattern.
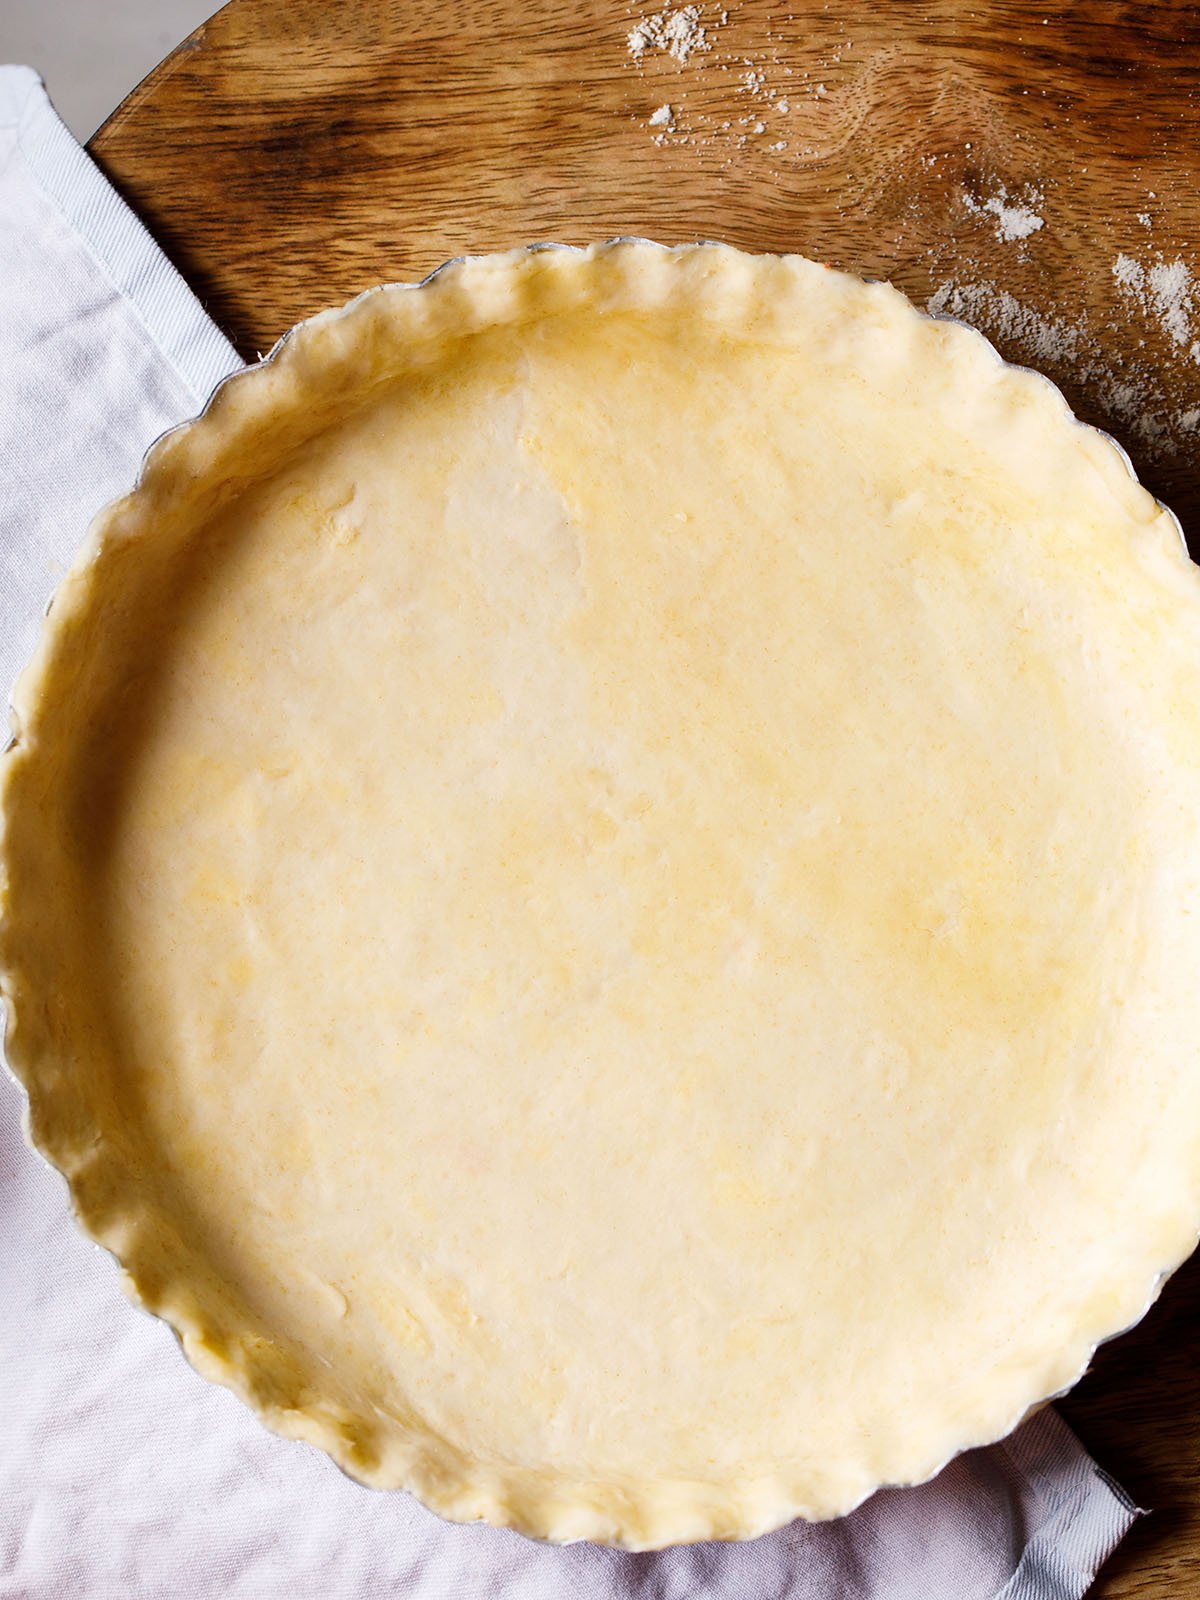
About All Butter Pie Crust
An all butter pie crust is a classic pastry dough made using only butter as the fat — without any shortening or oil. Along with butter, the dough typically includes all-purpose flour, salt, and cold water.
Some versions may also add a little sugar if making a sweet pie. The butter is cut into the flour to form a crumbly mixture, then brought together with cold water to make a dough.
The result is a flavorful, flaky, and tender crust that works perfectly for all kinds of pies – both savory and sweet.
Table of Contents
The secret lies in using cold ingredients; especially cold Butter, so that when the crust bakes, the butter steams and creates light, delicate layers.
This simple all butter pie crust recipe gives you a flaky, tender, and delicious pie crust. Made with just 4 basic ingredients, this homemade pie dough is easy to prepare and so much better than store-bought crusts.
Once you try making it from scratch, there’s really no going back. Below, I also share my tried-and-tested tips to help you make the most buttery, flaky pie dough — plus how to roll it out evenly and decorate the edges with a classic fluted pattern.
This recipe for all butter pie crust has been my go-to recipe for years and has become my signature recipe.
I just had to share the recipe with you, because it yields the crispiest, butteriest pie crust around. I can almost guarantee you’ll make it again and again!
As I have mentioned above, another reason why this homemade pie crust recipe is so great is that butter is the only fat required, meaning you don’t have to go to the hassle of searching out special ingredients like shortening.
And for all of you fellow vegetarians, this recipe doesn’t call for any lard, meaning it is a perfect vegetarian option.
Finally, this recipe is easy enough to make with very few ingredients and very few kitchen tools. If you have a mixing bowl and either a pastry cutter, knife, fork or even just your fingers, you can make this simple and perfect dough.
Wow your family and friends by making them a perfect American style pie with the best, flakiest crust around!
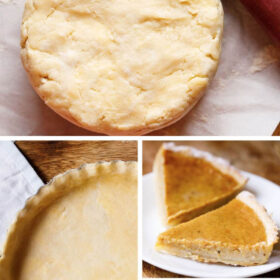
Do check out my Pumpkin Pie and Tomato Pie recipe made with this buttery crust. If you love pies, give this crust a try — use it to make Apple Pie, Pizza Puffs, savory tarts, quiches, or any homemade pie you enjoy.

How to Make Pie Dough
With my easy step-by-step guide make this easy flaky buttery pie crust recipe from scratch!
Preparation
Before beginning, fill a large glass with ice cubes, then top with cool water. Working with cold butter and ice water are essential to making a delicious and flaky pie crust.
1. Measure 250 grams (2 cups) of all-purpose flour and ¼ teaspoon of salt in a mixing bowl.
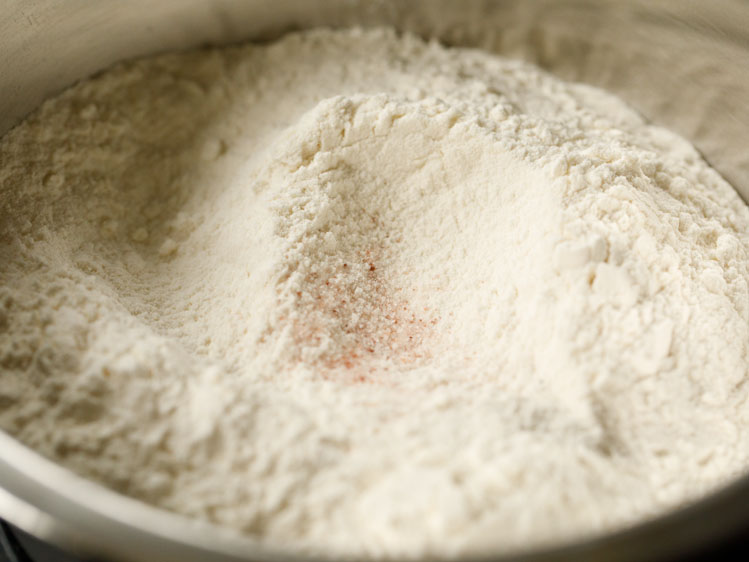
2. Mix the flour and salt with a spoon.
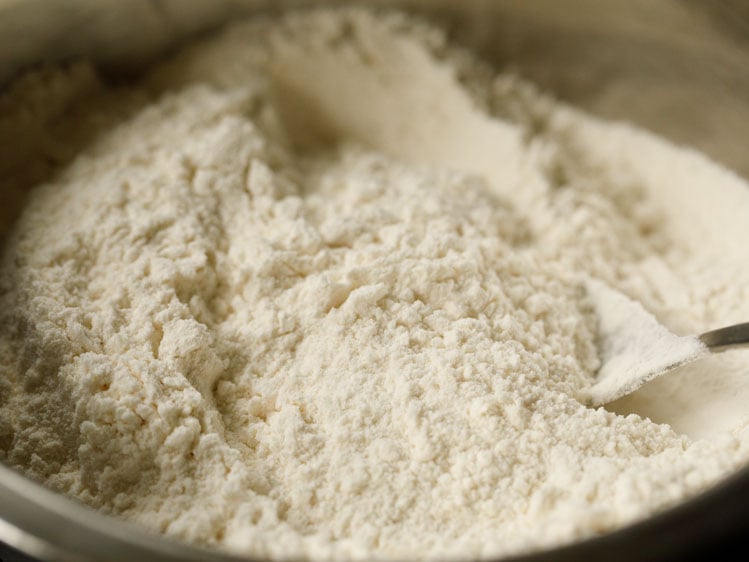
3. Add 125 grams of cold, unsalted butter cut into small cubes or grated on the side of a box grater.
Tip: Cold butter is essential to making a good, flaky pie crust. Be sure to keep butter in the freezer or refrigerator until you are ready to make your crust.
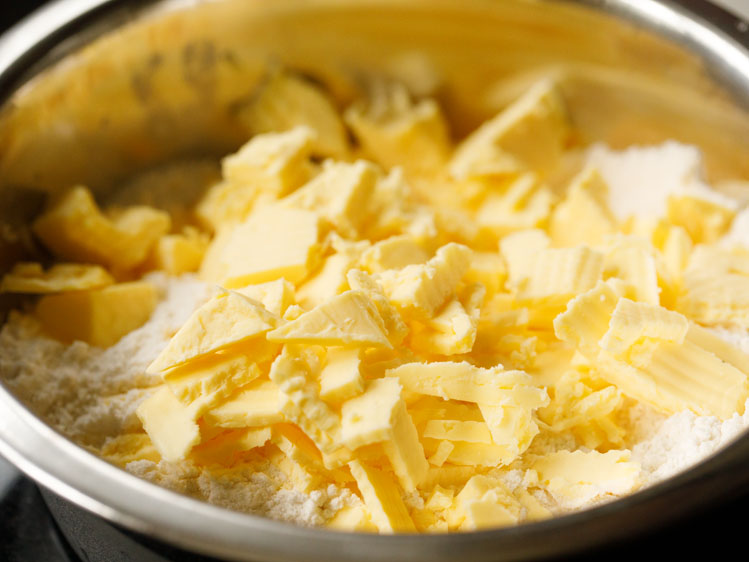
Cut Butter Into Flour
4. Using a pastry cutter, cut butter into the flour. You can also use a stand mixer or even a food processor to cut the butter into the flour in less time.
Tip: You could even mix cold butter in the flour with two forks, knife or your finger-tips.
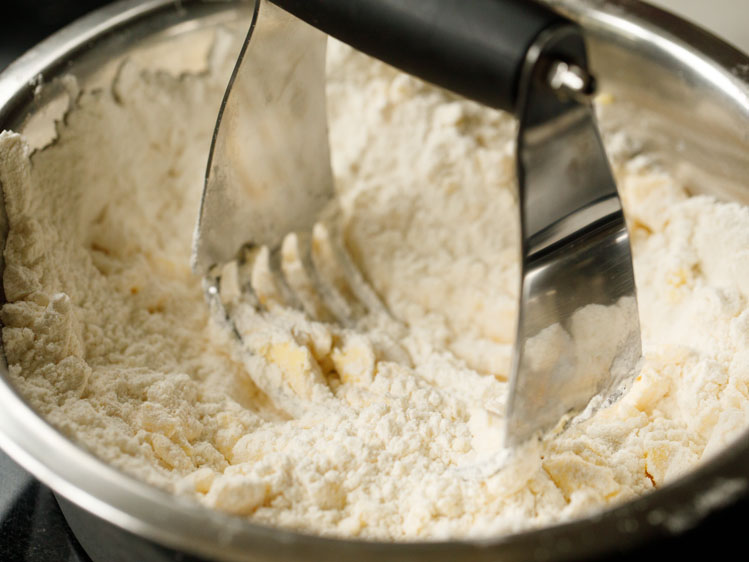
5. The mixture should have pea sized butter dispersed in the flour together with tinier or smaller pieces of butter. These different sizes of butter contribute to getting a flaky crust in the pie.
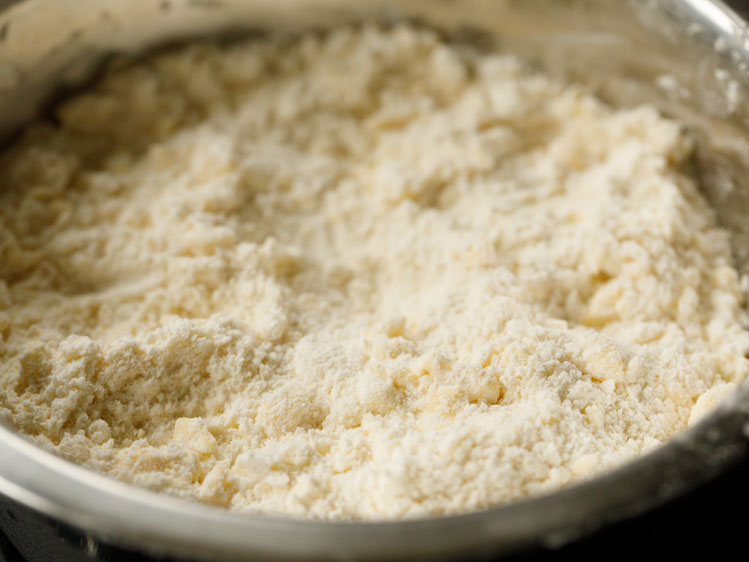
6. Add cold water in parts.
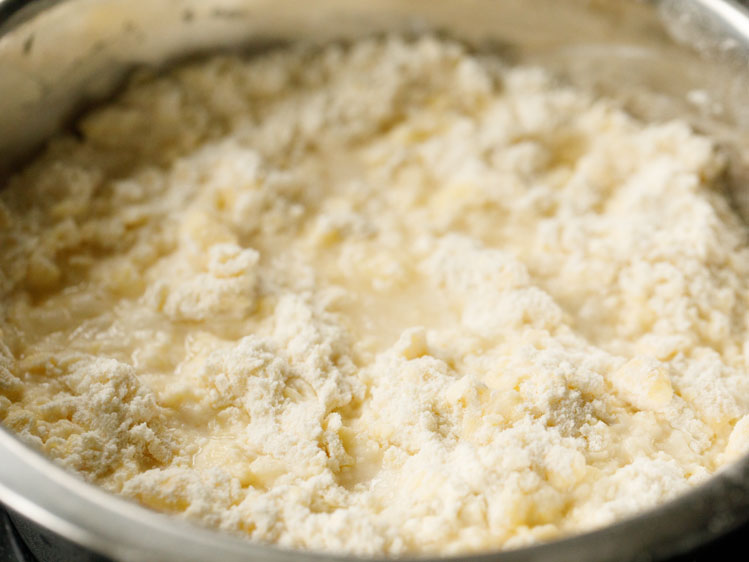
7. Begin to mix gently with a spoon.
Make All Butter Pie Crust
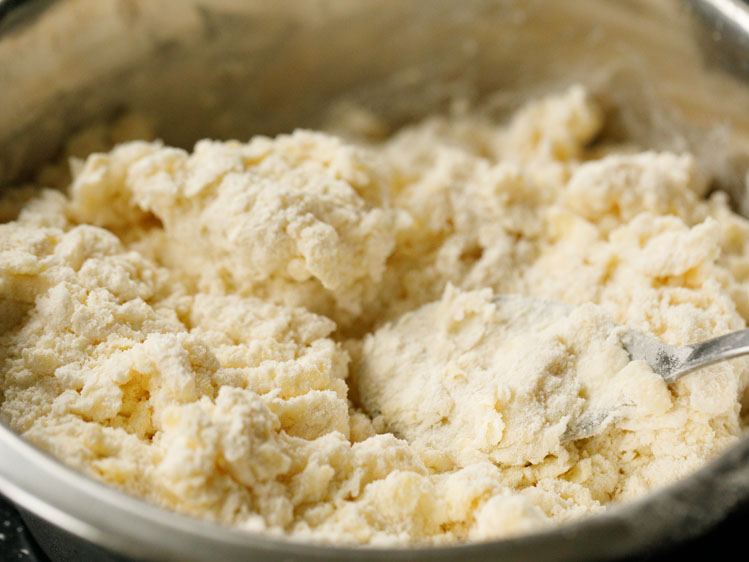
8. Continue adding water in parts and mixing until the flour mixture comes together in a ball. You can also use your hands when adding water to gently mix the dough.
Do not knead – you need to just barely bring the mixture together to form a dough. The specks of butter should still be visible when you are done.
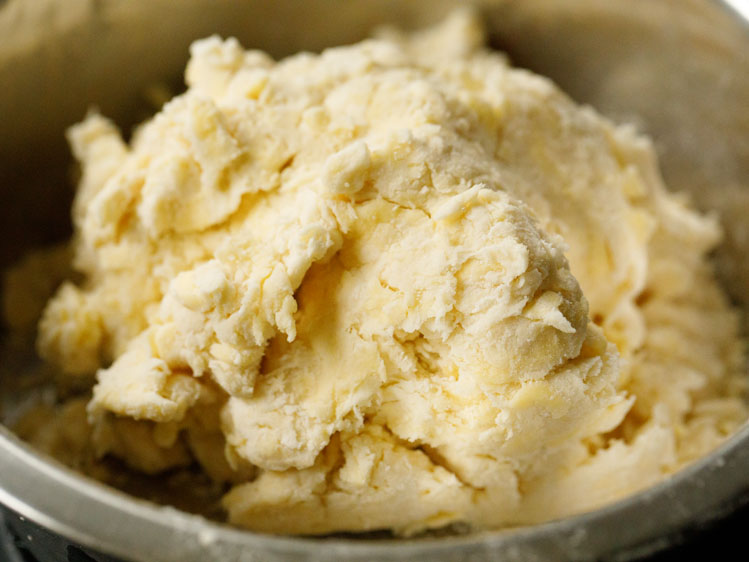
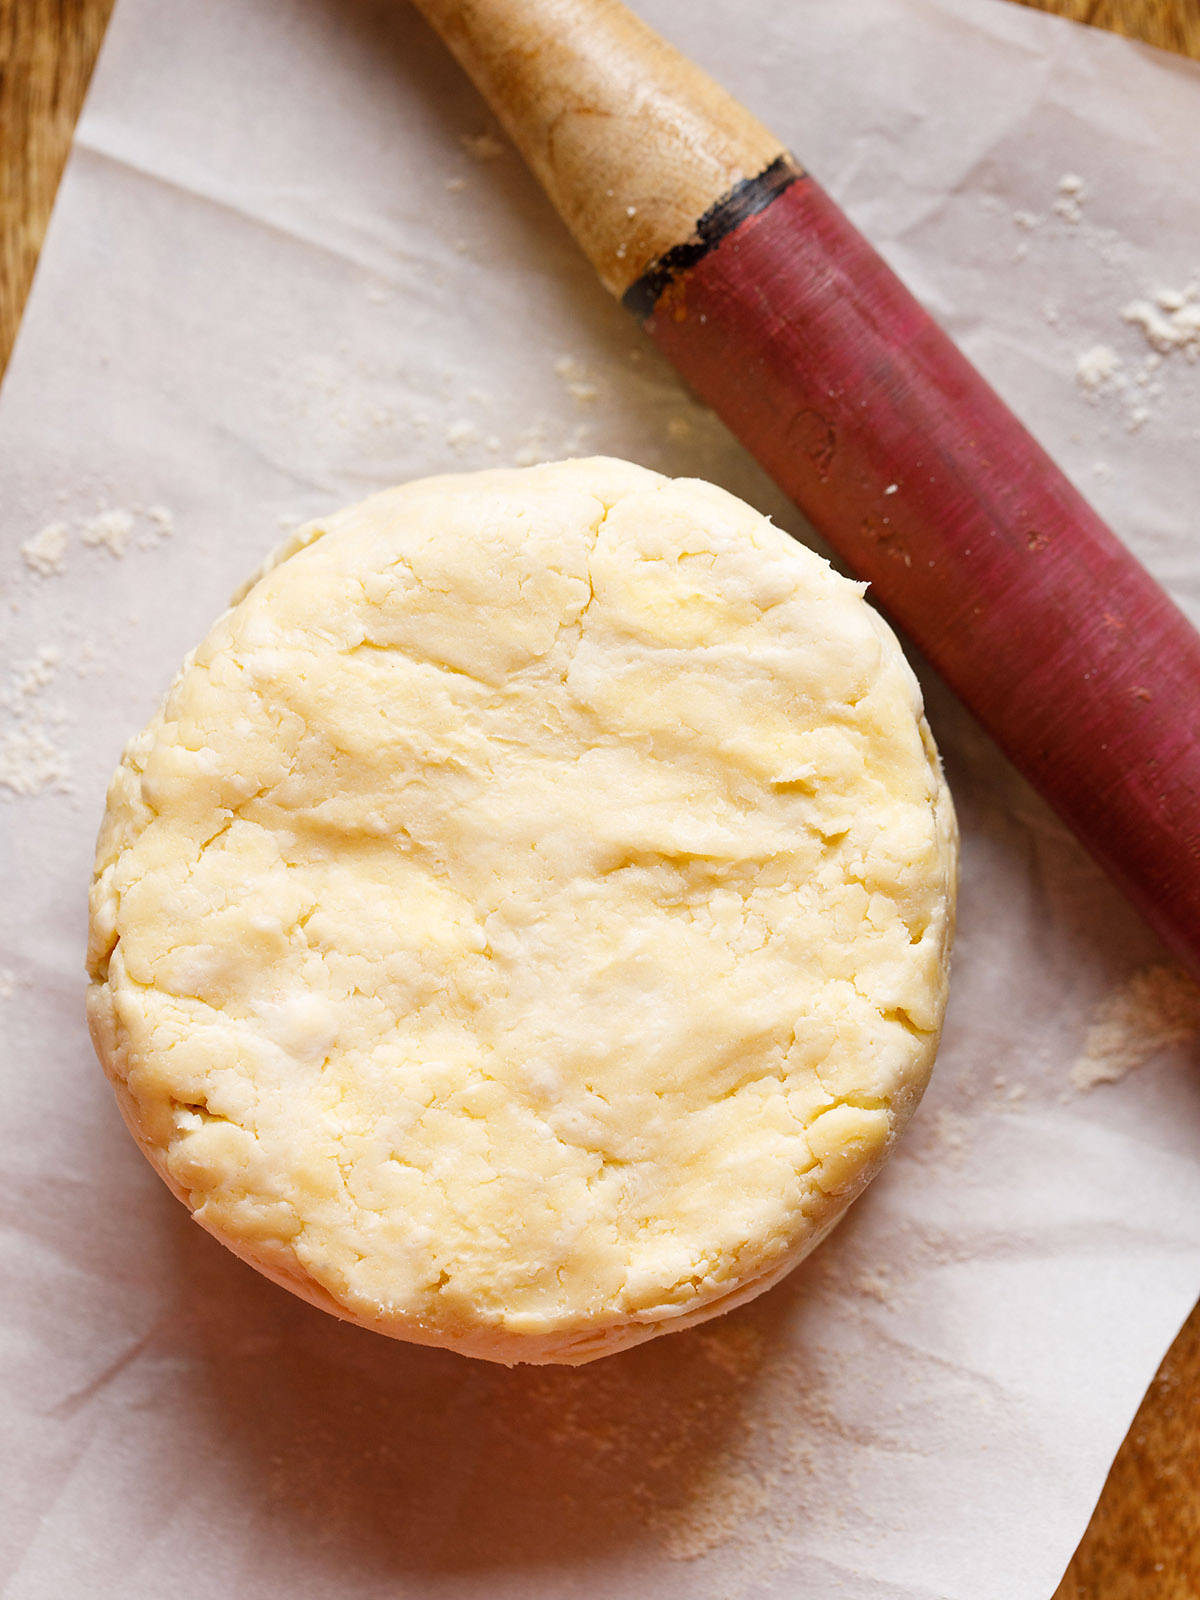
9. Remove the entire mixture on your working surface and combine together. Refrigerate for at least 15 to 20 minutes before you start to make any pie.
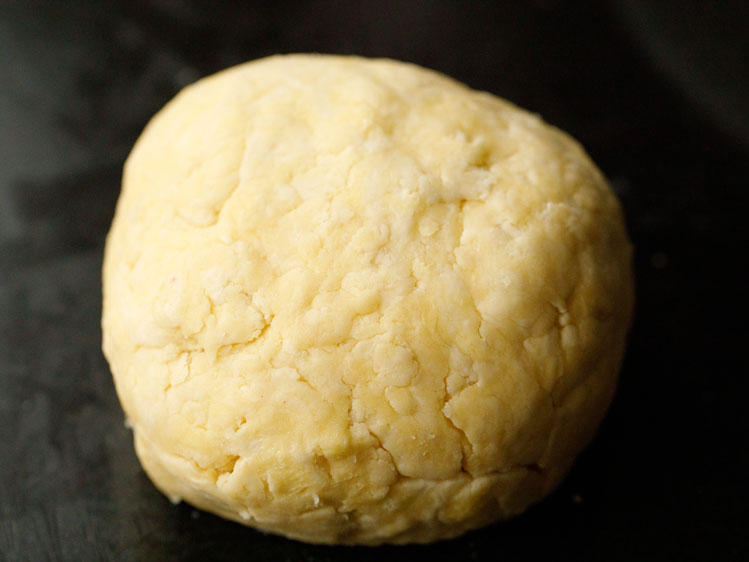
How to roll a perfect pie dough
10. Dust your working surface and rolling pin with some flour. Also lightly dust the pie dough with flour.
Tip: Using a small mesh strainer can help you evenly distribute a thin layer of flour quite easily. I also like to use parchment when rolling out dough in warmer weather, as it prevents sticking without the addition of too much flour.
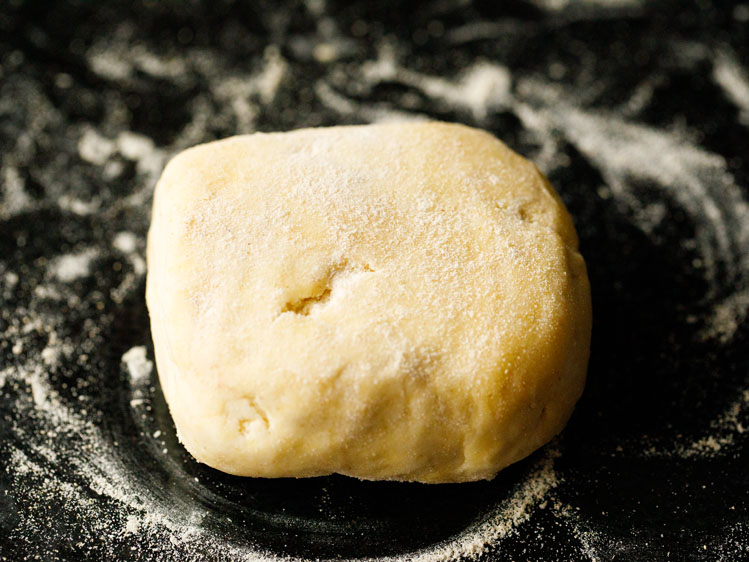
11. Begin to roll the dough outwards from the center, sprinkling more flour as needed. Rotate the dough often to ensure that you are rolling it out evenly and that it isn’t sticking to your work surface.
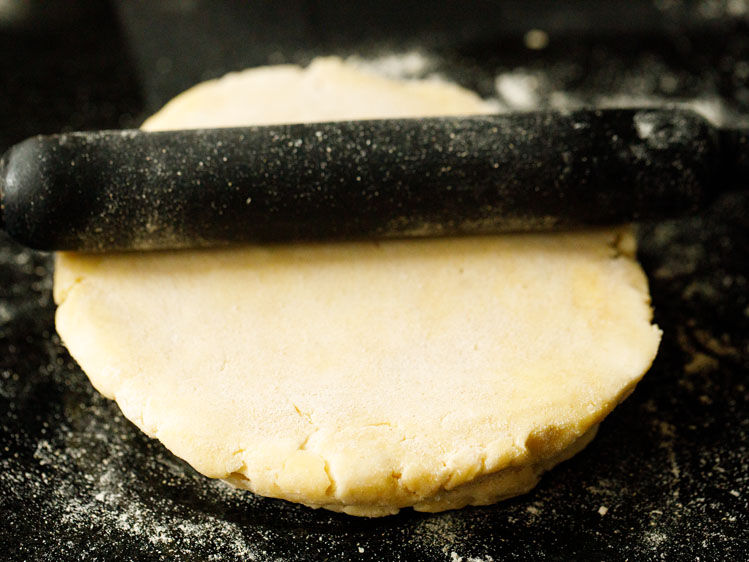
12. Roll to a neat rectangle or circle having 0.5 to 1 mm thickness. This entire pie dough recipe will easily fit a 10 to 11 inches pan.
Depending on the size of pan used, roll to large rectangle or circle 2 to 3 inches larger than the pan. This allows for some excess that you can use to make a pretty fluted edge.
Tip: If you are working with a more standard 8 inches round pie pan, halve the dough. One half should be enough to fit the bottom of the pan, and you will have enough leftover to either cover the pie or make a second.
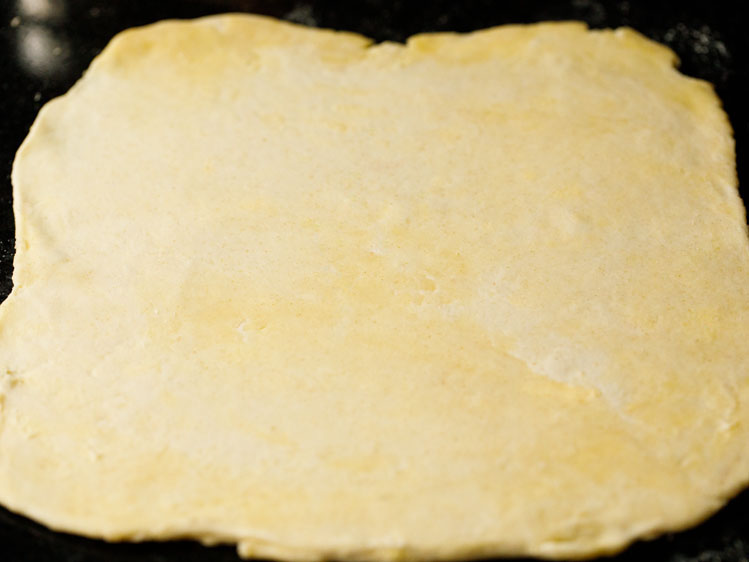
13. Using your rolling pin to stabilize the rolled out dough, gently roll it onto the rolling pin. Place your rolling pin above your pie pan, then slowly unravel your dough, placing it gently on the pie pan.
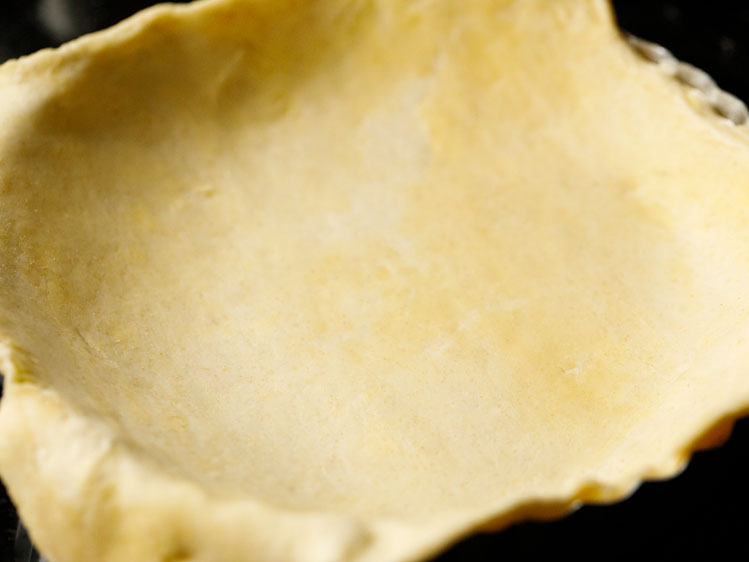
14. Trim or cut the edges with a knife and flute the edges using the forefinger and thumb of your non-dominant hand and the thumb of your dominant hand.
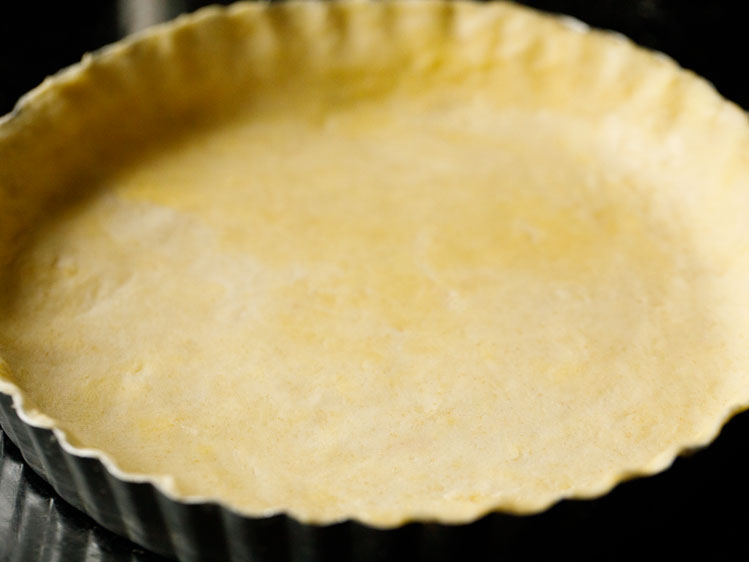
15. Follow the pie recipe instructions regarding par-baking the all butter crust before using.
Pie Crust Essentials – My Go-To Tips
- Cold butter: For a light, flaky texture, always use cold butter. You can refrigerate it for a few hours or freeze it for 15 to 20 minutes before using. Cold butter releases steam while baking, which creates those tender, flaky layers.
- Salted butter: If using salted butter, reduce the added salt in the recipe to just ⅛ teaspoon to balance the flavor. Stick to the full amount if you’re using unsalted butter.
- Ice cold water: The water used to bring the dough together must be ice cold. Warm or room-temperature water can soften the butter too quickly and make the dough greasy.
- Adjusting the dough: If the dough turns out sticky or too wet, sprinkle in 1 to 2 tablespoons of flour and mix gently. If it’s dry, crumbly, or not coming together, add 1 to 2 teaspoons of cold water and gently combine until the dough holds together smoothly.
- Chill before rolling: Always chill the dough for at least 30 minutes after making it. This allows the gluten to relax and the butter to firm up, making the dough easier to roll and shape.
Rolling, Storing, and Serving
- Rolling out: Use a small mesh strainer to evenly dust the work surface with flour. If you’re working in a warm climate, rolling the dough between parchment sheets helps prevent sticking; and limits the need for excess flour.
- Make ahead: You can prepare the dough in advance and refrigerate it for up to 7 days. For longer storage, freeze it (wrapped well) for up to 2 months. Thaw overnight in the fridge before using.
- Scaling: This recipe can be easily doubled or tripled. You can freeze extra portions and use them later for pies, tarts, or quiches.
- Yield and serving: This recipe yields about 500 grams of dough — enough for one 10 to 12 inch pie or two 7 to 8 inch pies. You can also use it to make small pot pies, galettes, savory tarts, or mini quiches.
- Blind baking (optional): If using a very moist filling or making a no-bake pie, blind baking is helpful. Place parchment paper over the crust, add pie weights or dried beans evenly in a single layer, and pre-bake. This helps keep the bottom from turning soggy.
FAQs
Absolutely! At the very least, this simple pie dough requires 15 minutes of resting time prior to using. I personally like to make a double batch whenever I make a pie so that I can freeze the remaining crusts for later.
Unbaked dough should keep for a week when wrapped tightly in the refrigerator. Wrapped dough should keep for up to three months when frozen.
To me, it all comes down to flavor. While shortening does have the benefit of a higher melting point making it easier to handle, pie dough recipes that call for shortening lack the depth of flavor of an all butter pie crust, and can also end up tasting oily.
Some pie dough recipes call for a tablespoon or two of sugar. I personally prefer to omit it, which allows me to make either sweet or savory pies with the resulting crust. That said, you are welcome to add a bit of granulated sugar with the flour.
Another option to increase the sweetness of the pie dough is to do a simple egg wash or milk wash on the edges of the dough prior to baking. Once the milk wash is on, you can sprinkle plain granulated sugar or turbinado sugar prior to baking to add sparkle and crunch.
Yes, and I recommend that you do! Whenever I make pie dough, it is a bit of a production and flour gets all over the countertops. To make the process even more worthwhile, double the batch and freeze your leftovers. That way, you can easily make a pie whenever the craving strikes!
That depends entirely on the pie that you’re planning on making with it! For custard or pudding filled pies, or for some quiche recipes, yes. For pot pies, fruit pies or other pies that require a baked filling, no. Just follow the pie recipe as written, using this perfectly flaky pie dough recipe however it calls for.
If your pie dough isn’t coming together in a shaggy ball, you may need to add more water. Be sure your water is ice cold and only add a tablespoon at a time until the proper consistency is achieved.
If your dough is too wet and sticky, add a tablespoon of flour at at time until the appropriate consistency is achieved. You should see flecks of butter and the dough should be relatively smooth to the touch.
More DIY Recipes To Try!
DIY Recipes – Homemade Basics
DIY Recipes – Homemade Basics
Bread Recipes
Dessert Recipes
If you’ve tried this recipe, please rate it in the recipe card or leave a comment below – I’d love to hear your feedback. For more vegetarian inspiration, sign up for my email updates or follow me on Instagram, Youtube, Facebook, Pinterest or X.
All Butter Pie Crust Recipe (Homemade)
Ingredients
- 250 grams (2 cups) all-purpose flour
- ¼ teaspoon salt
- 125 grams Butter – cold, unsalted, chopped in small cubes
- 10 tablespoons water – ice cold, add as required
Instructions
Making pie dough
- Before beginning, fill a large glass with ice cubes, then top with cool water. Working with cold butter and ice water is important in making a flaky pie crust.
- Take the flour and salt in a mixing bowl. With a spoon or spatula mix well.
- Add the cold, unsalted butter cut into small cubes or grated on the side of a box grater. Be sure to keep butter in the freezer or refrigerator until you are ready to make your crust.
- Using a pastry cutter, cut butter into the flour. You can also use a stand mixer or even a food processor to cut the butter into the flour in less time.
- The mixture should look sandy with pea sized butter dispersed in the flour together with tinier or smaller pieces of butter.
- Add the cold water in parts and with a spoon begin to mix gently till the flour mixture comes together in a ball. You can even use your hands when adding water and mixing it gently with the dough.
- Remove the entire mixture on your working surface and combine together.
- Refrigerate for 15 minutes to 20 minutes before you start to make any pie.
Rolling a perfect homemade pie dough
- This entire pie dough recipe will easily fit a 10 to 11 inches pan. Depending on the size of pan, roll to large rectangle or circle 2 to 3 inches larger than the pan. This allows for some excess that you can use to make a pretty fluted edge.
- If you are working with a more standard 8 to 9 inch round pie pan, halve the dough. One half should be enough to fit the bottom of the pan, and you will have enough leftover to either cover the pie or make a second.
- Dust your working surface and rolling pin with some flour. Also lightly dust the pie dough with flour.
- Roll to a neat rectangle or circle with even thickness of about 0.5 to 1 mm.
- Use your rolling pin to gently lift and roll the pie dough on it. Place your rolling pin above your pie pan, then slowly unravel your dough, placing it gently on the pie pan.
- Trim or cut the edges with a knife and flute the edges using the forefinger and thumb of your non-dominant hand and the thumb of your dominant hand.
- Follow the pie recipe instructions regarding par-baking the all butter crust before using.
- Wrap and refrigerate this flaky pie crust for a week or freeze for a couple of months.
Notes
- Salted Butter: You can use salted butter, but add only ⅛ teaspoon salt in the pie crust recipe.
- Water temperature: The water has to be ice-cold. Do not use water which is at room temperature or warm.
- Make ahead and storing: This homemade pie crust can be stored in the refrigerator for a week or you can even freeze it for a couple of months.
- Scaling: The recipe can be easily halved or doubled or tripled.
- Serving size: This pie dough recipe weighs about 500 grams and can be used to make one large 10 to 12 inches single pie or two 7 to 8 inches single pie. You can even make smaller sized pot pies, quiches or tarts.
- Sticky dough: If the dough becomes sticky and wet, add some tablespoons of flour.
- Dry dough: If the dough looks dry or floury, sprinkle some cold water and gently combine.
Nutrition Info (Approximate Values)
Pie Crust recipe from the archives was first published on November 2020.




Great crust. Always a struggle to find eggless versions.
Thank you.
Fantastic! Loved it. The top turned out absolutely perfect in the Apple pie I tried, how can get bottom to be crispier?
Thank you for the feedback and nice to know. While baking, do heat the bottom heating element of a regular oven or OTG. If you use a microwave convection oven, then use a metal pan and bake only in the convection mode of the oven. You can also try keeping the pan near the bottom heating rod for a regular oven or OTG.