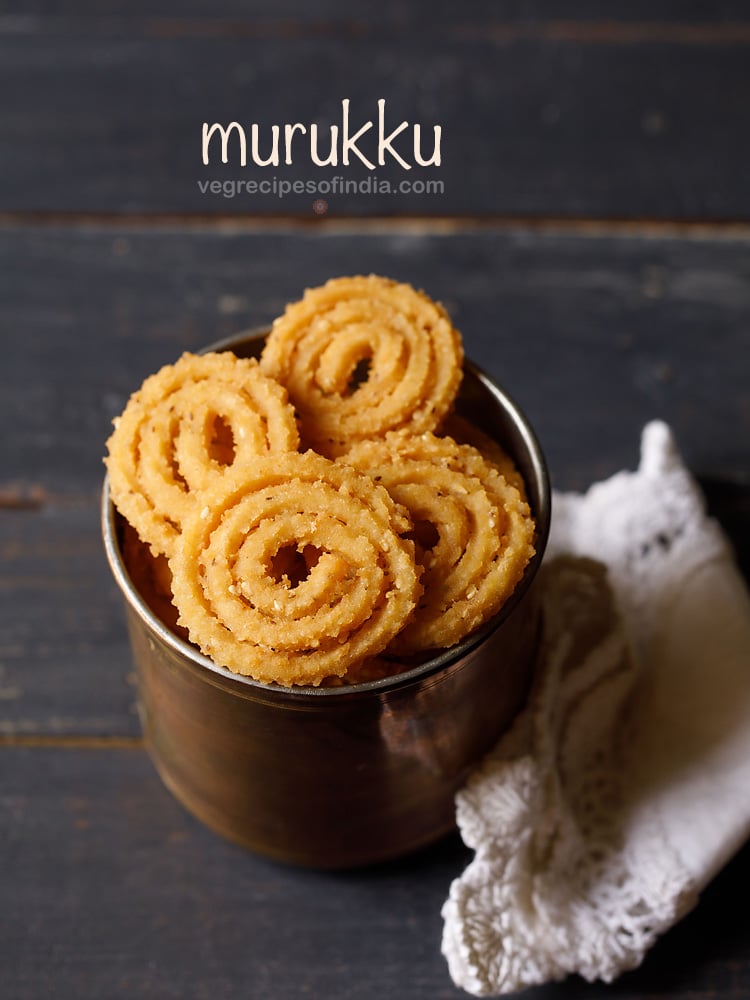
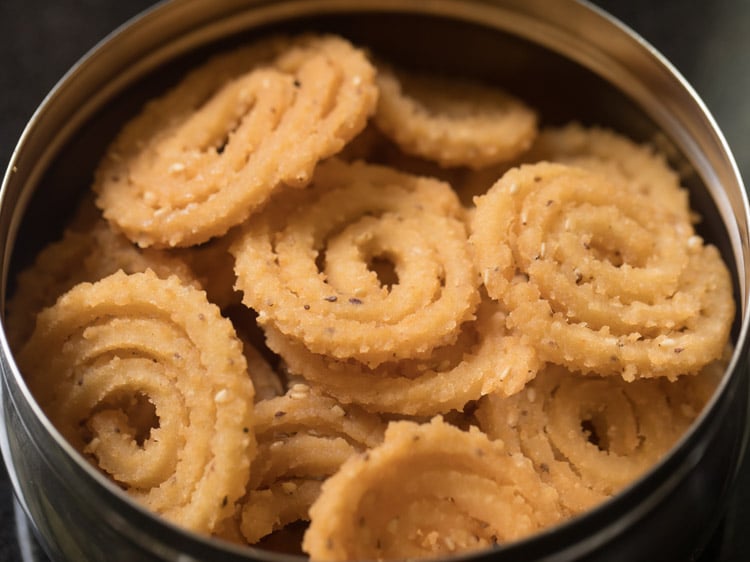
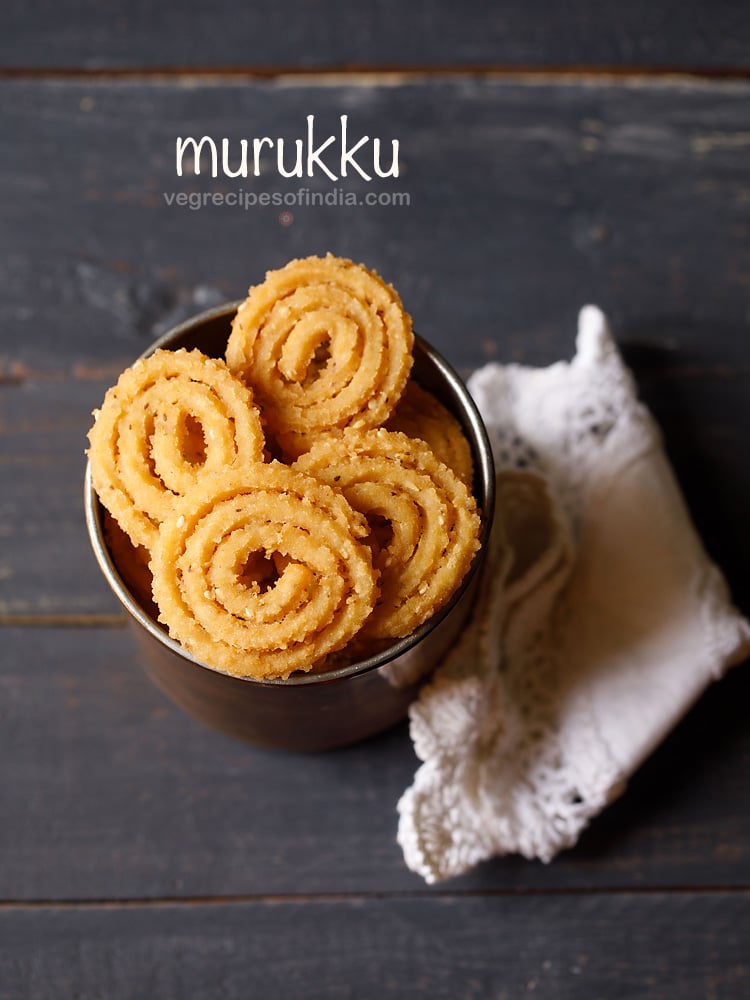
Murukku Recipe | Murukulu Recipe (Crunchy Rice Flour Spirals)
Not just the land of curries and spices, India is also synonymous with a plethora of fried snacks. One of it is the crispy, crunchy Murukku or Murukulu. Popular under this name in South India, this savory snack usually consists of rice and lentil flours along with spices and seasonings. Different South Indian households have different varieties. Mine here, is the basic Murukku Recipe with many troubleshooting tips and pointers, which’ll help you make this yummy snack from scratch, at home.
What is Murukku
The word Murukku is traditionally a Tamil word meaning ‘twisted.’ Hence, making it obvious that the shape this snack is round and spirally twisted. These are famous as a tea time snack down south and are also made in bulk quantities during many festivals.
Not just Tamil Nadu, a Murukku Recipe is a chosen one in most of the households in other states of South India. For instance, Kerala, Andhra Pradesh and Karnataka.
Variations of this recipe and slight changes in the shape along with names are also found in states like Gujarat, Odisha, Maharashtra and the Konkan region. It is also associated with the cuisines of Sri Lanka, Myanmar, Malaysia, Singapore and Fiji.
Some names of the Murukku in other regional languages are murukulu/jantikalu/chakralu (Telugu), dantkali (Odiya), chakkuli (Kannada) and chakri (Gujarati and Konkani). Maharashtrian cuisine calls it a Chakli, where the ingredients also differ than its South Indian counterpart.
While the Murukku Recipe primarily has base ingredients like rice flour and urad dal flour, the chakli will have gram flour (besan) in place of the lentil flour, along with the rice flour as its primary ingredients.
Also, I use asafoetida in both these recipes of mine. But you can choose to omit it to make a gluten free version of these snacks. Another version of the Murukku, is this Butter Murukku, which is closer to the chakli in its composition and has butter as the fat.
About My Recipe
The Murukku Recipe that I have shared here is an easy, fool proof way of preparing this snack at home. For my recipe, I have used rice flour and urad dal flour (also referred to as black gram or matpe bean flour) that I brought from the market.
But you can also use homemade urad dal flour by grinding the lentils in a mixer-grinder. In order to make this flour from scratch at home, you will have to use the husked or hulled black gram lentils.
The process of making a Murukulu resembles a lot to the process of making chakli. You just have to be certain of a few things before you begin with the procedure of preparing these.
I have mentioned the tips and suggestions that will ease out the process and methodology for you. Read them, they are really helpful.
To make these concentric rings, you need a special equipment called ‘murukku press’ or ‘chakli maker.’ Different varieties of this unique equipment can be purchased from stores across India or bought online as well. Just make sure to choose the one that is easy to work with.
This recipe yields about 32 to 35 small sized pieces of Murukulu. Depending on the size, the quantity can increase or decrease.
It is also possible to halve, double or triple the recipe, as is required. I usually make these small, as they are easy to fry. However, you can make these slightly larger as well.
Most of the times, I make Murukku, Sev and Shankarpali as festive snacks during Diwali. But trust me, these are just as good any other time of the year too.
This particular snack is fried, obviously means it has a longer shelf life. You can store them with ease, in air-tight jars at room temperature.
Explore More Diwali Snacks Recipes
How to make Murukku (Stepwise)
For ease of understanding, I have divided this photo guide into 4 steps:
- Make urad dal flour
- Make murukulu dough
- Shaping murukku
- Frying murukku
If you are planning to use packaged urad dal flour, move to the second main step of making the dough.
Make Urad Dal Flour
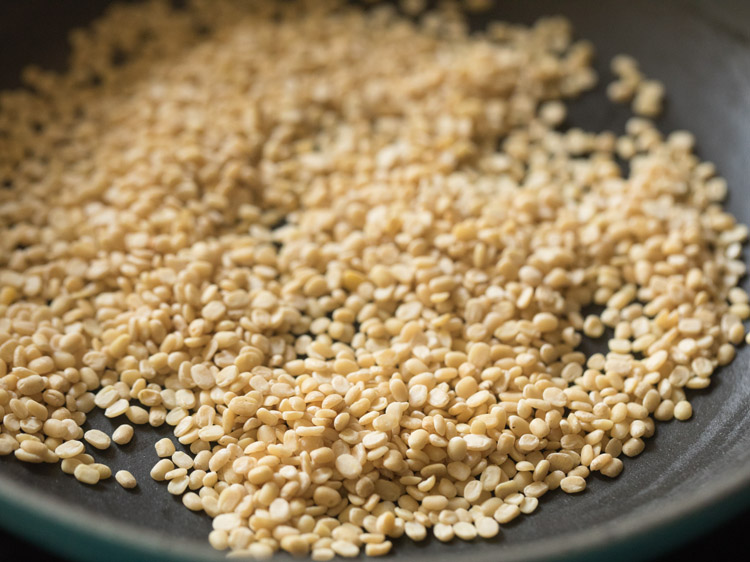
1. Heat a small frying pan or kadai. Keep the heat to its lowest and add 3 tablespoons (40 grams) urad dal.
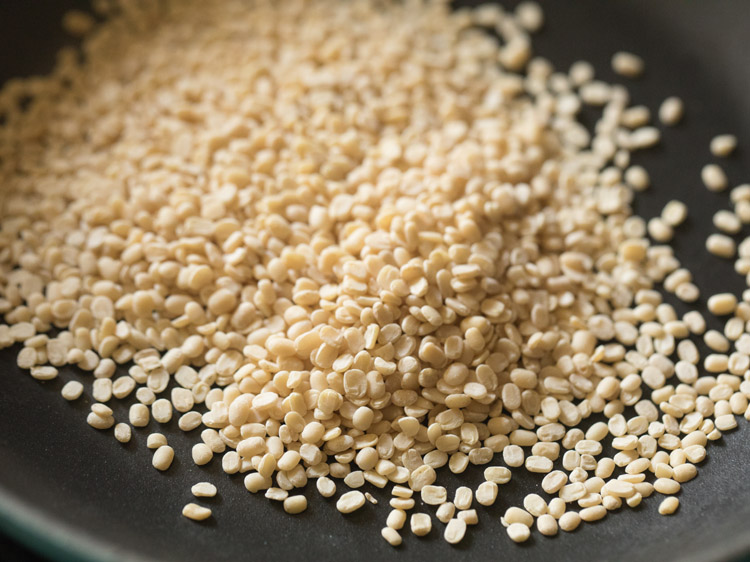
2. Begin to dry roast urad dal. Stir often, while roasting the lentils.
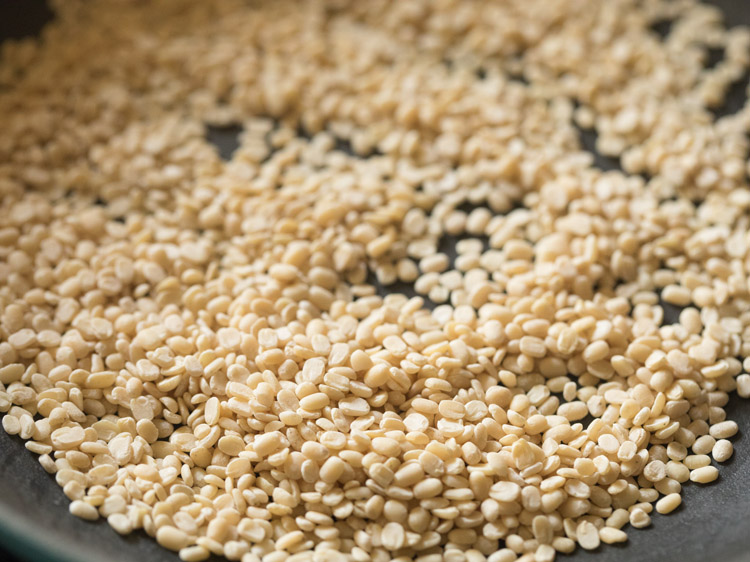
3. Roast urad dal till fragrant or light golden. Do not brown. Transfer to a plate and let the roasted urad dal cool to room temperature.
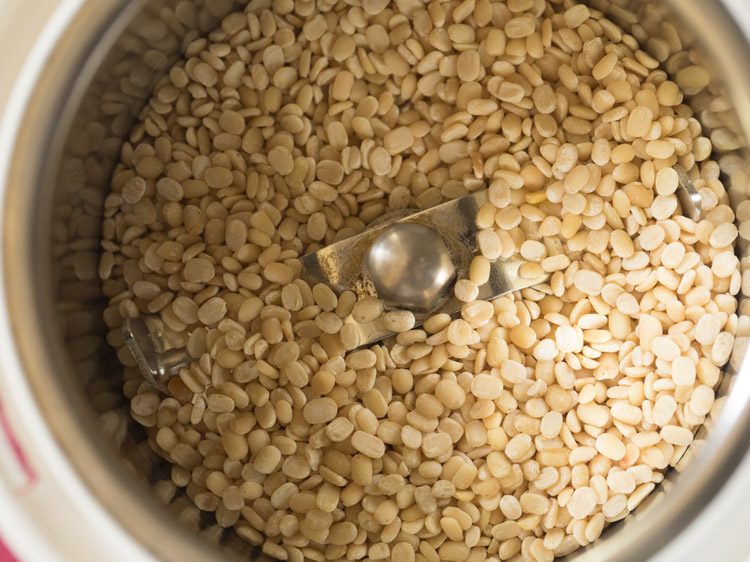
4. Then, take the roasted urad dal in a small dry grinder jar, small chutney grinder jar or a small blender.
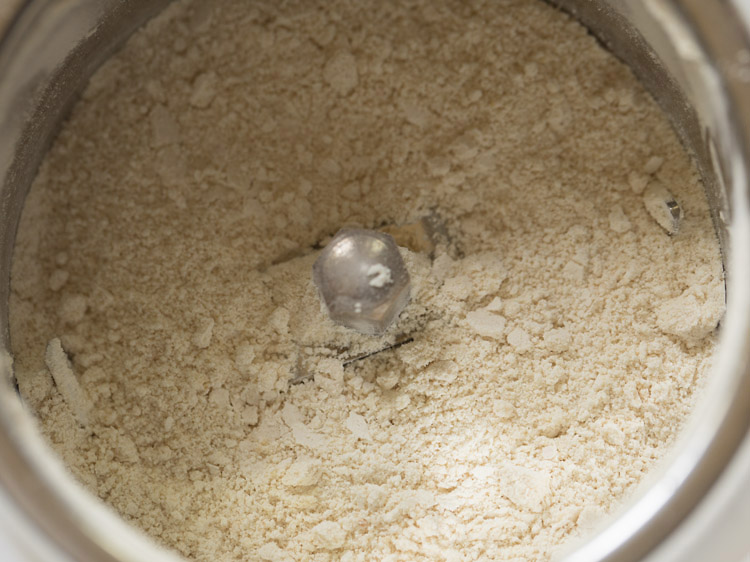
5. Grind to a fine flour. Set aside. Ensure that the flour texture is fine. A coarse or gritty texture will tear the dough while shaping.
More Preparation
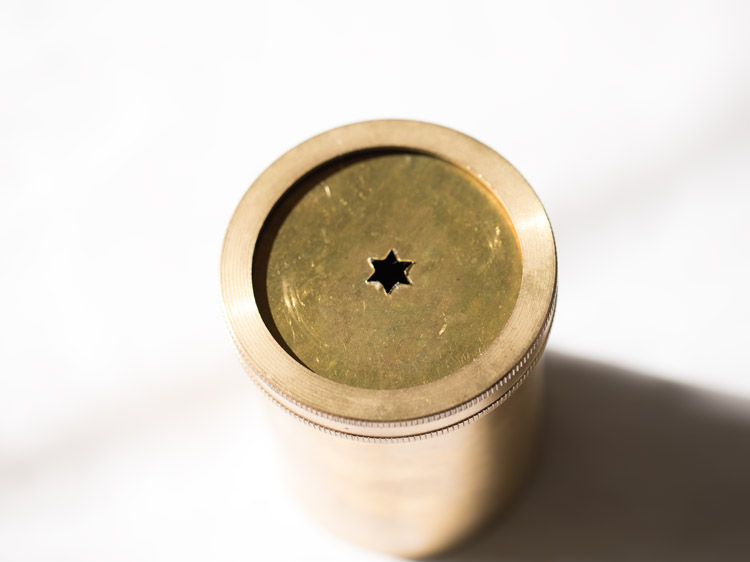
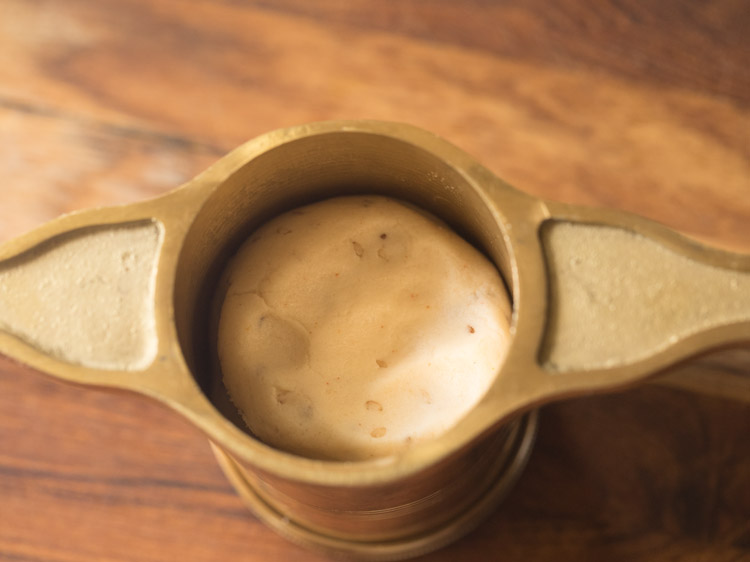
6. Meanwhile, spread oil on the disc of a ‘murukku maker.’ This is a one star-shaped disc and will be a part of the murukku maker that you have.
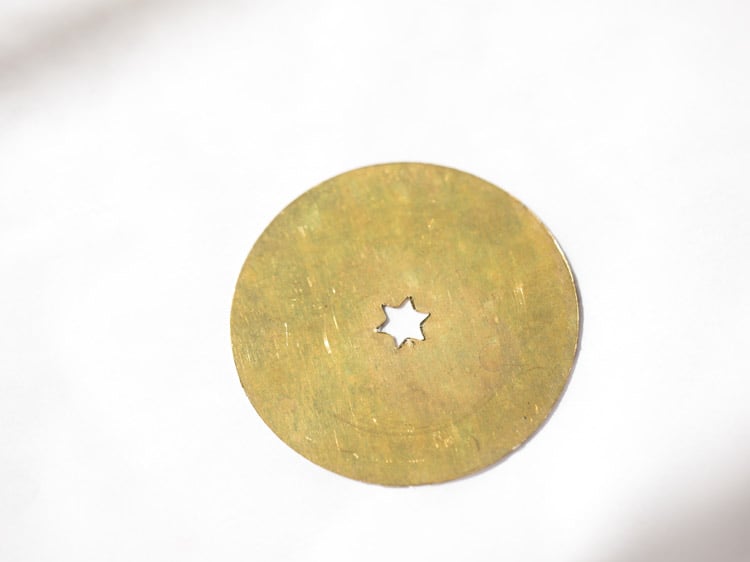
7. Also, spread some oil on the part of the murukku maker vessel where the dough will be placed.
Secure and tighten the oiled disc to the main vessel of the murukku maker as shown in the picture below.
Make Murukulu Dough
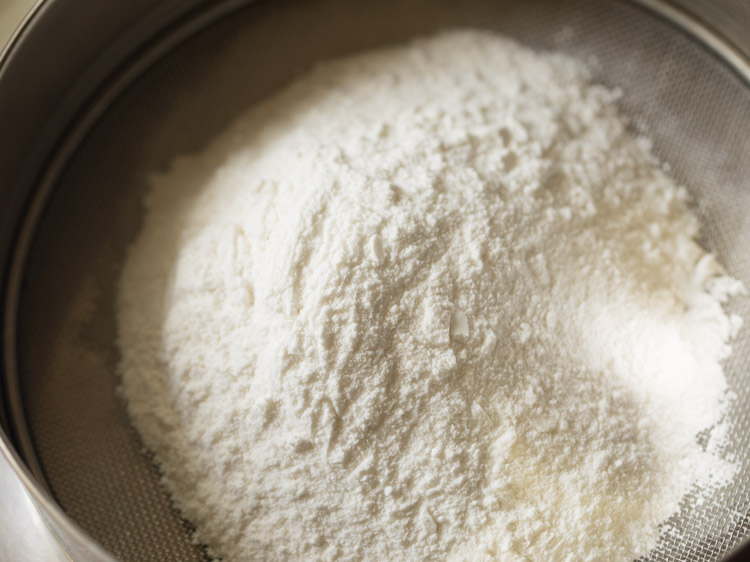
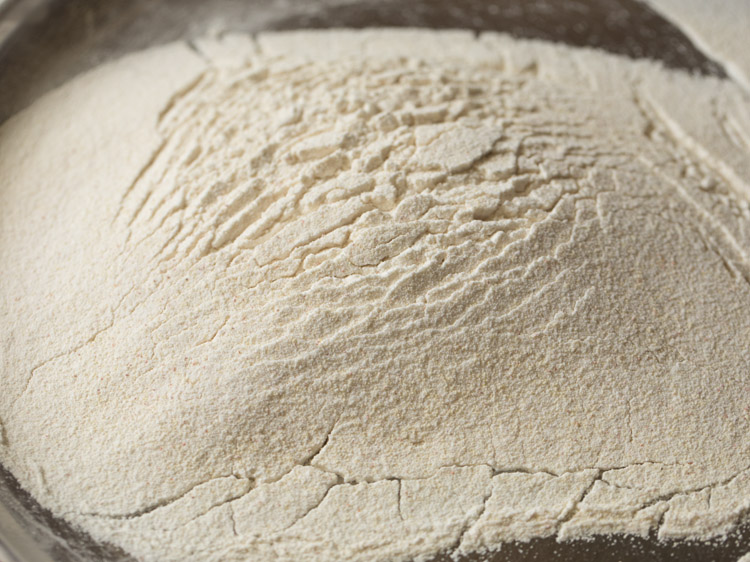
8. In a fine sieve, take 1 cup (150 grams) rice flour.
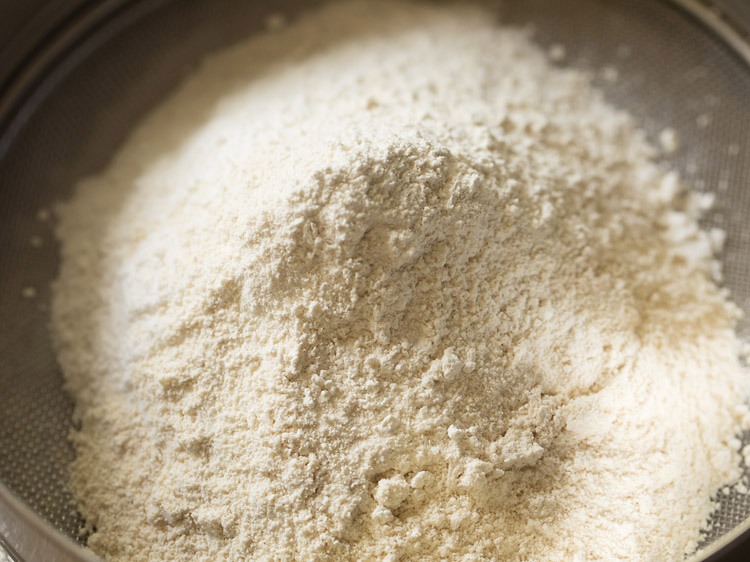
9. Also, add the prepared urad dal flour to the same sieve.
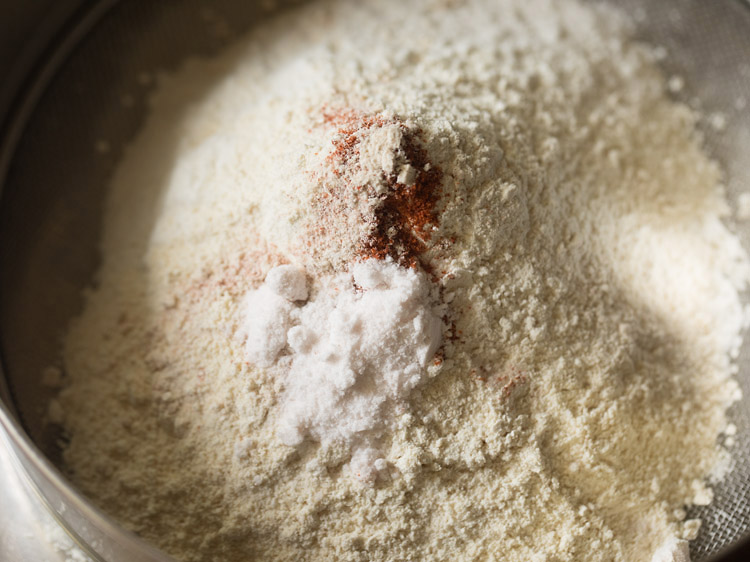
10. Next, add ¼ teaspoon red chili powder, ¼ teaspoon or ⅛ teaspoon asafoetida and ½ teaspoon salt or as per taste.
11. Sift the dry ingredients twice.
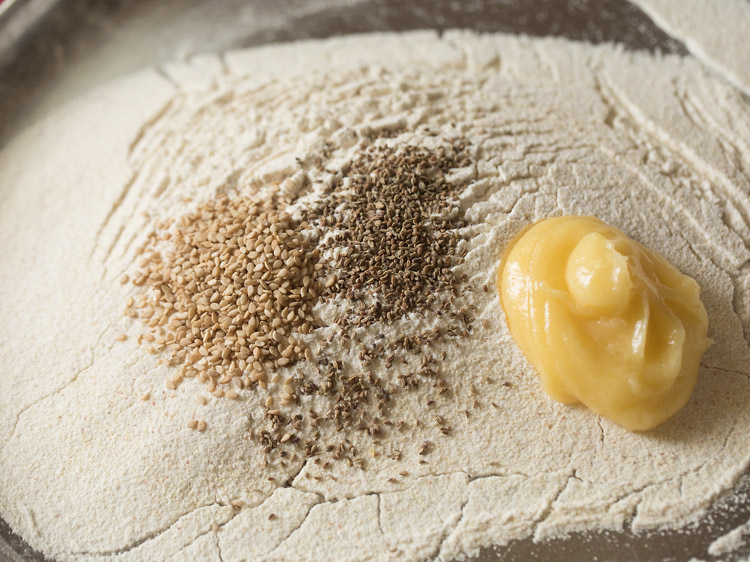
12. Then, add 1 teaspoon white sesame seeds, ½ teaspoon carom seeds (ajwain) and 2 tablespoons (40 grams) ghee.
Note: Instead of carom seeds you can also use cumin seeds.
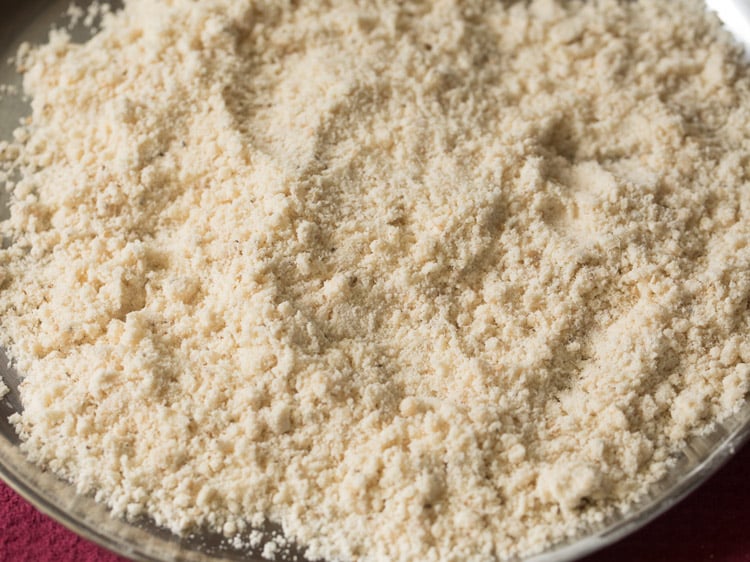
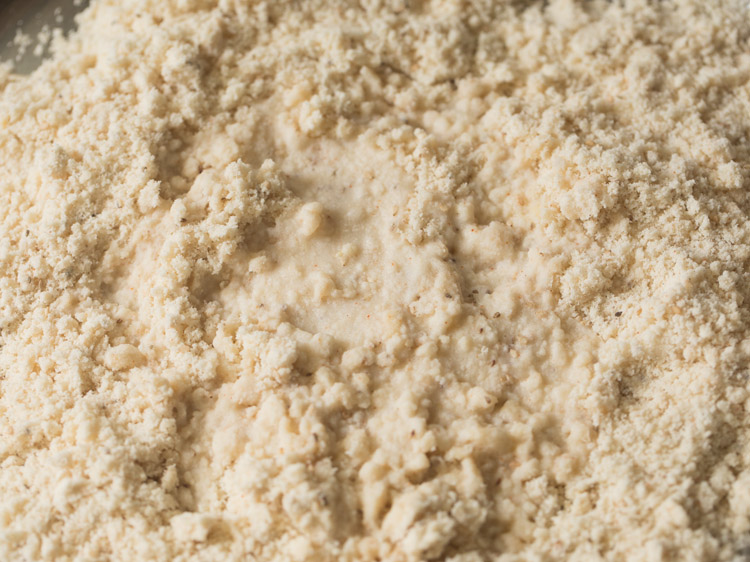
13. Mix everything very well. With your fingertips, mix the ghee in the flour evenly. The mixture should resemble breadcrumbs.
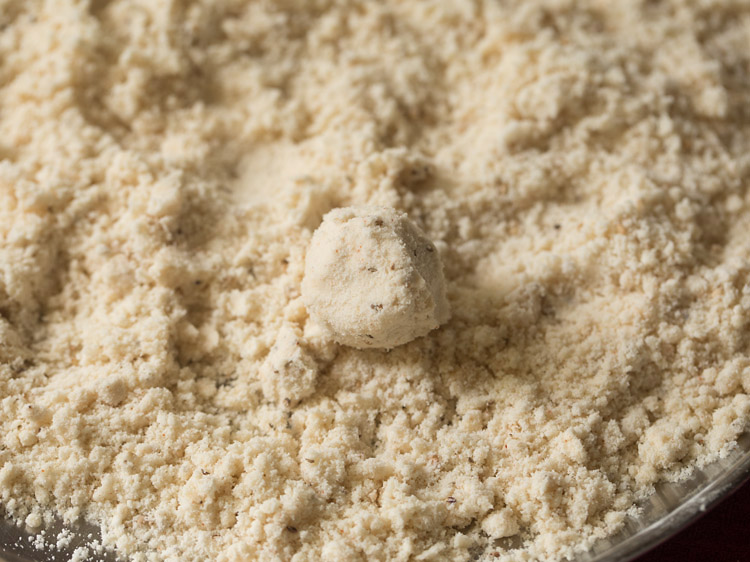
14. Take a small portion of the mixture in your palms and it should hold itself together. It should not break or fall apart.
If it breaks or falls apart, add 1 to 2 teaspoons more ghee. Mix again very well and then check.
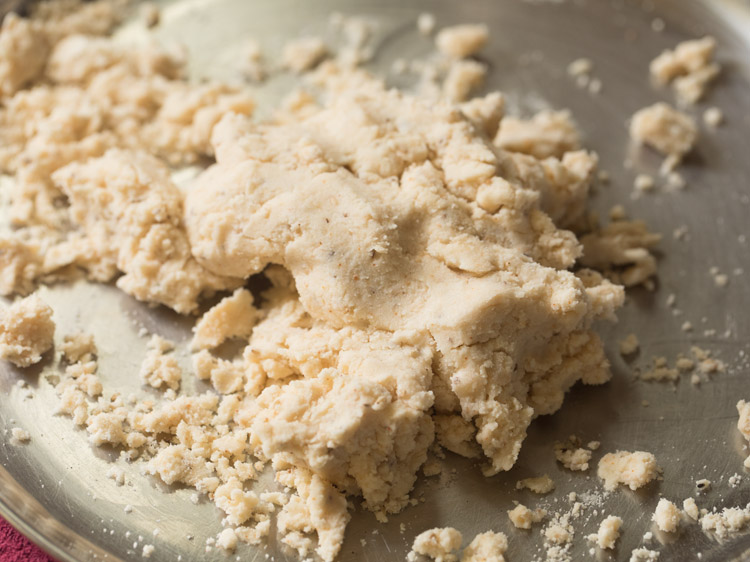
15. Now, add water in parts and begin to mix and knead.
16. Keep on adding water in parts and knead very well.
17. You will need about 10 to 11 tablespoons water. The amount of water needed will depend on the quality of rice flour.
Check the taste of dough and add more salt, if required.
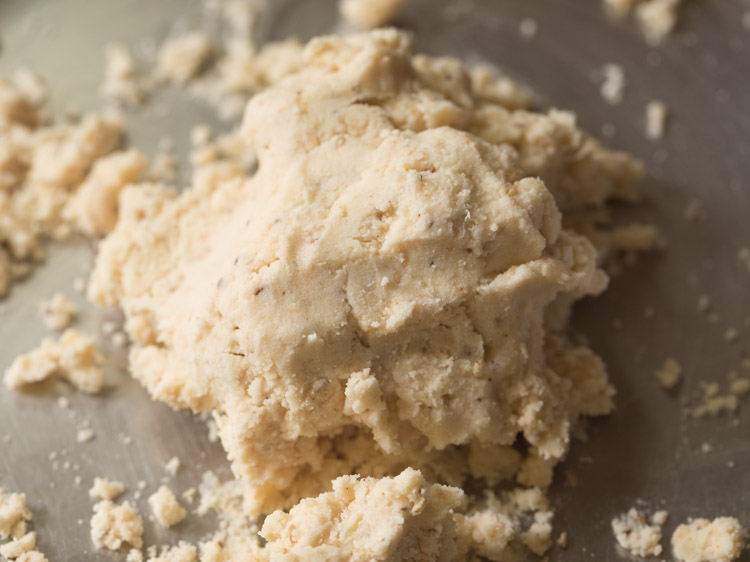
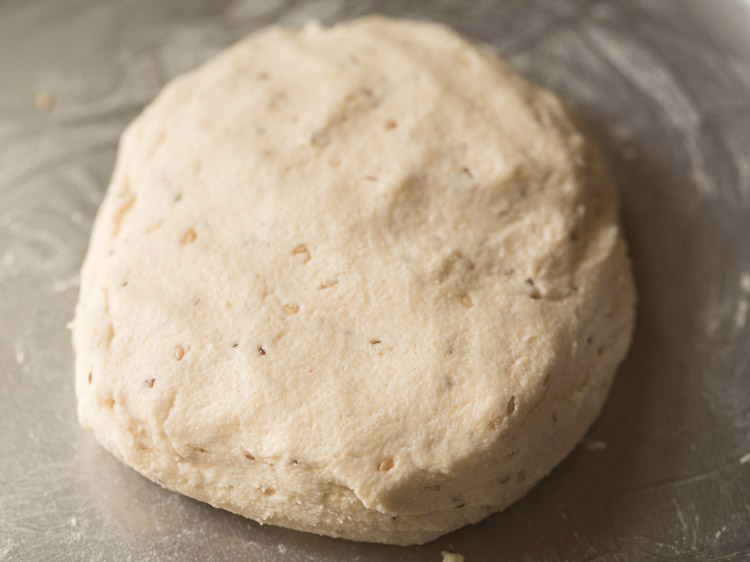
18. Knead to a smooth and soft dough. Also, keep the dough slightly moist, but do not make it too moist or sticky as then the murukulu will absorb more oil.
Murukku has to be made as soon as you knead the dough. So, keep everything ready before you shape and fry them. Also, do not let the dough rest for any amount of time.
Shape Murukku
19. Now, divide the dough in 2 parts and add first part in the murukku maker. Cover the second part of dough with a kitchen towel.
20. Before you begin to shape the murukulu, begin to heat oil as required for deep frying in a kadai (wok) or frying pan.
Keep the oil on a low or medium-low heat, so that it does not become too hot. Use any high-smoke point neutral flavored oil.
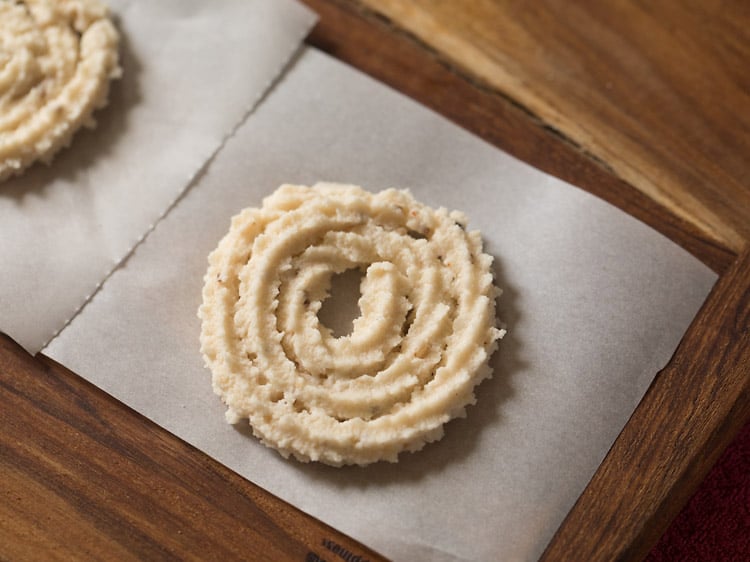
Use butter paper or parchment paper squares. Cut them and keep ready before you make murukulu.
Press the murukku maker and move in rounds to get the concentric circles or spirals on the paper squares. Break the dough towards the end and press it to the last concentric circle of the spiral.
Tip 1 – If the Murukku breaks while forming, this means that the dough does not have enough moisture. Add 1 or 2 tablespoons water and knead the dough again.
Tip 2 – If you are not getting proper shape, this mean that the dough is too moist. Add some rice flour and knead again.
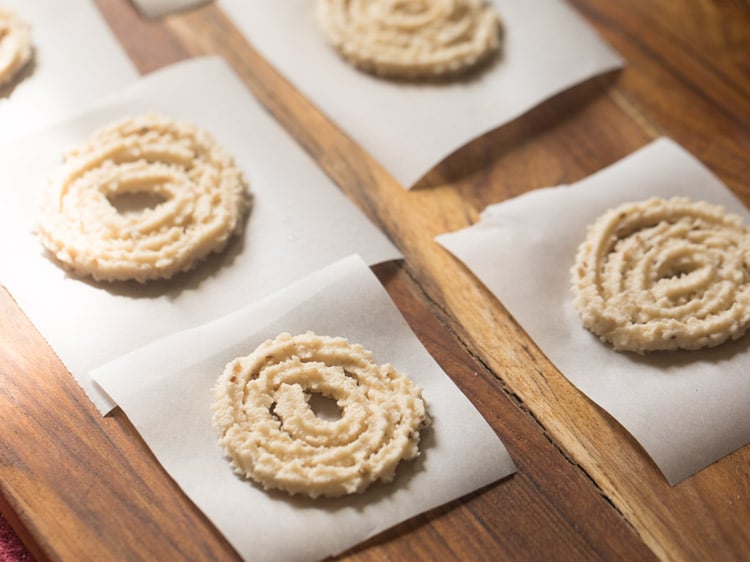
21. Make a batch of Murukku. Example, make 3 to 5 Murukkus that you will be frying.
Fry Murukku
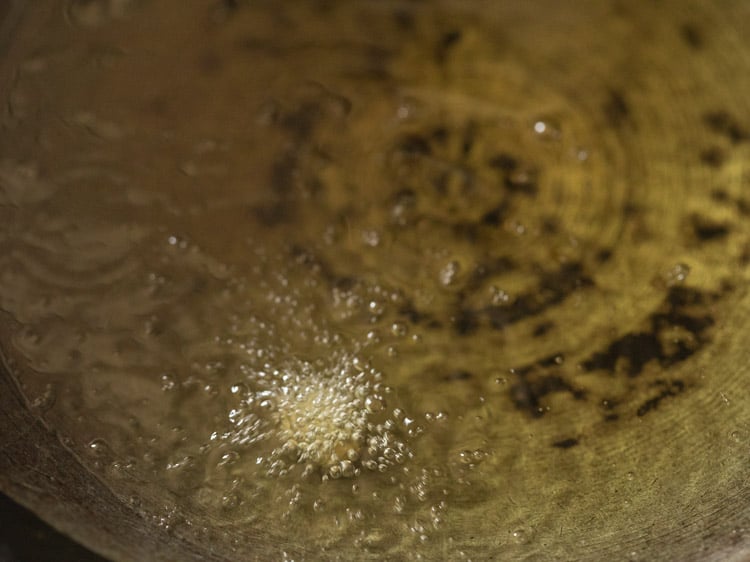
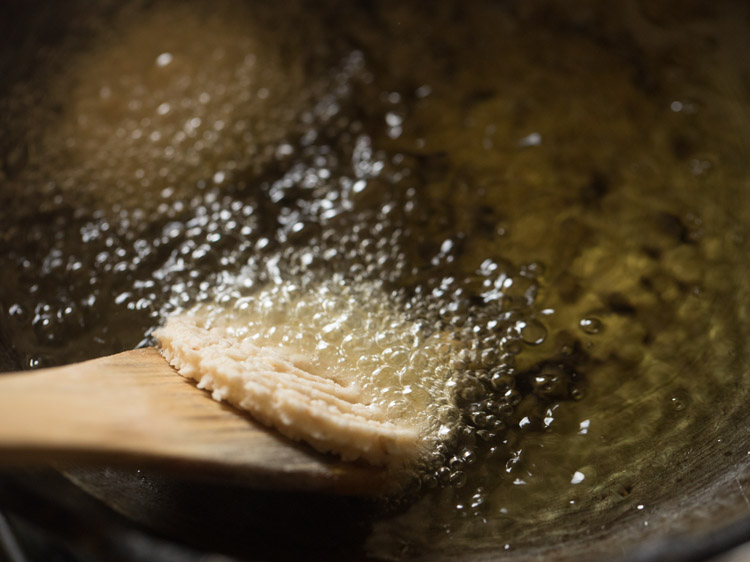
22. Next, test the temperature of the oil. Add a small piece of the dough in the oil and it should come up gradually.
If it comes up fast, the oil is hot. Then, reduce the heat. If it sticks, is at the bottom or comes up slowly, the oil is not hot enough. Then, increase the heat.
23. Take the butter paper with the murukulu in your hands. Then, take a small to medium size wooden spatula and place it on the Murukku gently.
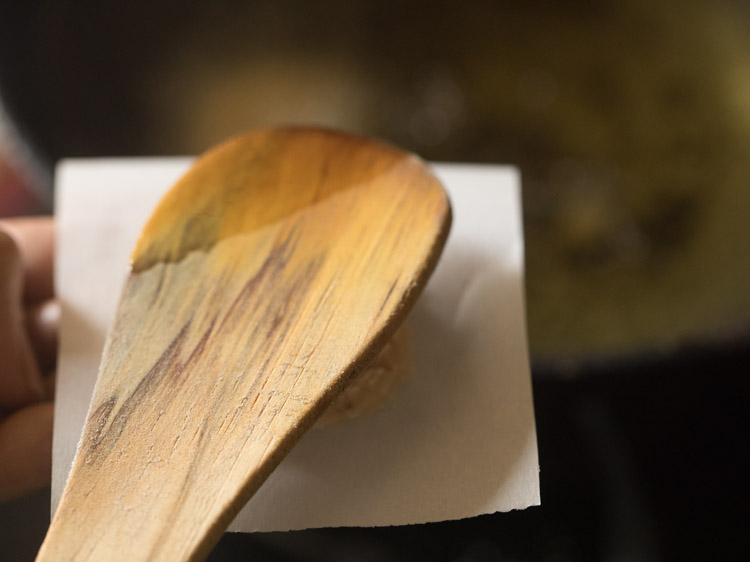
24. Then, gently turn over the spatula. The butter paper will be facing you.
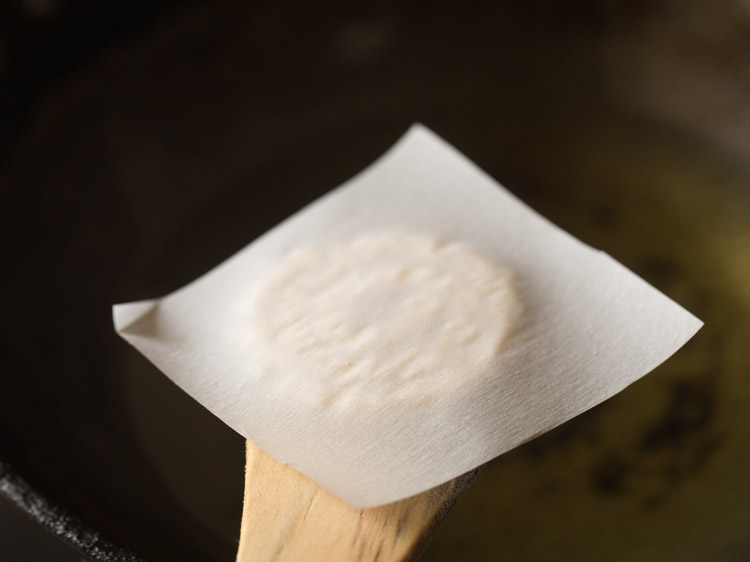
25. Lift the butter paper gently.
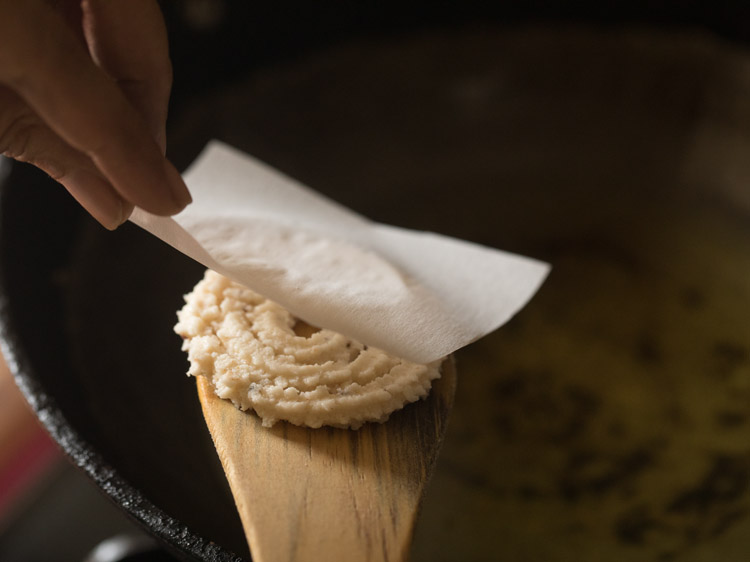
26. The Murukku will be neatly placed on the wooden spatula.
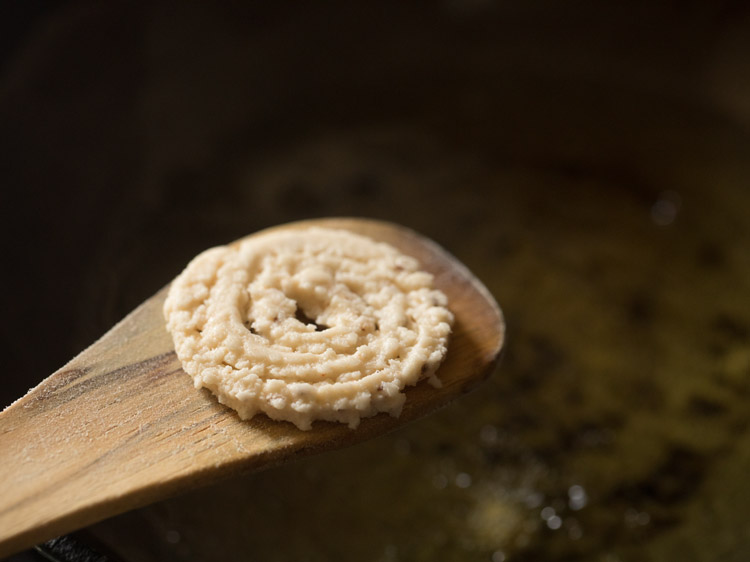
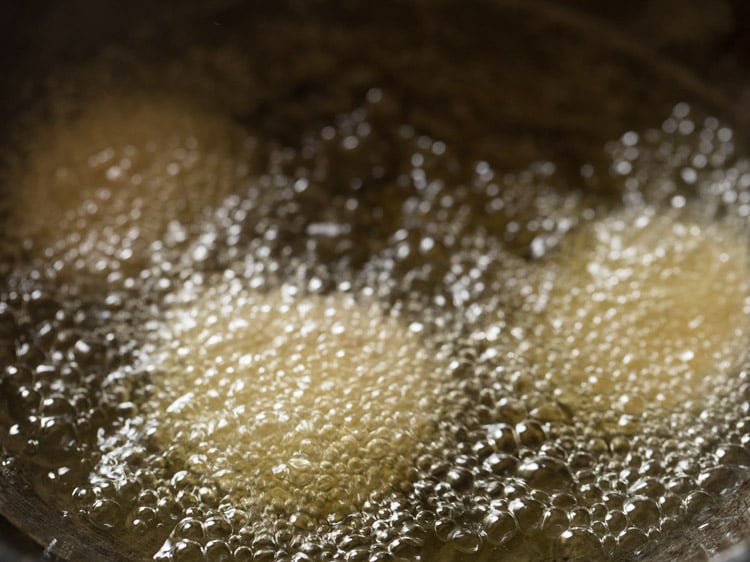
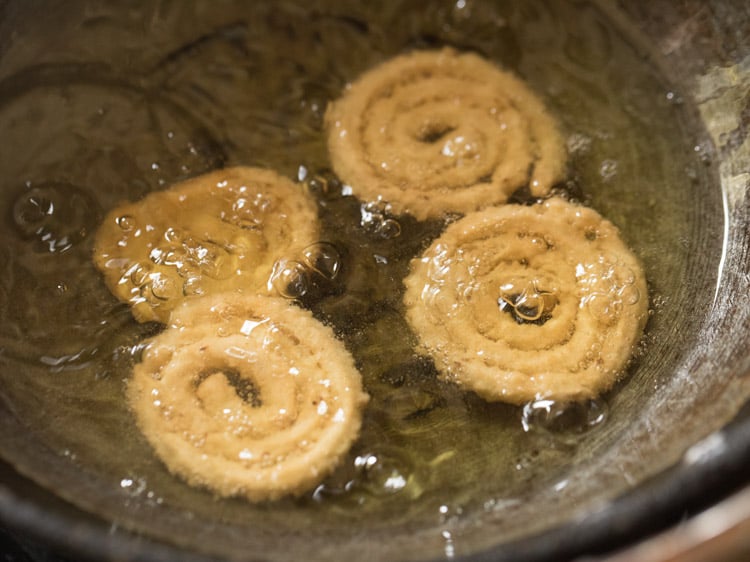
27. Now, gently tilt or place the spatula in hot oil, so that the Murukulu slides in the oil.
28. Add the remaining Murukku in this manner.
29. Fry on medium heat or at a temperature of 180 to 190 degrees C.
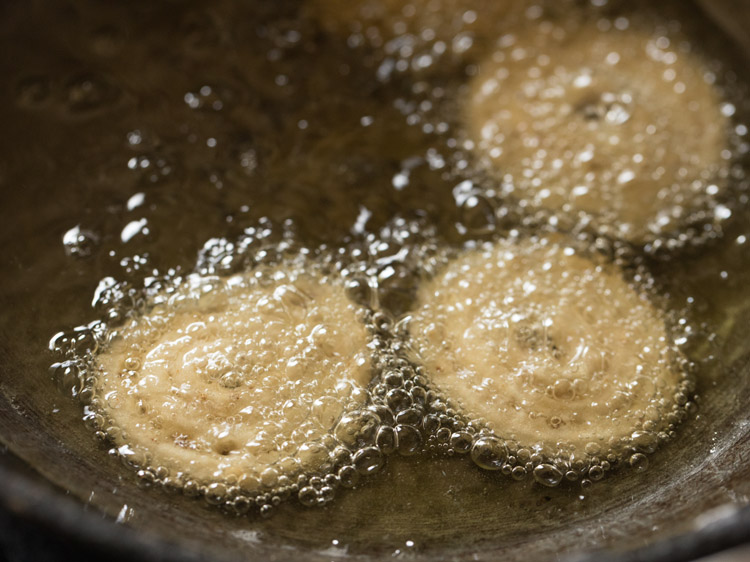
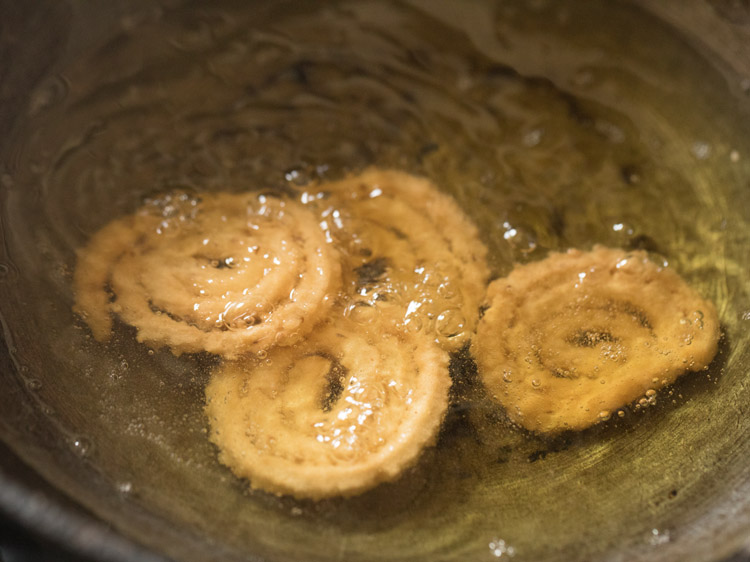
30. When they turn light golden, flip gently with a slotted ladle or perforated spoon. Do not flip them early, as they can break while turning over.
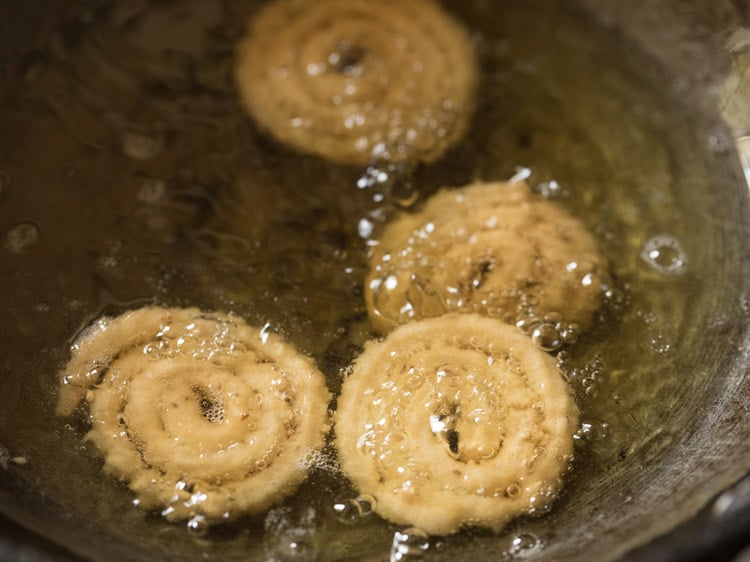
31. Fry the second side.
32. Fry the Murukku till the oil stops sizzling or it becomes crisp and golden. Do not brown too much. Turn over as needed for even frying.
Tip 3 – Check the first batch after frying. If it looks that it has absorbed more oil or are breaking in the oil, add about 1 to 2 tablespoons rice flour and knead again. This happens if too much fat is added in the dough.
33. Remove with a slotted spoon draining extra oil in the kadai itself. This way, fry in batches.
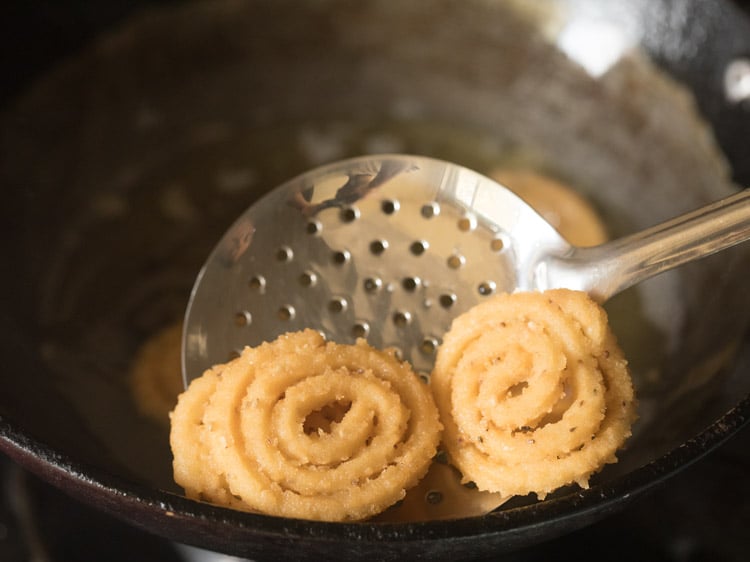
34. Place the fried Murukku on kitchen paper towels to soak excess oil.
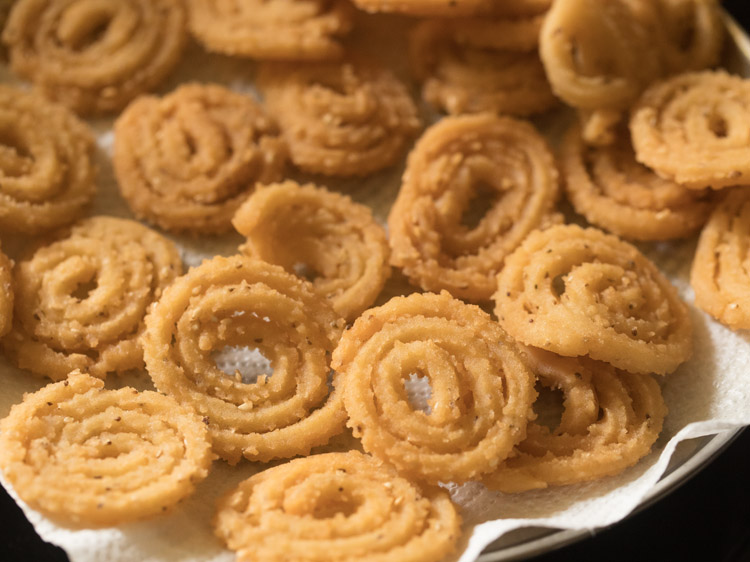
35. Once they cool to room temperature, store them in an airtight container or jar.
These keep well for a couple of weeks at room temperature. But make sure that they are stored in an airtight jar or container so that they do not soften.
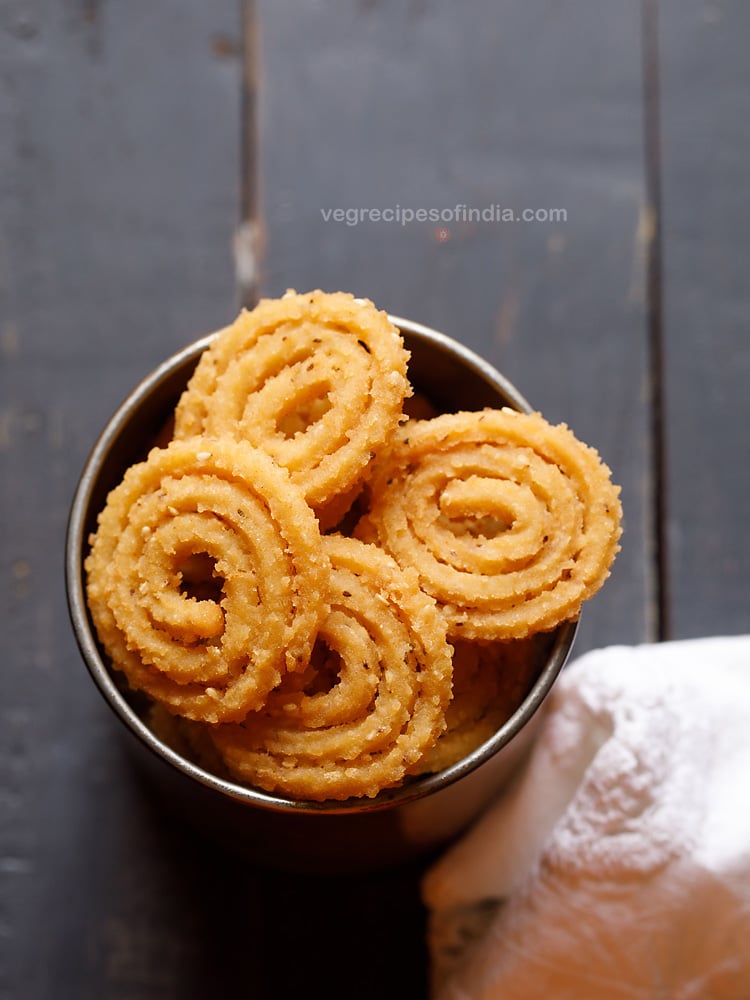
36. Serve Murukku as a tea-time snack.
Dassana’s Recipe Tips
- The dough has to be of the precise texture and consistency. If it is too pasty or wet, you won’t be able to form the dough into the desired shape. To correct, add a few tablespoons of rice flour and knead again.
- In case of a dry dough, the Murukku will tear or break while shaping. So, add a few tablespoons of water, mix and then knead.
- A proper dough for this Murukku Recipe should be smooth, soft and slightly moist. Don’t make it too moist as then it will absorb more oil while frying.
- For a spicier snack, add about 1 teaspoon green chilli paste. You can even add about 1 teaspoon garlic paste along with the chilli paste.
- Deep fry the Murukku on medium heat. Fry it in batches, in moderately hot oil of about 180 to 190 degrees C. The oil should not be smoking hot, nor warm. Extremely hot oil will burn or brown the snack too quickly. Warm oil will make it absorb more oil.
- Scale easily to make a larger batch of this Murukku Recipe. Halve, to make a smaller batch.
Step by Step Photo Guide Above
Ingredients
- 3 tablespoons urad dal – 40 grams
- 1 cup Rice Flour – 150 grams
- ¼ teaspoon asafoetida powder (hing) – can also add ⅛ teaspoon asafoetida
- ¼ teaspoon red chilli powder or add as required
- ½ teaspoon salt or add as required
- 1 teaspoon white sesame seeds – can also add black sesame seeds
- ½ teaspoon carom seeds (ajwain) – can also add ½ teaspoon cumin seeds
- 2 tablespoons ghee – 40 grams
- 10 to 11 tablespoons water or add as required
- oil as required for deep frying
Instructions
Making urad dal flour
- Heat a small frying pan or kadai. Keep the heat to its lowest and add urad dal.
- Begin to roast urad dal and keep stirring often when roasting the lentils.
- Roast urad dal till they become aromatic or are light golden. Do not make them brown. Remove in a plate and let the roasted urad dal cool at room temperature.
- Take the roasted urad dal in a small dry grinder jar or a small chutney grinder jar. Grind to a fine flour. Keep aside.
- Meanwhile, spread oil on the murukku disc. Also spread some oil on the part of the murukku maker where the dough will be placed.
Making murukku dough
- In a fine sieve, take rice flour. Also add the urad dal flour to the same sieve.
- Next add red chilli powder, asafoetida powder and salt.
- Sift the dry ingredients twice.
- To the sifted flours add sesame seeds, carom seeds and ghee.
- Mix everything very well. Then with your fingertips mix the ghee in the flour evenly. The mixture should resemble breadcrumbs.
- Hold a small portion of the murukku mixture in your palms and it should hold itself together. It should not break or fall apart. If it breaks or falls apart, then add 1 to 2 teaspoons more of the ghee. Mix again very well and then check.
- Now add water in parts and begin to mix and knead.
- Keep on adding water in parts and knead very well.
- You will need about 10 to 11 tablespoons of water. The amount of water needed will depend on the quality of rice flour. Check the taste of dough and add more salt if required.
- Knead to a smooth and soft dough. Also keep the dough slightly moist, but do not make too moist or wet as then the murukku absorbs more oil.
- Murukku has to be made as soon as you knead the dough, so keep everything ready before you shape and fry them.
Shaping murukku
- Now divide the dough in two parts and add first part in murukku maker. Cover the second part of dough with a kitchen towel.
- Before you begin to shape the murukku, keep oil in a kadai (wok) or frying pan to get heated. Keep the oil on a low or medium-low heat, so that it does not become very hot. Use any neutral flavored oil with a high smoke point.
- Use butter paper or parchment paper squares. Cut them in squares and keep ready before you make murukku.
- Press the murukku maker and move in rounds to get the concentric circles or spiral shape on the paper squares. Break the dough towards the end and press it to the last concentric circle of the spiral.
- Tip 1 – If the murukku breaks while forming them, this means that the dough does not have enough moisture. Add 1 or 2 tablespoons of water and knead the dough again.
- Tip 2 – If you are not getting proper shape, this mean that the dough is too moist. Add some rice flour and knead again.
- Make a batch of murukku. E.g make 3 to 5 murukku that you will be frying at a time.
Frying murukku
- Next test the hotness of the oil. Add a small piece of the murukku dough in the oil and it should come up gradually. If it comes up fast, the oil is hot, so reduce the heat. If it sticks or is at the bottom or comes up slowly, the oil is not hot enough, so increase the heat.
- Take the butter paper with the murukku in your hands. Then take a small to medium sized wooden spatula and place it on the murukku gently.
- Then gently turn over the spatula. The butter paper will be facing you. Lift the butter paper gently.
- The murukku will be neatly placed on the wooden spatula.
- Now gently tilt or place the spatula in oil, so that the murukku slides in the oil.
- Add the remaining murukku also in this manner. Fry on a medium heat.
- When they turn light golden, then flip them gently. Fry the second side.
- Fry the murukku till the oil stops sizzling or till they become crisp and golden. Do not brown them too much. Turn over as needed for even frying.
- Tip 3 – Check the first batch of murukku. If it looks like that the murukku has absorbed oil or breaks in oil, then add some rice flour, about 1 to 2 tablespoons and knead again. This happens if too much fat has gone in the dough.
- Remove with a slotted spoon draining extra oil in the kadai or pan itself.
- Place them on kitchen paper towels to soak extra oil.
- Once they cool at room temperature, then store murukku in an air-tight box at room temperature.
- Serve Murukku as a tea-time snack.
Dassana’s Notes
- Make sure the dough is of the correct texture and consistency. If it is too pasty or wet, you won’t be able to shape the dough into the concentric spiral rings. To correct add a few tablespoons of rice flour and knead again.
- If the dough is dry, it will break or tear while shaping. Add a few tablespoons of water. Mix and knead.
- To make a spicier murukku, add about 1 teaspoon green chilli paste. You can also add about 1 teaspoon garlic paste together with the green chilli paste.
- While deep frying, keep the heat to medium. Fry the murruku in batches in a moderately hot oil having about 180 to 190 degrees Celsius. The oil must not be smoking hot or warm. A very hot oil will burn or brown the murukku too quickly. A warm temperature will make them absorb more oil.
- This recipe can be scaled to make a smaller batch or a larger batch.
- Note that the approximate nutrition info is for 1 small murukku.
Nutrition
This Murukku Recipe post from the archives first published in June 2018 has been updated and republished on 4 September 2022.


Can I add cumin seeds in this murukku recipe?
Yes you can add cumin seeds.
Thx for the yummy recipe ?.
Also can you please suggest a good brand for murukku/sev maker on Amazon.
There are so many options, it’s hard to decide.
Thanks so much.
Welcome Tulika. I don’t know which brand is good. I have two murruku makers and both are nice. One has that press and lock mechanish like Anjali brand. The brand which I have is not available on amazon. This type of murruku maker is much better as you do not have to press your hand’s weight on it. In this recipe, I have used the second murruku maker I have. For this much weight and pressure has to be applied. It is this brass murukku press on amazon.in.
Thanks for the reciepe with tips…..works perfectly
thanks a lot hema. thanks for the rating too.
Murukku was crispy and tasty. Thanks for sharing your recipe. Hope to try many more of your recipes.
Thanks for the feedback and welcome. Sure, do try more recipes.
Murukku was perfect ????. Crisp, tasty and too good. Thanks for sharing recipe with tips.
welcome latha and thanks for sharing this positive feedback.