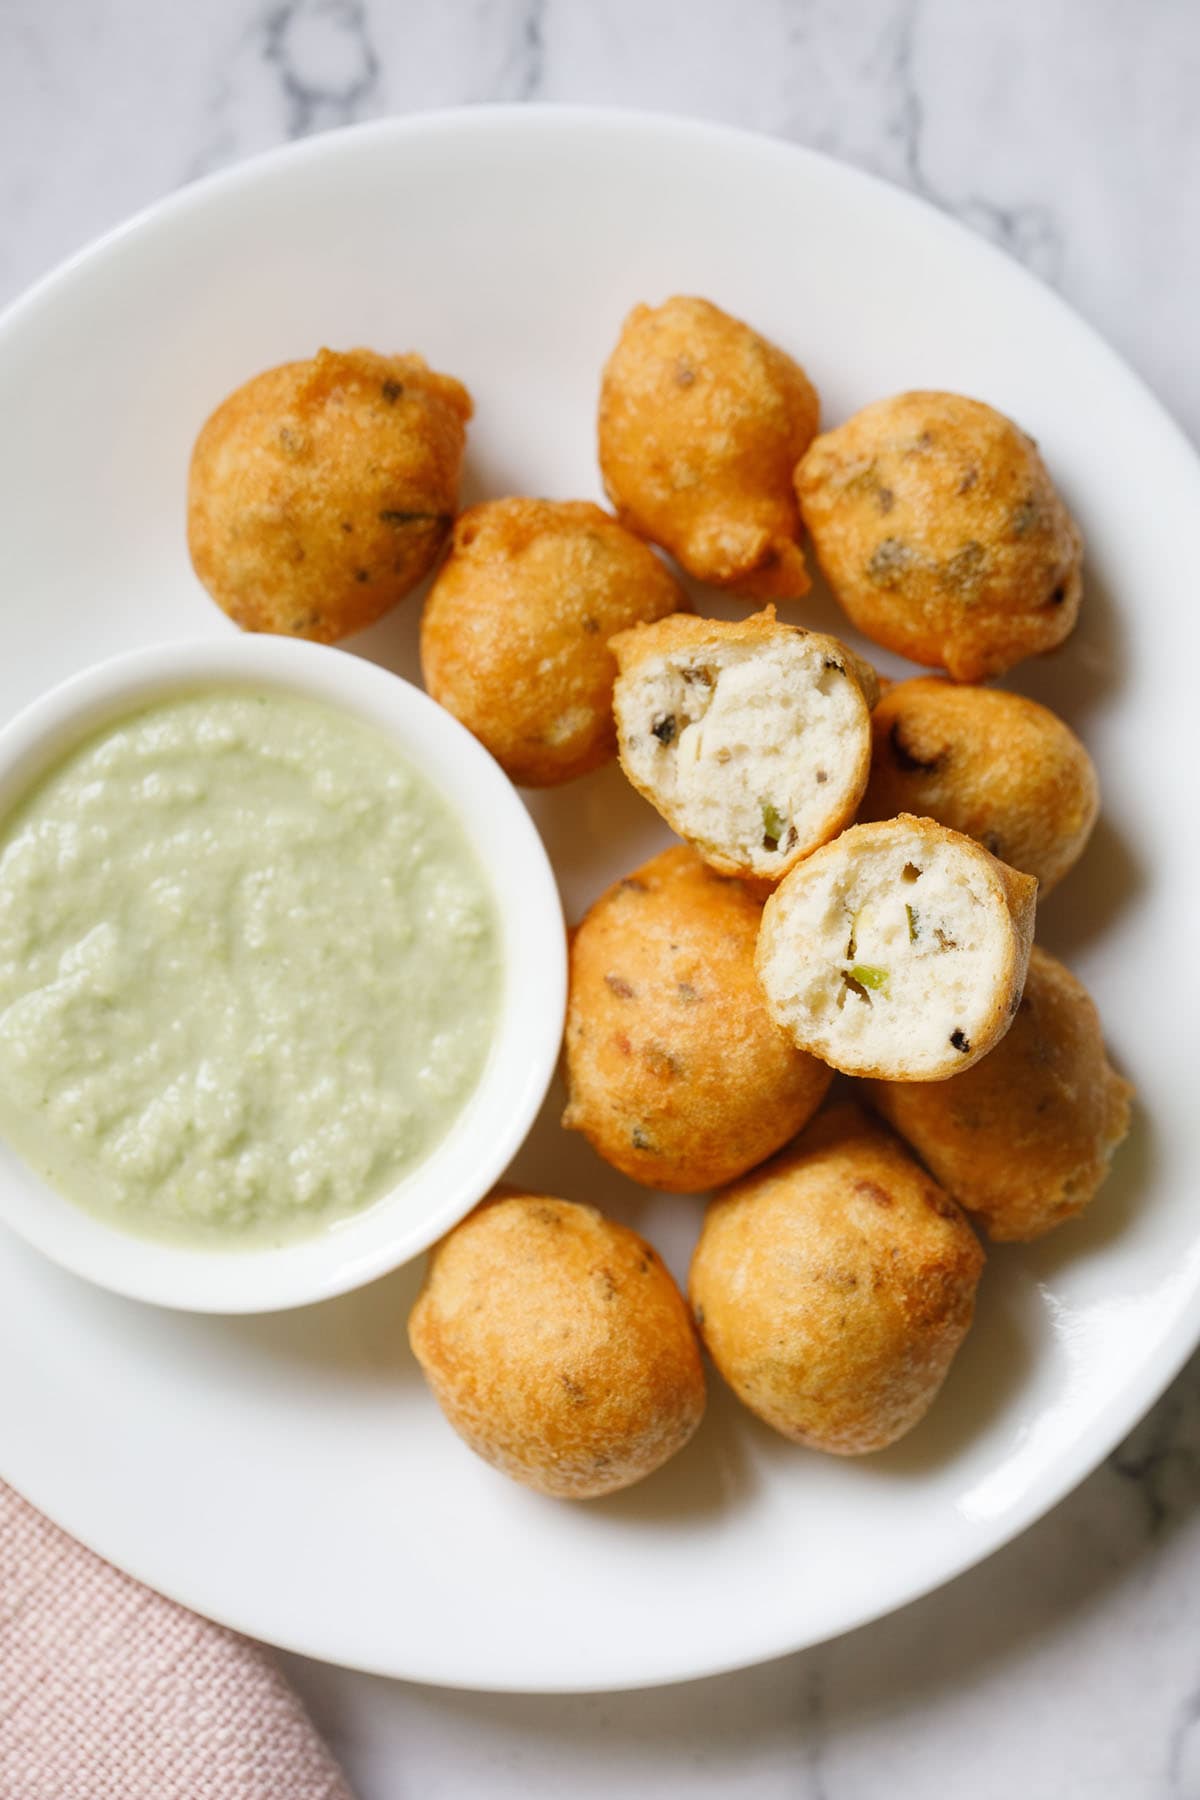
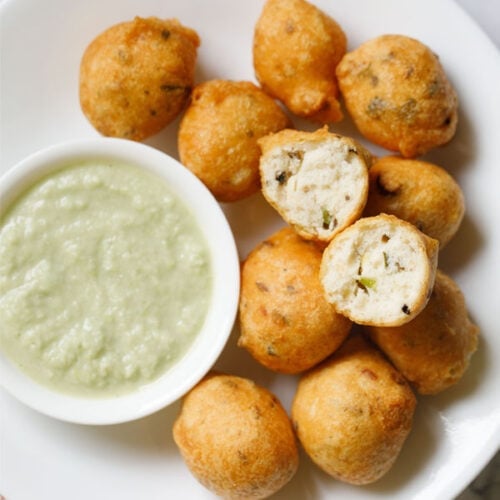
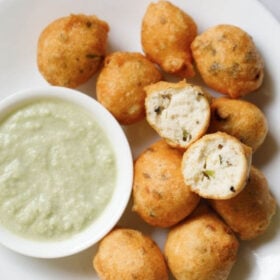
This Mysore Bonda recipe (also known as Mysore Bajji) is a popular South Indian snack food made with lentils, chopped fresh coconut, fresh herbs and vibrant spices. The ingredients are combined to create a thick batter, and are then deep fried to make crisp, soft and fluffy fritters. Make our favorite mysore bonda recipe with step-by-step instructions and photos – plus my foolproof recipe to make delicious coconut chutney for dipping (mentioned in the recipe card below).
About Mysore Bonda
Mysore bonda is a yummy snack often found in many South Indian states. It is also called as Mysore Bajji. They are round fried fritters that are crispy on the outside and soft on the inside, and brimming with flavorful seasonings.
These fluffy, crunchy, utterly addictive snacks are commonly served with coconut chutney – but are also tasty enough to enjoy on their own or with any other chutney!
There are many different versions of mysore bonda recipes, each reflecting their unique region of origin. Most commonly you find a variation made with all-purpose flour, yogurt, and spices.
Table of Contents
These bonda are popular in Andhra Pradesh, Telangana and Karnataka. You can check this version of Goli Baje which is similarly made. And while you are at it, do not forget to have a look at this delicious spiced mashed potato fritters called Aloo Bonda.
My preferred type of bonda recipe comes from the Tamil Nadu state and is made with lentils (urad dal, or husked black gram) plus spices and fresh aromatics.
The batter is similar to Medu Vada (black gram fritters). However, medu vada are donut-shaped snacks whereas mysore bonda is more round and pillow-like in shape.
Keep reading for my easy homemade mysore bajji and coconut chutney recipes! The flavorful chutney pairs amazingly well with crispy fried bonda.
These bonda and chutney recipes are great to make for a casual weekend breakfast or tasty evening snack!
How to make Mysore Bonda
For the best texture I find it is important to soak the urad dal overnight, so that it becomes soft.
Although, you want to take care to have as little water as possible in the lentils when making the batter, so the fritters get perfectly crispy without absorbing too much oil
Make Batter
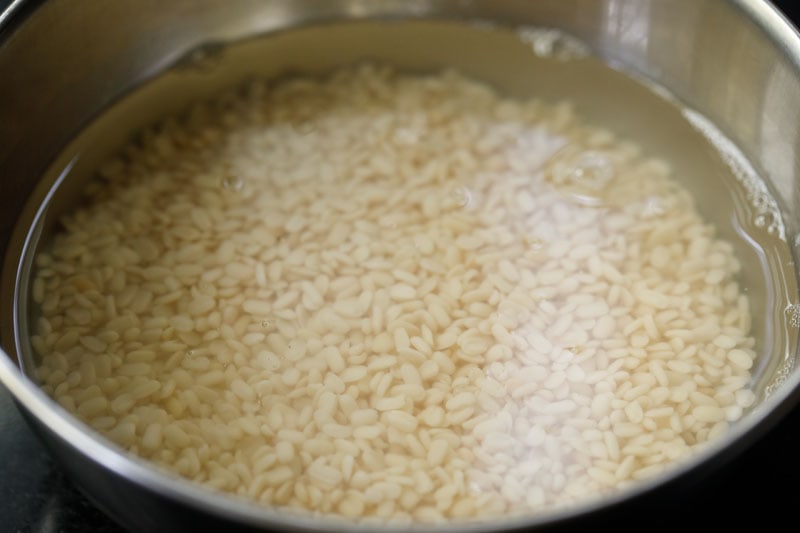
1. Soak ½ a cup urad dal (husked black gram) in water for 5 to 6 hours, or overnight. You can use whole or split urad dal without their husks.
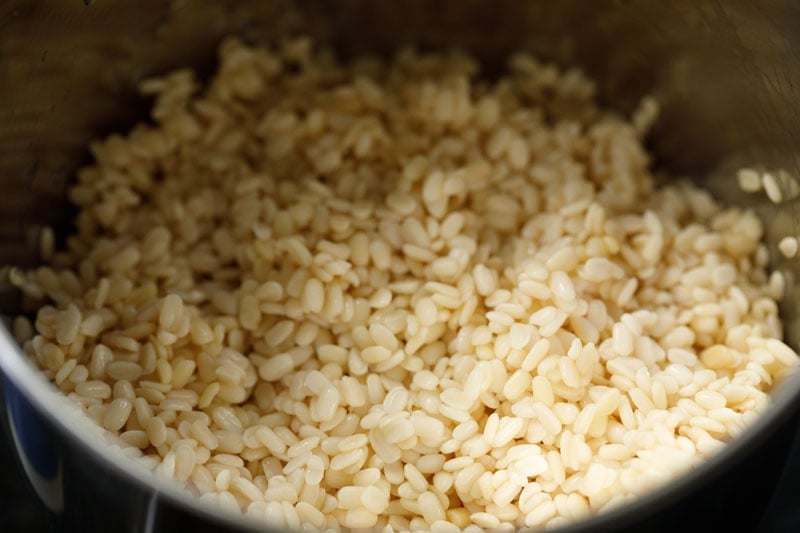
2. Next, drain off all the water and transfer the lentils to a blender or grinder jar.
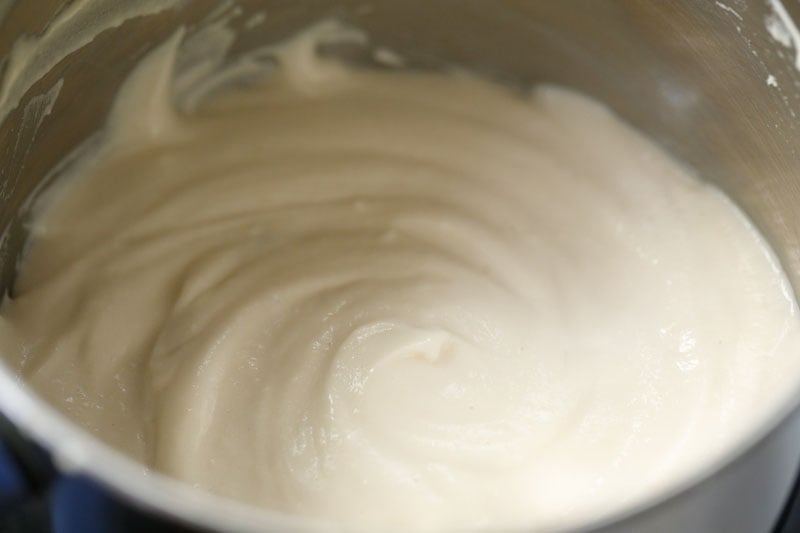
3. Add 4 to 5 tablespoons water and grind to a smooth, fluffy and thick batter. Scrape the sides down with a spatula while blending to get every piece of lentil ground.
Add water in parts while grinding. So first add 3 tablespoons water and later add water as needed to make a thick flowing batter.
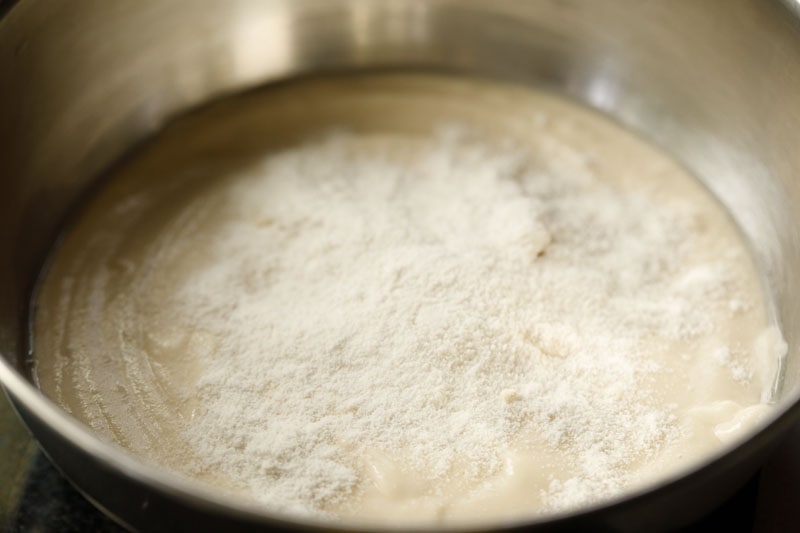
4. With a silicon spatula or spoon, transfer the batter to a large mixing bowl. Add 1 to 1.5 tablespoons of rice flour.
Including rice flour is optional. You can also opt to add fine rava (semolina or suji) instead of rice flour. Both rice flour and rava helps in making the bonda crisp.
Tip: If you have added more water and the batter has a medium consistency, then to thicken it, you can add a total of 1 to 2 tablespoons of rice flour or fine rava.
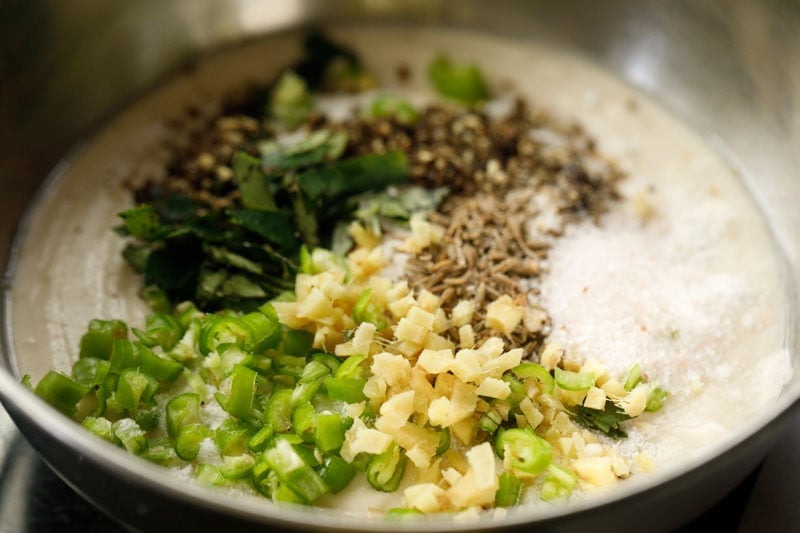
5. Add the below listed herbs and spices:
- ½ teaspoon crushed black pepper
- ½ inch freshly grated ginger (½ teaspoon finely chopped ginger)
- 1 chopped green chilies (½ to 1 teaspoon)
- 8 to 10 chopped curry leaves
- 1 pinch of asafoetida (hing)
- salt as required.
- If including coconut, also add 2.5 to 3 tablespoons of chopped fresh coconut.
Note: For a gluten-free version, feel free to omit the asafetida or use gluten-free asafetida.
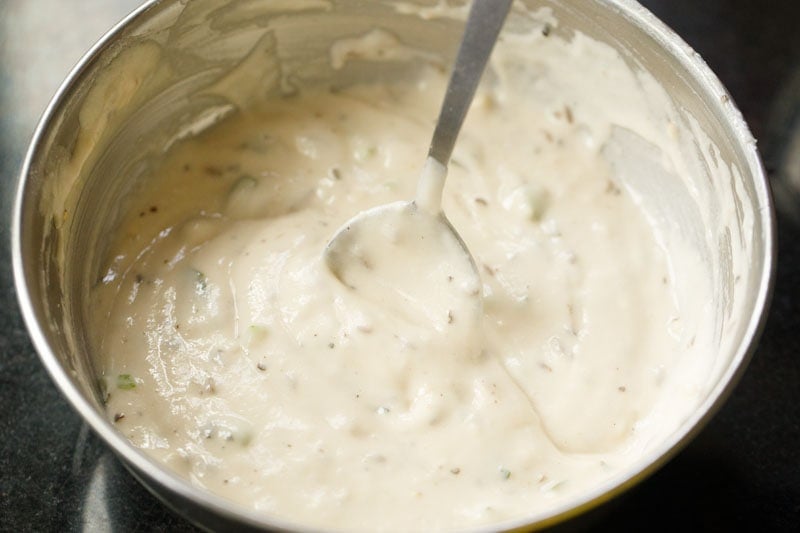
6. Mix very well.

7. Now briskly whisk the batter with a spoon for 2 to 3 minutes. This adds air to the batter and helps to make the bonda soft and fluffy in texture.
Fry Mysore Bonda
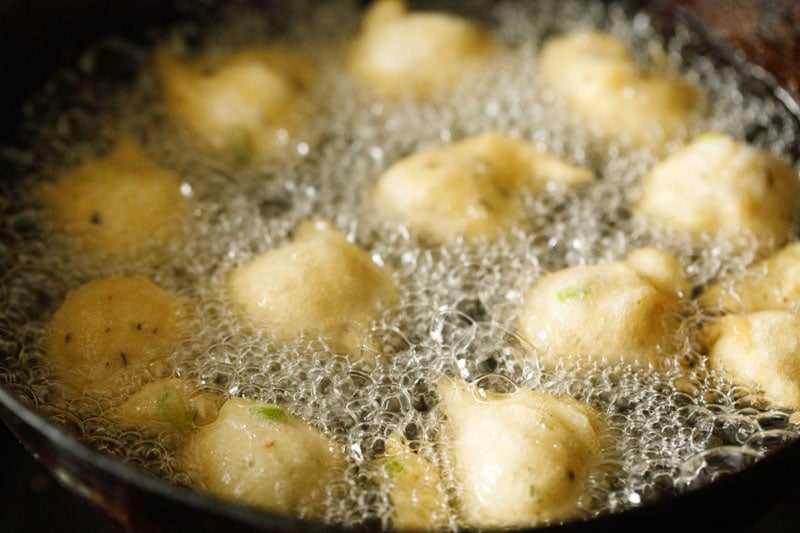
8. Heat oil for deep frying in a kadai or a deep pan. Keep the heat to medium. As a test, drop a pinch of batter in the oil – if it comes up to the surface in a steady motion, then the oil is hot.
If it comes up very quickly, the oil is too hot and will fry the bondas too quickly. In case the batter stays inside the oil at the bottom of the pan, the oil is likely not hot enough for frying.
Use a 1 tablespoon measuring spoon to drop the batter by the spoonful into the hot oil.
Note: Don’t overcrowd them!
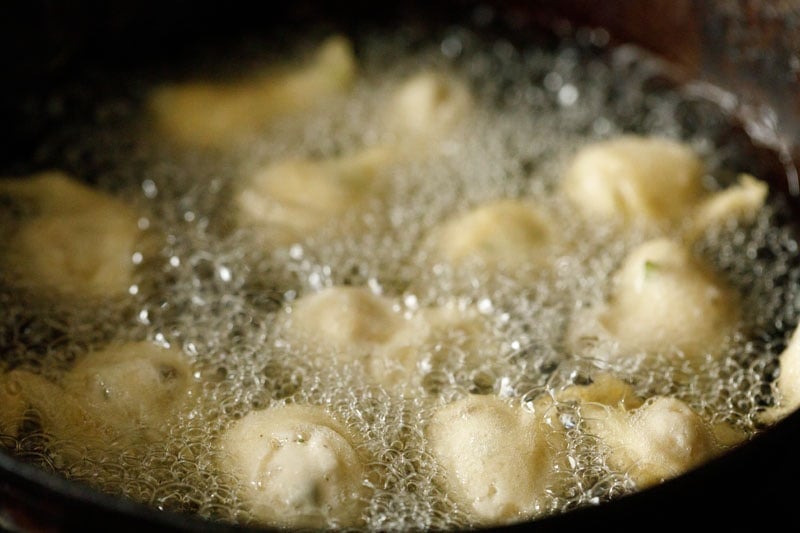
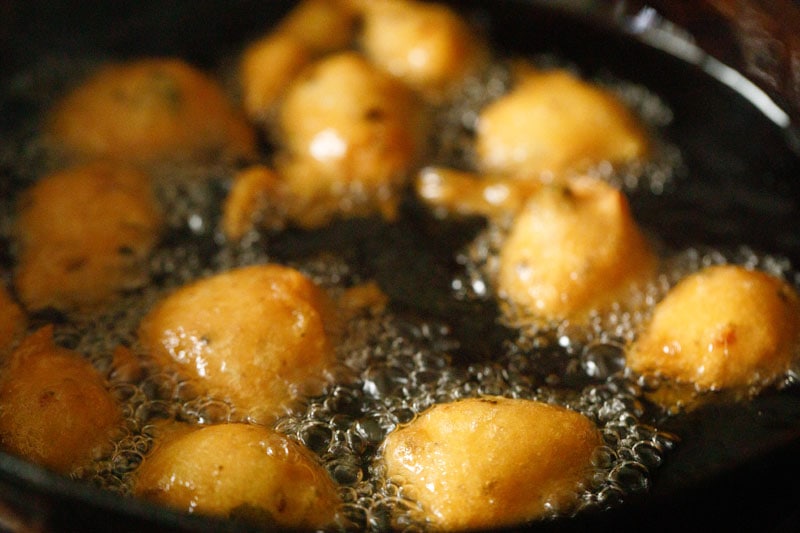
9. Fry on one side until golden. Then use a spoon to turn, and continue frying.
10. Continue to gently turn and fry the mysore bonda until all sides are golden and crisp.
11. Use a slotted spoon or skimmer to remove the bonda from the pan. Set them on paper towels to remove excess oil.
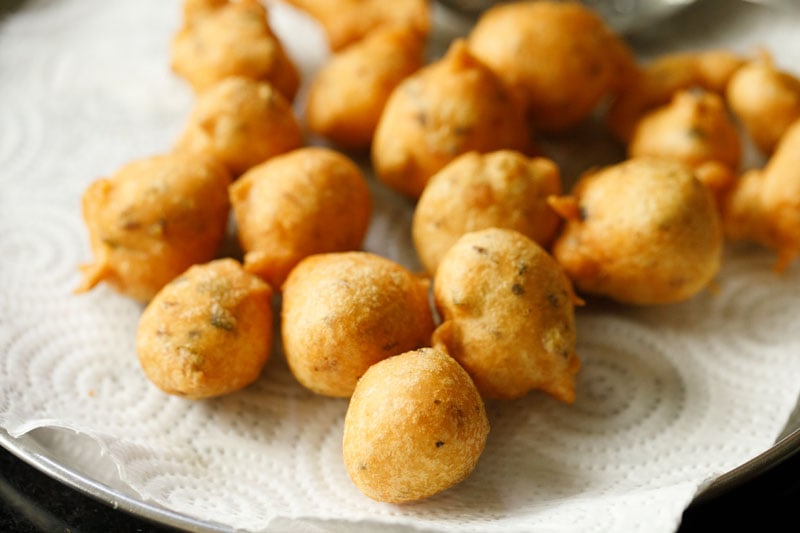
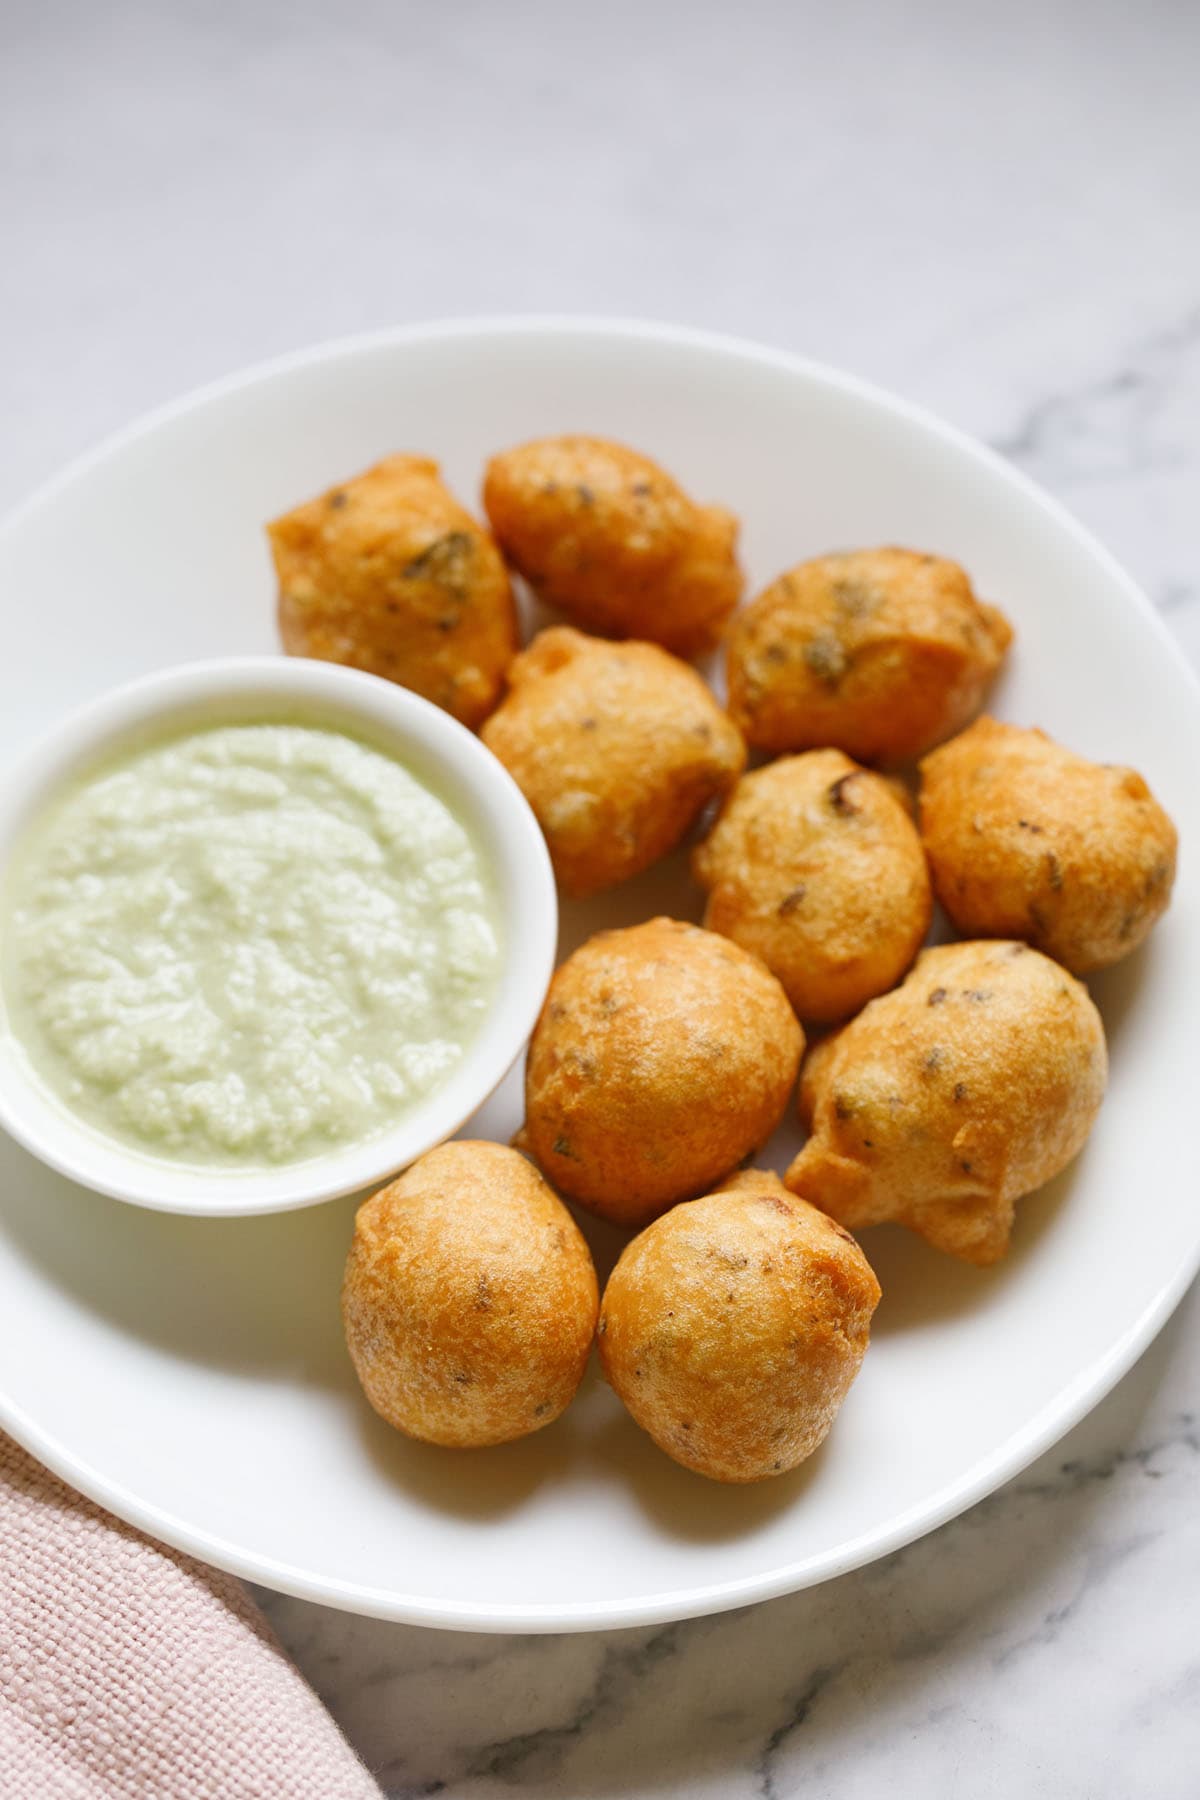
12. Serve immediately while hot or warm with coconut chutney or any chutney of your choice. These also taste good with tomato ketchup.
Expert Tips
- Either whole & husked or split, husked urad dal can be used in this recipe of Mysore Bajji.
- For best results, make sure to use fresh urad dal and not the one which is old or aged. Urad dal that is not in its shelf life also takes a longer time to grind and doesn’t result in fluffy and soft bondas.
- The batter has to be thick and flowing, and not thin. With thin batter, bondas will be flat and will soak a lot of oil as well.
- Adding rice flour is optional and can be skipped. In place of rice flour, you can also add fine suji or rava (semolina). These help in resulting crispier bondas.
- If your batter has a medium consistency, then add some more fine rava or rice flour to thicken it.
- You can modify the quantity of spices, seasonings and herbs according to your likings. You can even omit adding some of them. Skip adding the asafoetida (hing), for gluten free bajjis.
- This recipe does not have any onions added to it. In case you wish to include it, then add about ¼ cup finely chopped onions in the batter.
- Make sure that the oil is medium hot while frying the bondas. If the oil is warm, the bajjis will absorb more oil. In case the oil is too hot, the bondas will brown quickly from the outside and leave the insides undercooked.
- You can easily double or triple the recipes of the bonda as well as coconut chutney to make for larger portions.
FAQs
They are best enjoyed hot, and typically served with coconut chutney and a cup of strong coffee.
You can also serve them with other chutney varieties like onion chutney, peanut chutney, ginger chutney, tomato chutney, coriander chutney, mint chutney or any green chutney.
You likely didn’t drain off enough water before grinding the soaked urad dal. Be sure to thoroughly drain next time.
If you noticed the batter was too runny before frying, sprinkle in a bit more rice flour into the batter and gently mix again.
Continue doing this until the consistency is just right, but take care not to add more rice flour than needed. As this will make it dense and less soft.
For the best blend of ingredients to make a tasty fritter with all-purpose flour, I recommend you check out this easy recipe for Goli Baje.
Yes, you can easily double the ingredients to make twice as many of the bondas.
I suggest that they are eaten hot or warm as they are made for best taste and texture. However you can store them in an air-tight container for a few hours and consume them on the same day.
More Snacks Recipes To Try!

Snacks Recipes
Street Food Recipes
Karnataka Recipes

Street Food Recipes
Please be sure to rate the recipe in the recipe card or leave a comment below if you have made it. For more vegetarian inspirations, Sign Up for my emails or follow me on Instagram, Youtube, Facebook, Pinterest or Twitter.
Mysore Bonda Recipe | Mysore Bajji
Ingredients
For soaking lentils
- ½ cup urad dal – hulled or husked black gram
- 2 cups water – for soaking
For bonda batter
- 4 to 5 tablespoons water or as required for grinding urad dal
- 1 to 1.5 tablespoon Rice Flour or fine semolina or rava – optional
- ½ teaspoon crushed black pepper
- ½ teaspoon cumin seeds
- ½ inch ginger – finely chopped or ½ teaspoon
- 1 green chili – chopped or ½ to 1 teaspoon chopped
- 2.5 to 3 tablespoon chopped fresh coconut
- 8 to 10 curry leaves – chopped
- 1 pinch asafoetida (hing)
- salt as required
- oil as required for deep frying
For coconut chutney
- ¼ cup grated coconut – fresh or frozen
- 1 tablespoon roasted chana dal (roasted bengal gram)
- 1 or 2 green chilies – chopped
- 8 to 10 curry leaves fried in 1 or 2 teaspoons oil
- 2 to 3 tablespoons water or as required for grinding coconut
Instructions
Soaking Lentils and Making Batter
- First rinse the urad dal a couple of times in water. Then in a bowl soak the lentils in water for 5 to 6 hours or overnight.
- Later drain all the water. In a mixer-grinder or blender add the lentils and water in parts. Grind or blend to a smooth and fluffy batter. First add 3 tablespoons water and then add more as required.
- Using a silicon spatula take all of the batter in a bowl.
- Whisk the batter briskly for a 2 to 3 minutes with a wired whisk or spoon. This helps in aerating the batter which makes the bonda fluffy and light.
- Mix very well with rice flour, crushed black pepper, cumin seeds, chopped ginger and green chillies, asafoetida, chopped curry leaves, chopped coconut (optional) and salt as required.
Frying Mysore Bonda
- Heat oil for deep frying in a kadai or fryer. Let the oil heat to a moderately hot temperature.
- Using a tablespoon measure or any small to medium-sized spoon, pour the batter in a round shape into the hot oil.
- When one side is lightly crisp and slightly golden, then turn over each bonda.
- Continue to fry the second side until light golden and crisp.
- Fry in medium hot oil till the bonda are crisp and golden turning them over as needed.
- Remove with a slotted spoon and place them on kitchen paper towels to absorb excess oil.
- Fry the remaining batches of bonda in a similar way.
- Serve mysore bonda hot or warm with coconut chutney.
Making coconut chutney
- In a small pan, first fry the curry leaves in 1 or 2 teaspoons oil till they get crisp.
- Grind or blend all the ingredients mentioned under the coconut chutney list, together with the fried curry leaves and oil, with water.
- Serve the coconut chutney with the mysore bonda.
Notes
- Use urad dal that is fresh and not aged or old. Aged urad dal will take a lot of time while grinding or blending the batter and the bonda won’t be nicely soft and fluffy.
- Do not make the batter thin. The batter has to be thick but flowing. Thin batter makes for flat bonda and soak up a lot of oil.
- Rice flour is optional and can be omitted. In case if the batter has a medium consistency, then add rice flour or finer rava (semolina or suji) to thicken it.
- The spices, herbs and seasonings can be omitted or reduced according to your taste preferences.
- This bonda recipe is made without onions. But you can add about ¼ cup chopped onions to the batter.
- While frying, ensure that the oil is medium hot. Oil which is warm or not hot enough will make the bonda absorb a lot of oil. Oil which has become very hot, will make the mysore bonda quickly browned from outside with undercooked center.
- Both the recipes of bonda and coconut chutney can be scaled to make a big batch for get togethers or parties.
- Note that the approximate nutrition info is for 1 mysore bonda.
Nutrition Info (Approximate Values)
This Mysore Bonda recipe from the blog archives was first published in July 2013. It has been updated and republished on March 2023.
Made such a fluffy and soft mysore bonda following your recipe. Thanks for sharing.
Lovely and thanks for the feedback. Glad to know.
The best thing about your recipe is step by step photos of recipe.
I dont like to read more so love your website for convenient and nice cooking.
Thanks a lot Shalini and good to know you like the step by step photos of the recipes.