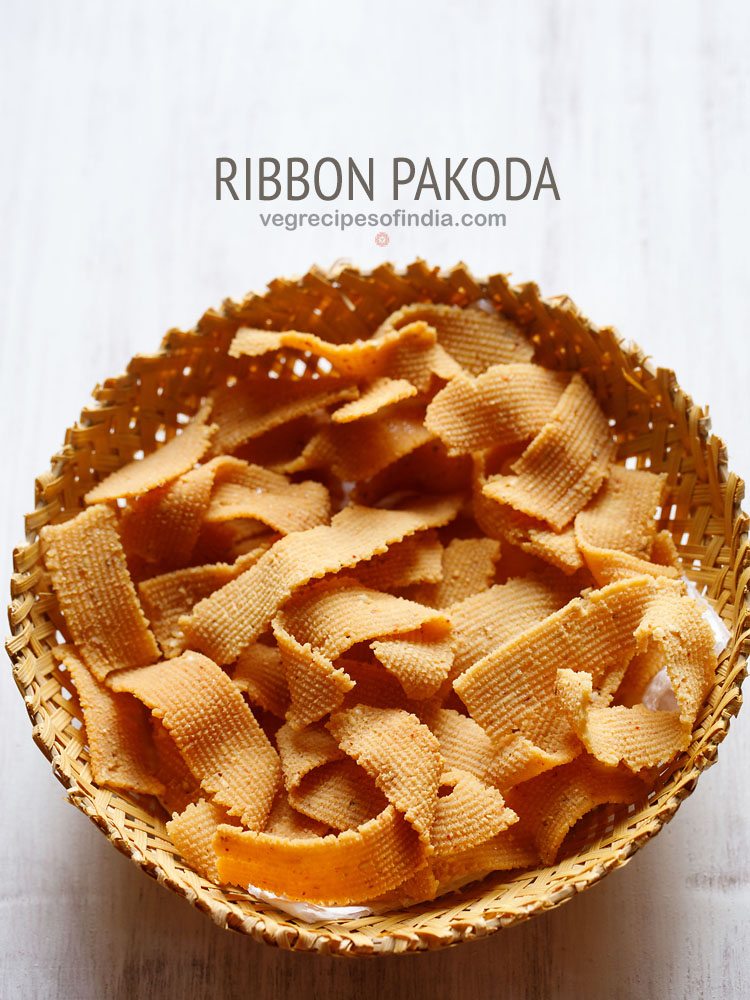
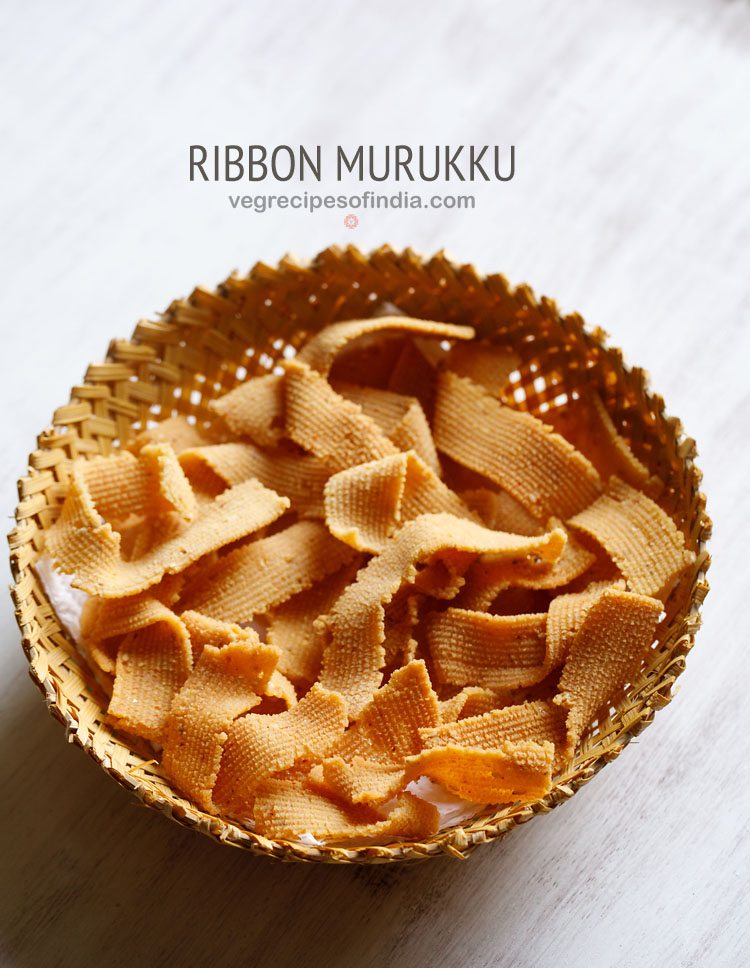
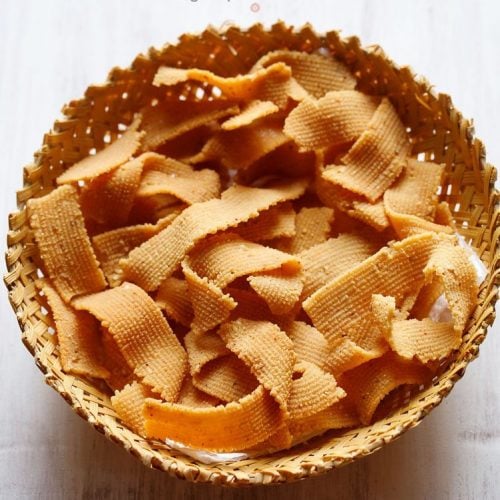
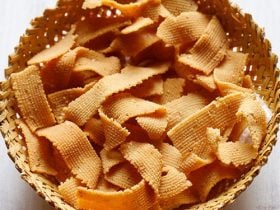
Here’s another South Indian fried snack from the world of murukkus – the Ribbon Pakoda or Ribbon Murukku. Given its shape, which resembles more or less like a ribbon or even medium size bands, it is called so. This crisp, golden fried savory dish is also referred to as Ola Pakoda or Nada Thenkuzhal. The Ribbon Pakoda Recipe not just makes for a scrumptious snack, but is quite easy to prepare too. Just get your dough right and fry these ribbon-like pakoda for a tasty festive treat.
More on Ribbon Pakoda
There are many ways that you can bring in variations in the preparation of murukku. This is usually done by altering the proportions of rice flour, gram flour (besan) and oil or butter.
To enhance the flavors and make it more interesting and festive like, you can modify the recipe by adding various spices and herbs. Similar is the case with Ribbon Pakoda Recipe as well.
Even the Ribbon Pakoda can be prepared in a variety of ways with different proportions of gram flour and rice flour. Some versions may also use roasted gram flour in their recipes.
Addition of roasted gram flour makes it even more crunchy and crispy. So, whenever I also make it at home, I do add some roasted chana dal flour to get crispier results.
This recipe of Ribbon Murukku also uses roasted chana dal flour (gram flour/besan) and is super simple to make.
Other than this, there are other variations of this popular South Indian snack like Murukku and Butter Murukku, which you must really try. Another favorite from this lot is this instant Maharashtrian Chakli recipe.
This Ribbon Pakoda Recipe roughly yields about 250 grams of the snack and lasts for up to 4 to 5 days. You can also halve or double the recipe without any hesitance.
These pretty looking murukku make for those perfect munchies for snacking during Diwali, Ganesh Chaturthi or any other Indian festival.
How to make Ribbon Pakoda
Grind and Sifting Ingredients
1. In a grinder jar or a spice grinder, take ½ cup roasted chana dal, 1 dried red chilli (broken and seeds removed) and ½ teaspoon cumin seeds.
You can add ½ to 1 teaspoon red chili powder and ½ teaspoon cumin powder instead of dried red chili and cumin seeds.
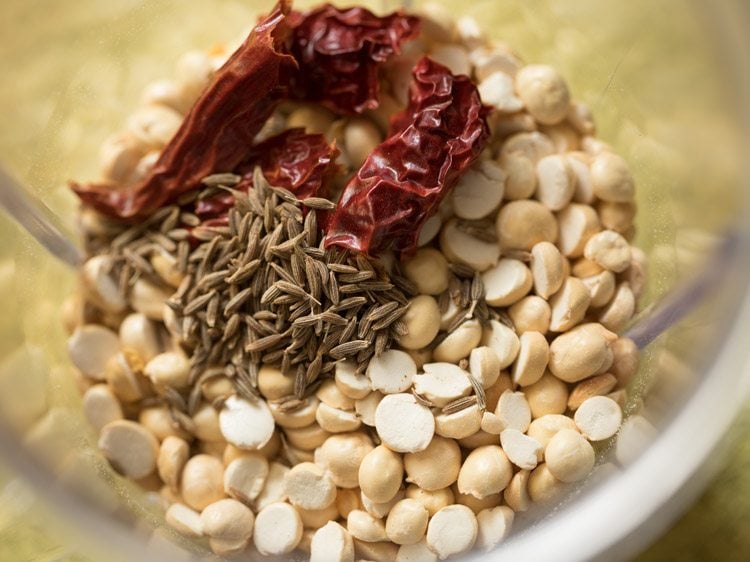
2. Grind to a fine powder. Set aside. For spicier Ribbon Pakoda, add 2 to 3 dried red chilies.
You can opt to add green chili paste instead of dried red chili. Ginger paste, garlic paste or onion paste can also be added.

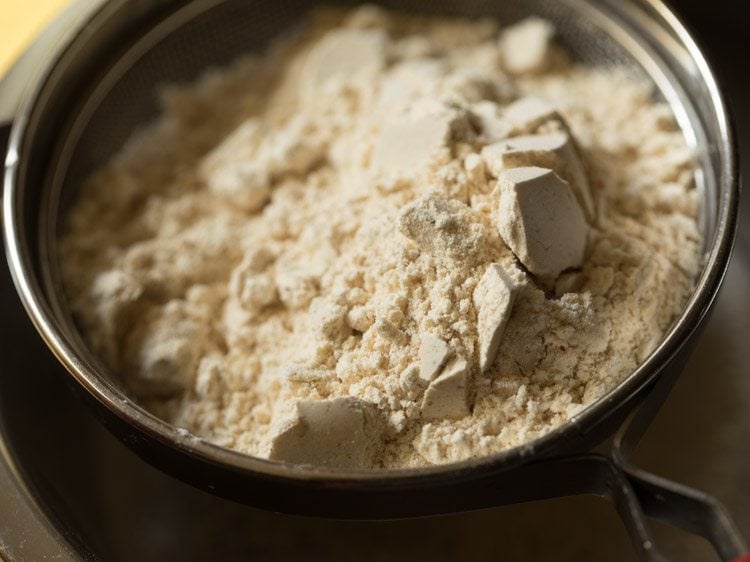
3. Take a plate, pan or a large mixing bowl. Place a sieve on top of it. Add ½ cup gram flour (besan) and ½ cup heaped rice flour.
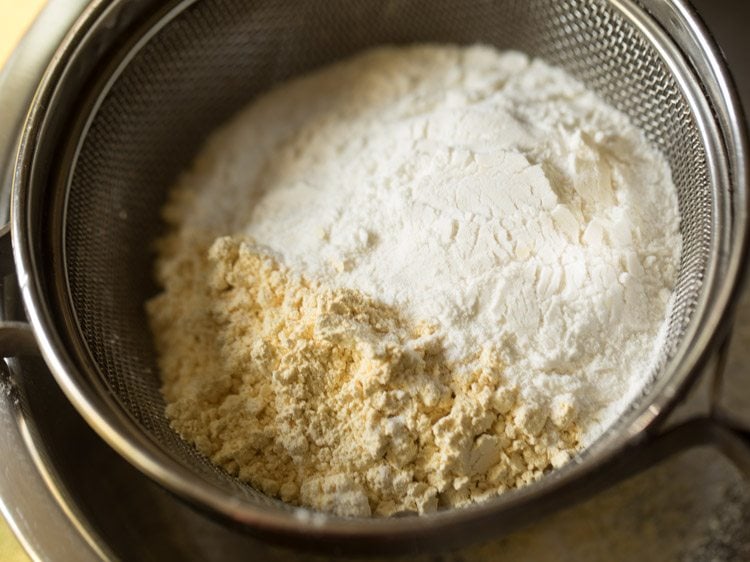
4. Then, add the prepared spiced chana dal powder.
5. Add 1 teaspoon salt.

6. Add ⅛ teaspoon or about 2 pinches asafoetida (hing).
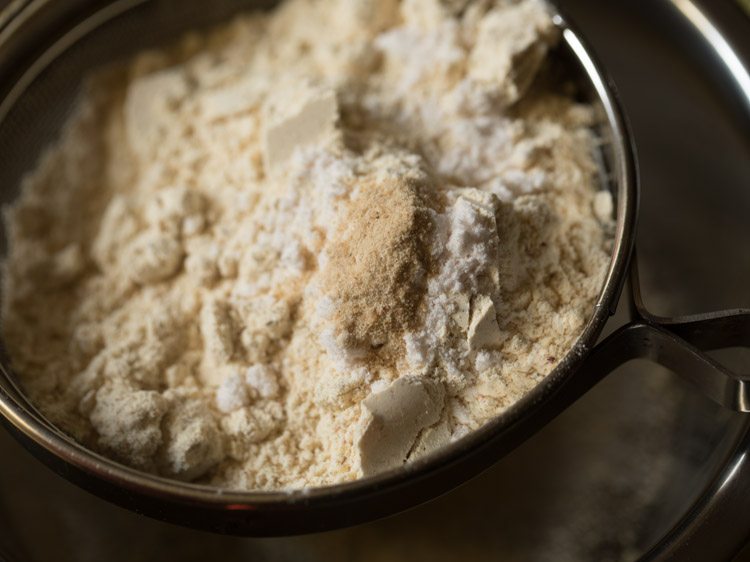
7. Sift all the ingredients together.
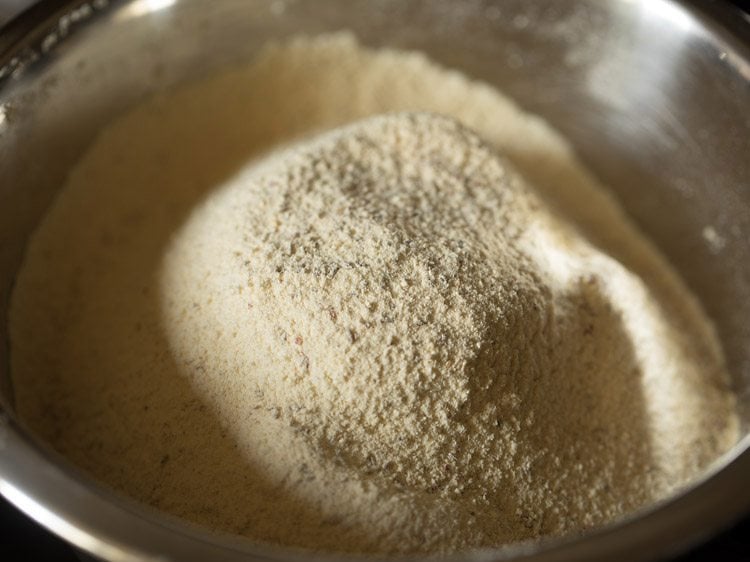
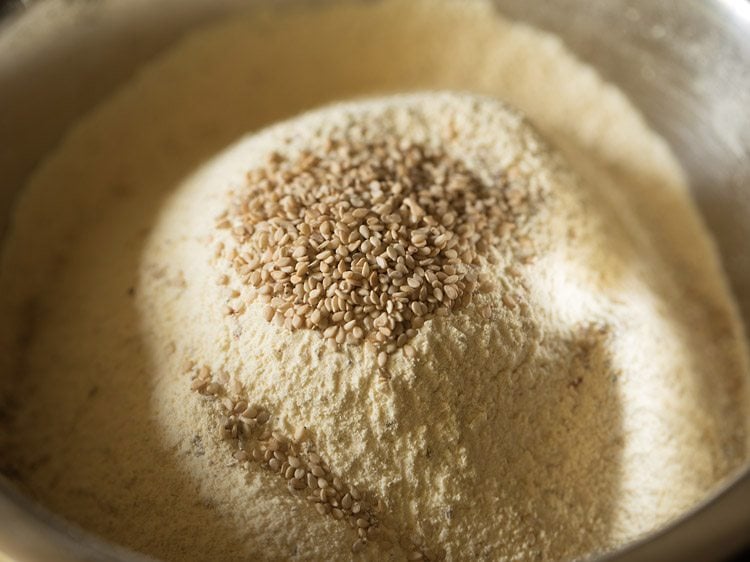
8. Add 1 teaspoon white sesame seeds. Set aside. Sesame seeds are optional and can be skipped.
Make Dough
9. In a small pan or bowl, heat 2 tablespoons butter or oil on low flame. I have used salted butter, you can even use unsalted butter.
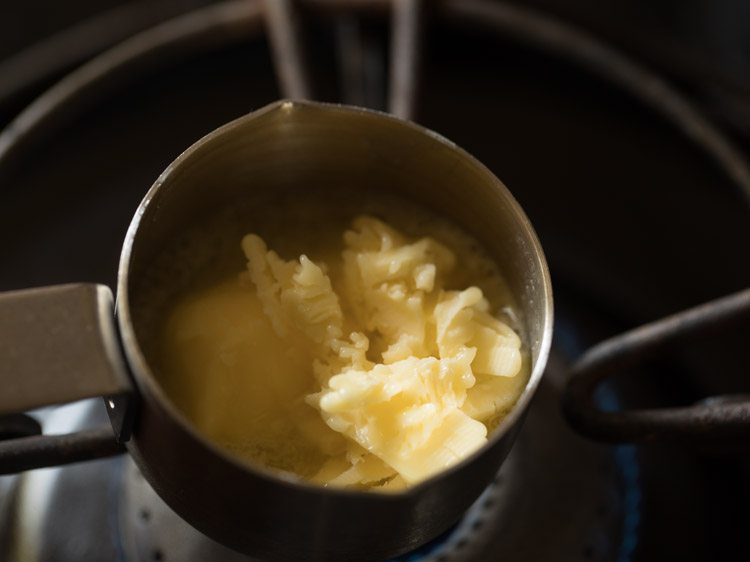
10. Heat till the butter melts. Instead of butter, you can also use oil.

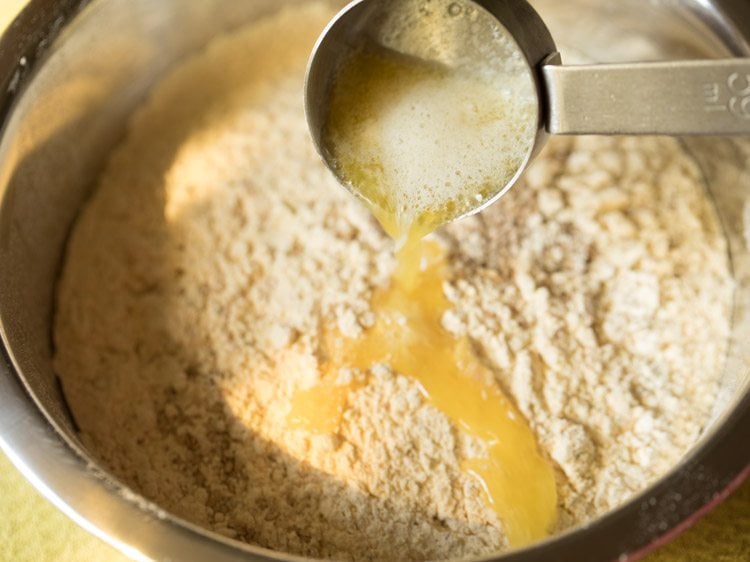
11. Now, add the melted butter in the sifted mixture.
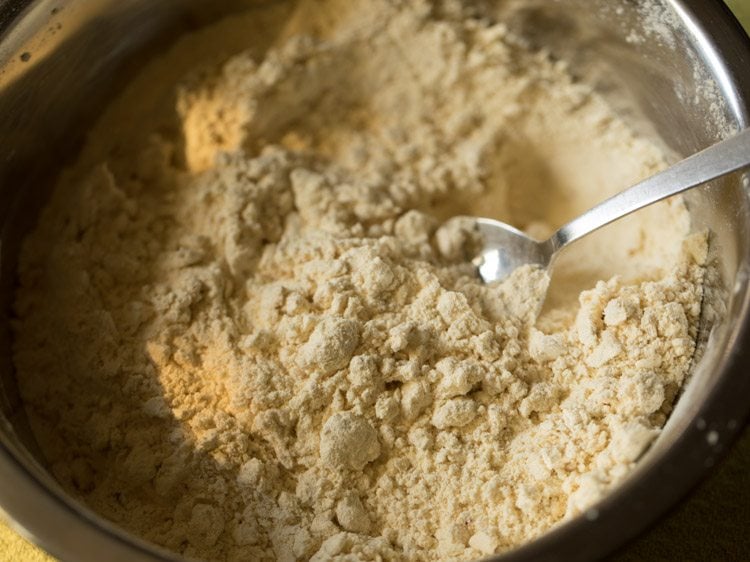
12. With a spoon or spatula, mix the butter with the mixture. Mix very well. Check the taste. If required, add some more salt.
13. Now, start adding ⅓ cup water, in parts.
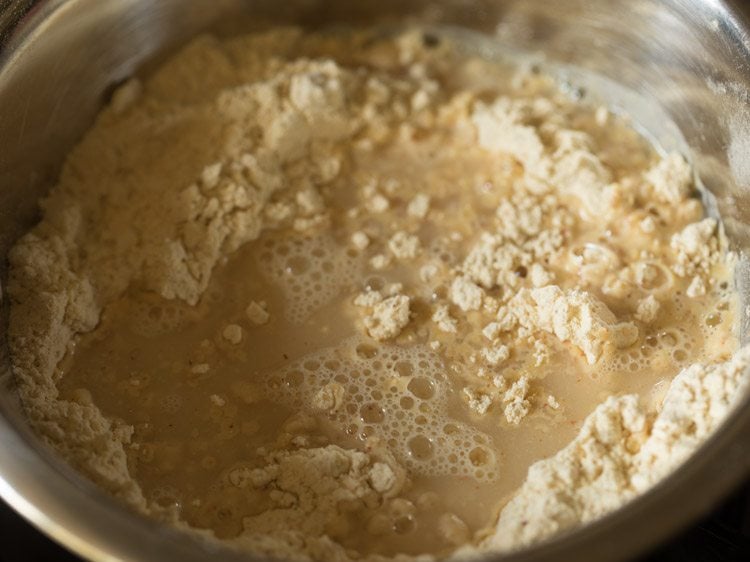
14. Begin to knead the flour.
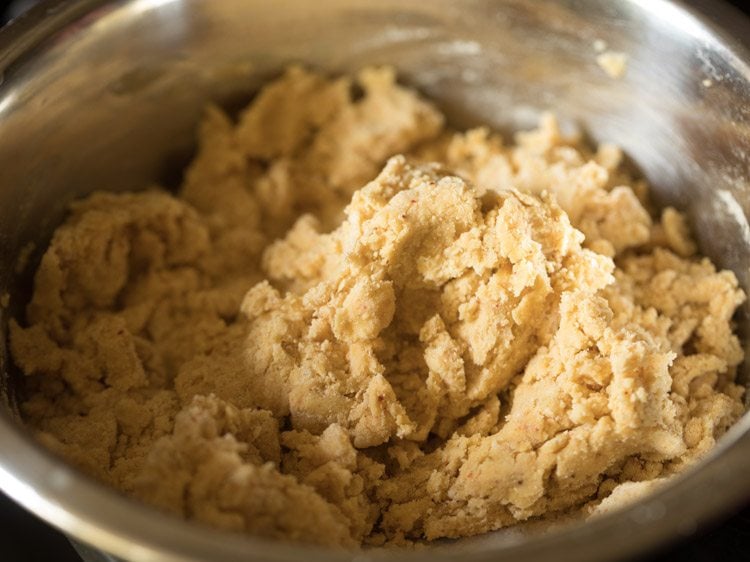
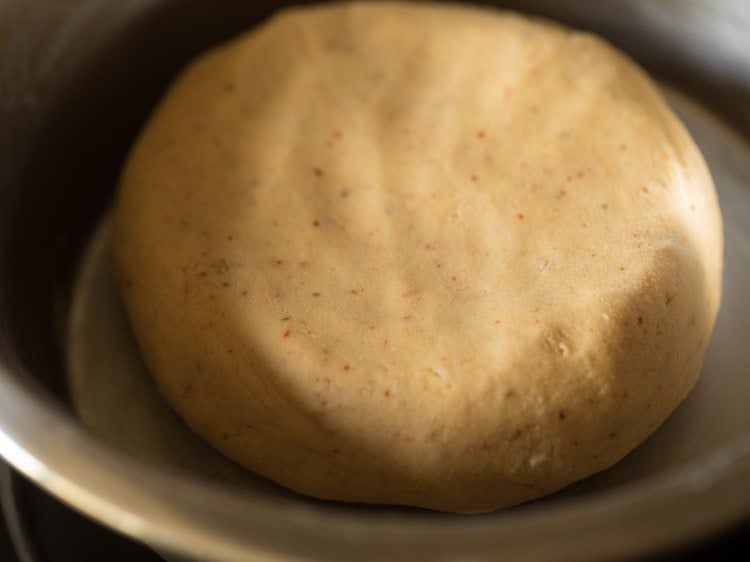
15. Knead to a smooth, non-sticky dough, adding water as required. Cover and keep aside. If the dough becomes sticky, you can add some more gram flour. If the dough looks dry, add some more water.
Fry Ribbon Pakoda
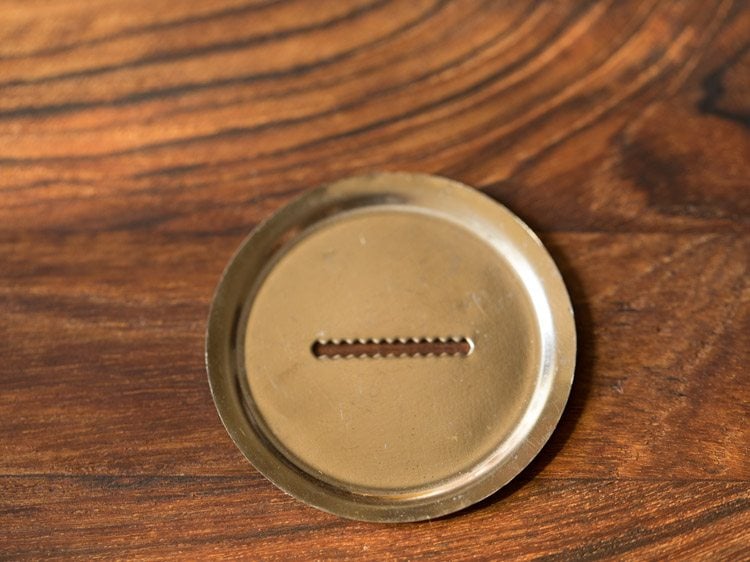
16. Use the disc shown in the below picture for preparing Ribbon Pakoda. This one has serrated edges.
You can even use the plain one without the serrated edges. Also, heat a kadai and add oil as required for deep frying.
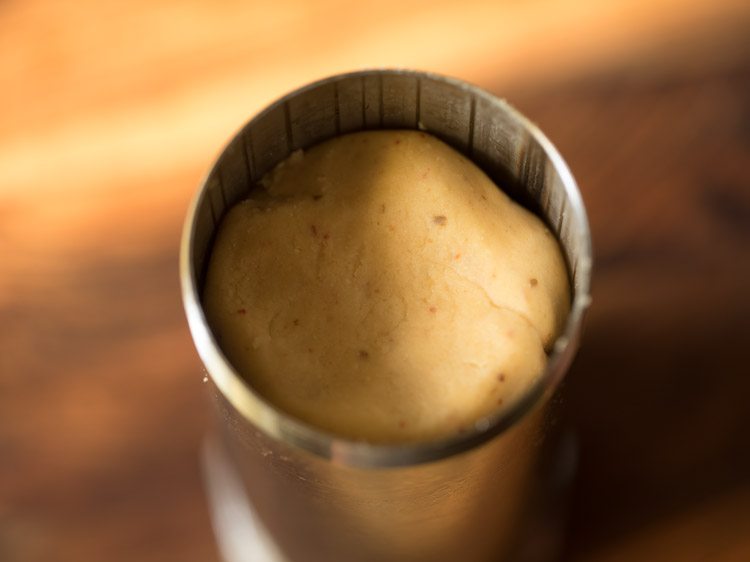
17. Apply some water or oil in the chakli press/murukku maker. Then, take a portion of the dough and place it inside the murukku maker. Cover and seal tightly with the top part and set aside.
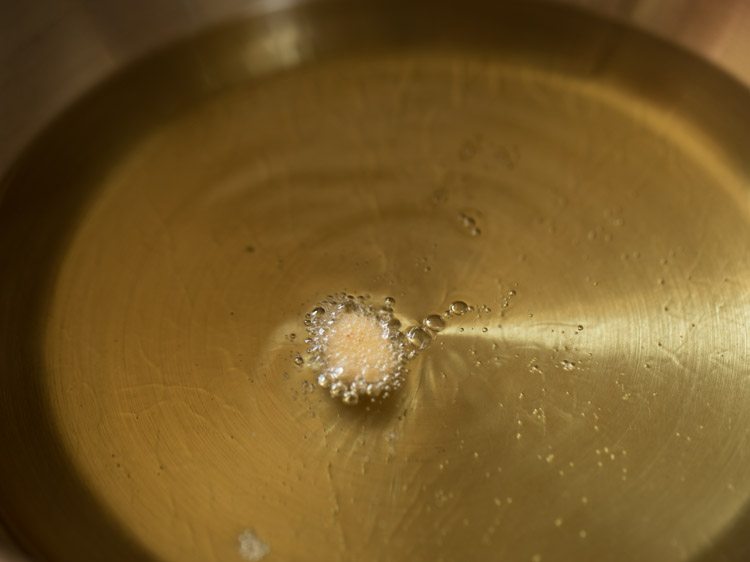
18. Let the oil in the kadai become medium hot. Check the oil temperature by adding a small piece of the dough.
If the dough comes up gradually and steadily on top, the oil is hot enough to fry. In case it comes up too quickly, then oil is too hot.
If it settles down at bottom of kadai or comes up very slowly, the oil is not hot enough.
19. When the oil is moderately hot, directly press holding the murukku maker on top of the oil and let the Ribbon Murukku directly fall in the oil.
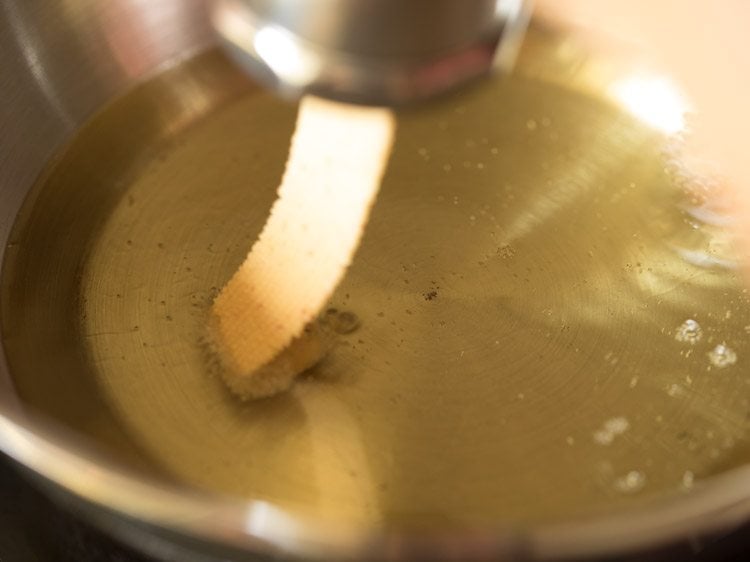
20. While pressing, rotate the murukku press in a concentric circle from the center to outwards on top of the kadai or pan.
Remember not to over crowd the kadai. Add as much as needed, without overcrowding the kadai.
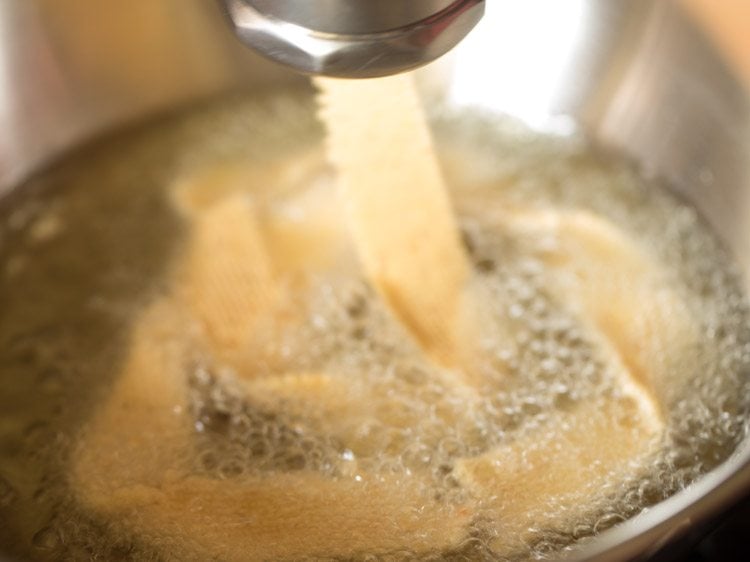
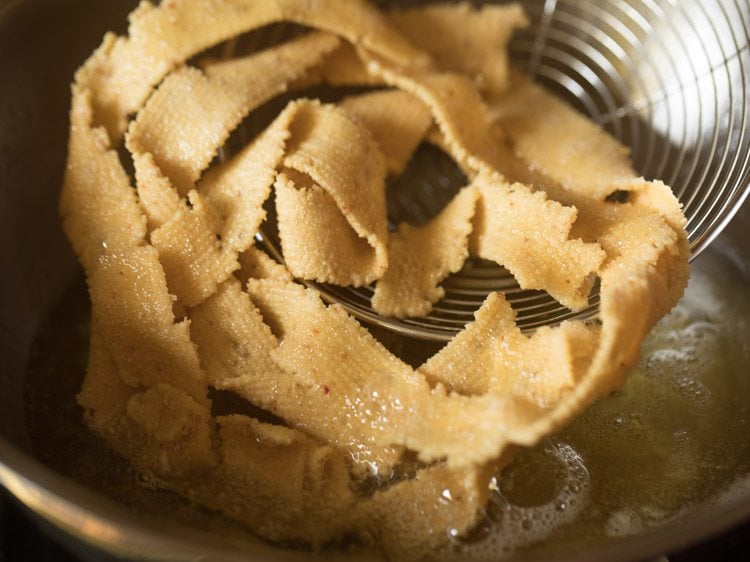
21. After adding the Ribbon Murukku, do not touch them immediately with the slotted spoon as they will break. Let them get fried first.
They need to become crisp first and then only you can turn them over with the slotted spoon or spider spoon.
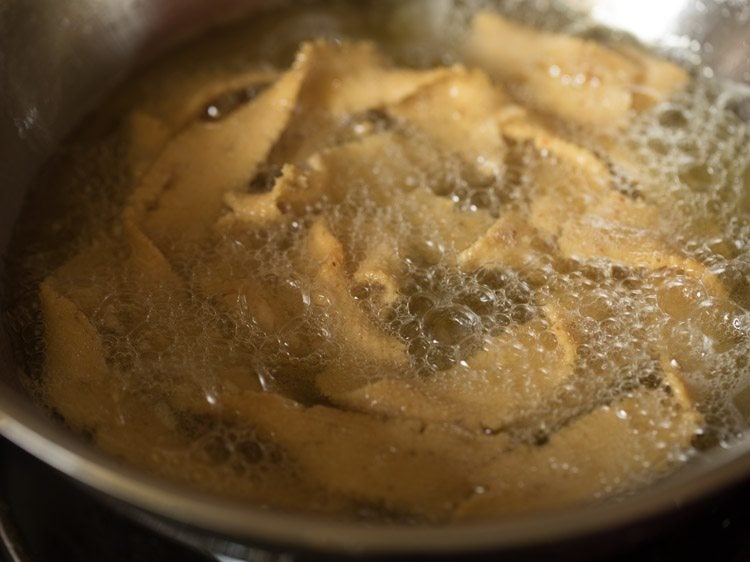
22. Fry till the Ribbon Murukku has become light golden.

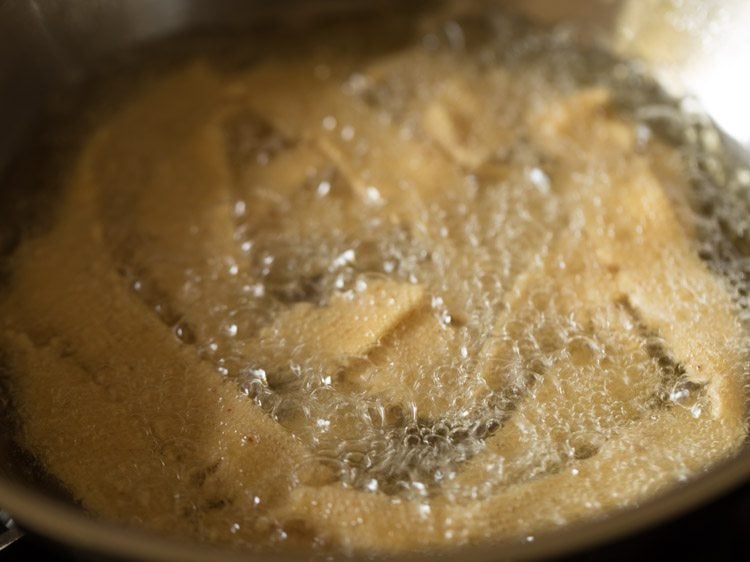
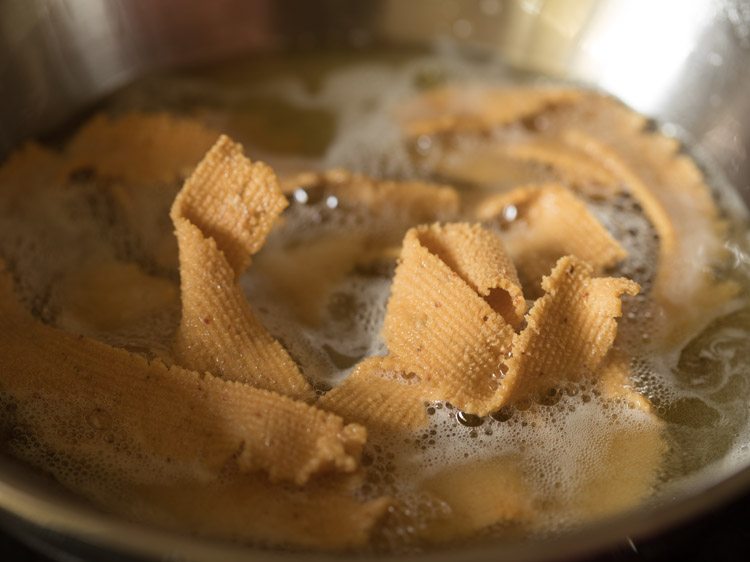
23. Turn over the murukkus gently with a slotted spoon.
24. Now, fry this side also till it becomes light golden.
25. Turn over a couple of times for even frying. Fry till the murukkus are crisp and golden.
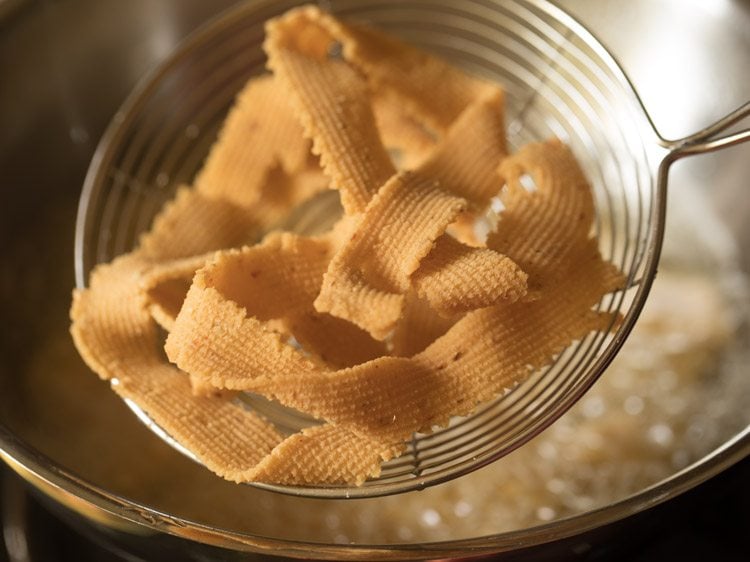
26. When the oil stops sizzling, it means the Ribbon Pakoda are fried. Remove them with a slotted spoon or a spider spoon.
Do not over brown or else the they will become slightly dense. Also, do not fry on low heat, or else the they absorb too much oil.
27. Place them on kitchen paper towels. Fry the remaining ribbon pakoda in the same way in batches.
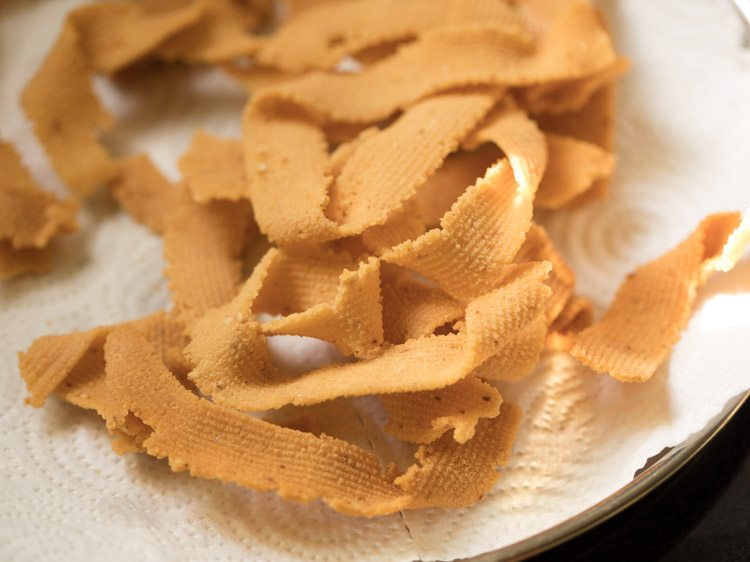
28. When the Ribbon Pakoda are cooled at room temperature, place them in an air tight container or jar.

29. Serve Ribbon Pakoda as a Diwali snack or tea time snack.
Expert Tips
- This Ribbon Pakoda Recipe is a savory spiced one where I have used spices. If you don’t have dried red chilies and cumin seeds, you can add ½ to 1 teaspoon of red chili powder and ½ teaspoon of cumin powder as well.
- You can make spicier Ribbon Murukku by 2 to 3 dried red chilies or even green chili paste instead of red chilies.
- Other flavor variations can be made adding carom seeds (ajwain) and even, ginger paste, garlic paste or onion paste in the dough.
- The sesame seeds are also optional, you can skip adding them.
- In my recipe of Ribbon Pakoda, I have used salted butter. But you can use unsalted butter as well. Oil also is an alternative choice instead of butter.
- It is critical to get the right consistency of the dough, which is smooth and non-sticky. If it becomes too sticky, then add some more gram flour. If it looks dry, then add more water.
- Once you have added the murukku in hot oil, do not touch them immediately with slotted spoon. By doing so, they can break. Let the them get fried first until they look crisp. Then, you can turn the ribbon pakoda over with the slotted spoon.
- You know they are fried when the oil stops sizzling. Remember not to brown them or else they will turn dense. Also, frying on low heat will result in them absorbing too much oil. So, avoid that as well.
- Make sure to use fresh, good quality oil to fry the murukkus.
- Halve or double this recipe, as is required.
FAQs
Yes, you can definitely do so. You may add carom seeds, ginger paste, garlic paste or onion paste to the dough. These flavors work really well.
You can make spicier Ribbon Murukku by either increasing the number of dried red chilies or even using green chili paste instead of it.
If you fry the pakodas way too much, it will turn brown and eventually loose its flavors. There’s nothing much that you can do to rectify this now. You’ll have to prepare it once again.
You can add some more gram flour (besan) to get the dough to a right consistency.
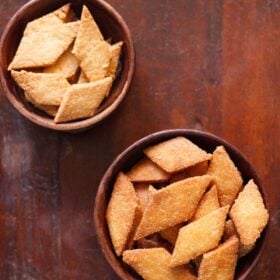
More Snacks Recipes To Try!
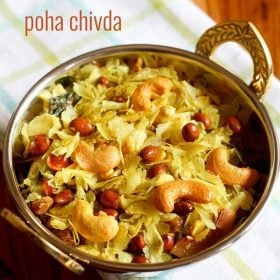
Evening Snacks
Evening Snacks
Sweets Recipes
Please be sure to rate the recipe in the recipe card or leave a comment below if you have made it. For more vegetarian inspirations, Sign Up for my emails or follow me on Instagram, Youtube, Facebook, Pinterest or Twitter.
Ribbon Pakoda | Ribbon Murukku
Ingredients
- ½ cup roasted chana dal – 70 grams
- 1 dry red chilli – broken and seeds removed
- ½ teaspoon cumin seeds
- ½ cup gram flour (besan) – 70 grams
- ½ cup heaped rice flour – 100 grams
- ⅛ teaspoon hing or 2 pinches of hing (asafoetida)
- 1 teaspoon salt or add as required
- 1 teaspoon white sesame seeds – optional
- 2 tablespoons Butter (salted or unsalted) or oil
- ⅓ cup water or add as required
- oil for deep frying as required
Instructions
Making dough
- In a spice grinder or grinder jar, take the roasted chana dal, 1 dry red chilli (broken and seeds removed) and cumin seeds. You can choose to add ½ to 1 teaspoon red chili powder and ½ teaspoon cumin powder instead of dry red chili and cumin seeds.
- Grind to a fine powder and set aside.
- Take a plate, pan or a large mixing bowl. Place a sieve on top of it. Add gram flour and rice flour.
- Then add the ground roasted chana dal, salt and asafoetida.
- Sift the whole mixture.
- Next add white sesame seeds to the mixture and set aside.
- In a small pan or a bowl heat 2 tablespoons butter or oil. I have used salted butter, but you can even use unsalted butter.
- Heat till all the butter melts. Now add the hot melted butter in the flour mixture.
- With a spoon or spatula mix the butter with the flour. Mix very well. Check the taste and if required you can add some more salt.
- Now add ⅓ cup water in parts and begin to knead the flour mixture.
- Knead to a smooth and non-sticky dough. Cover and set aside. If the dough looks dry then you can add some more water. If it becomes sticky then add some more gram flour.
Frying ribbon pakoda
- Use the nozzle shown in the below picture for preparing ribbon pakoda. This one has serrated edges. You can even use the plain one without the serrated edges. Also heat a kadai and add oil as required for deep frying ribbon pakoda.

- Apply some water or oil in the chakli/murukku maker. Then take a portion of the dough and place it inside the murukku maker. Cover and seal with the top part and keep aside.
- Let the oil in the kadai become medium hot. Check the oil temperature by adding a small piece of the dough. If the dough comes up gradually and steadily on top, the oil is hot enough to fry. If it comes up too quickly, then oil is too hot. If it settles down at bottom of kadai or comes up very slowly, the oil is not hot enough.
- When the oil is hot enough, directly press holding the murukku maker on top of the oil and let the ribbon murukku directly fall in the oil.
- While pressing rotate in a concentric circle from the center to outwards on top of the kadai or pan. Do not over crowd the kadai with ribbon pakoda. Add as needed without overcrowding the kadai.
- After adding the murukku, do not touch them immediately with the slotted spoon as they break. Let them get fried first. They need to become crisp first and then you can turn them over with the slotted spoon.
- Fry till they have become light golden.
- Turn over the ribbon pakoda gently with a slotted spoon, so that they get fried evenly.
- Now fry this side also till it becomes light golden.
- Turn over a couple of times for even frying. Fry till they are crisp and golden.
- When the oil stops sizzling it means the pakoda are fried. Then remove them with a slotted spoon or a strainer spoon. Do not over brown or else the pakora becomes slightly dense. Also do not fry at low heat or low flame or else the pakora absorbs too much oil.
- Place them on kitchen paper towels. Fry the remaining pakoda in the same way.
- When they are cooled, then place them in an air-tight container or box.
- Serve ribbon pakoda as a diwali snack or a tea time snack.

Notes
- For a more spicy ribbon pakoda, you can add 2 to 3 dry red chilies. You can also add green chili paste instead of dry red chili. Ginger paste or garlic paste or onion paste can also be added.
- Fry the ribbon murukku in medium hot oil.
- You can also halve or double the recipe.
- This recipe roughly serves 250 grams of ribbon pakoda.
- Note that the approximate nutrition data is for 1 serving of ribbon pakoda.
Nutrition Info (Approximate Values)
This Ribbon Pakoda recipe post from the archives first published in September 2017 has been updated and republished on 20 October 2022.
I tried this recipe and it came out perfect. I also tried your badusha. What I love about your recipes are the minor details given as tips that make a big difference, and so thanks for being so thorough, thoughtful and passing on the recipes!
Thanks so much. Feels good to know that the details and tips are helpful. Thanks again.