Deliciously savory and perfect for pairing with soups or stews, these Pull Apart Garlic Bread Rolls are as much fun to look at as they are to eat! Made with whole wheat flour and without any eggs, these soft and pillowy dinner rolls are a real crowd-pleaser.
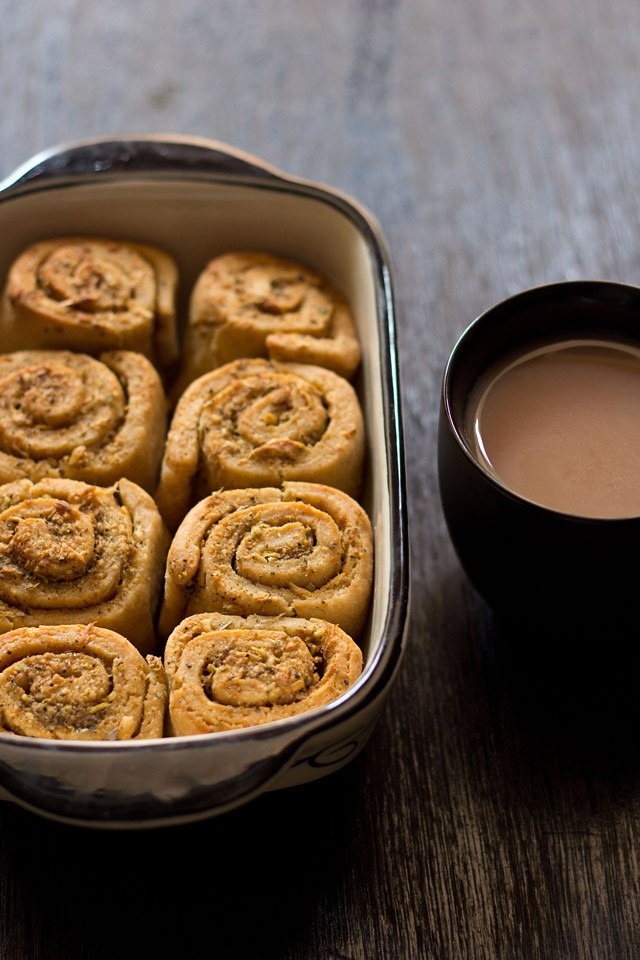
Table of Contents
About Pull Apart Garlic Bread
These pull apart garlic bread were inspired from Nag’s blog Edible Garden — ever since I saw them, I just knew I had to make them!
I modified Nag’s recipe using primarily whole wheat flour (atta) and just a little all-purpose flour (maida), but you can easily make with wholly all-purpose flour or a 50/50 split depending on your preferences.
When I was making the garlic butter mixture for the rolls, I used up some Nutralite I had kicking around in the fridge. You are welcome to use either dairy butter, vegan butter, or your choice of margarine.
As a visual learner, I found Divya’s Easy Cooking blog to be quite useful. She has many illustrative pictures that, in tandem with Nag’s blog, really helped me to understand the method of rolling, folding, and cutting these savory garlic rolls. If you’re in need of more help with bread baking, I suggest her blog!
After baking these garlic rolls, I have made many different kinds of bread rolls like pesto rolls and cinnamon rolls. I have experimented making them with whole wheat bread dough, brown bread dough, as well as Pizza dough, and Focaccia. It turns out that the method works for all of them!
How To Make Pull Apart Garlic Bread
If you are new to bread baking, I know it can be a bit intimidating. If you follow along with my step-by-step photos, it’ll be like I’m right there in the kitchen with you, cheering you along!
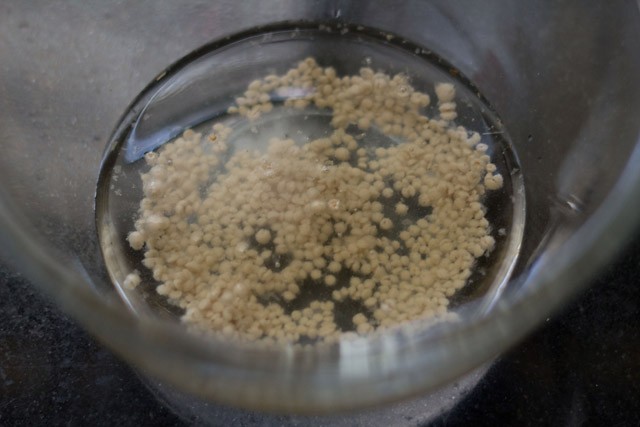
Proof Yeast
1: Mix ½ tablespoon sugar and 1 teaspoon dry active yeast in warm water. Allow the mixture to sit at room temperature for 10 to 12 minutes.
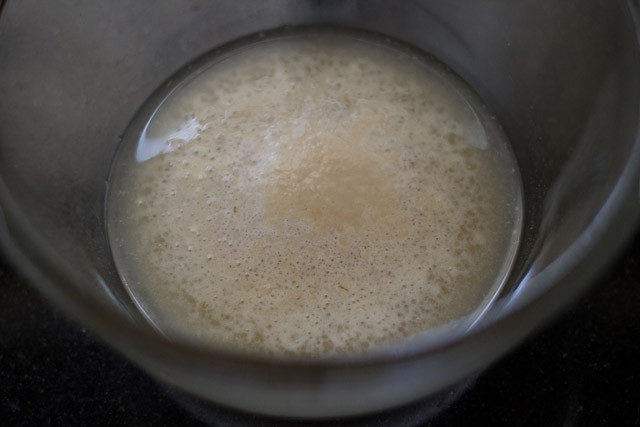
2: The yeast solution will become bubbly and frothy after 10 minutes. This means the yeast is alive and ready to go! If your solution doesn’t look like mine, your yeast is probably dead and you’ll need to start with a new packet.
DO NOT TRY TO MOVE FORWARD WITH THE RECIPE IF YOUR YEAST DOESN’T BUBBLE AND FROTH. It simply will not work!
Make Bread Dough
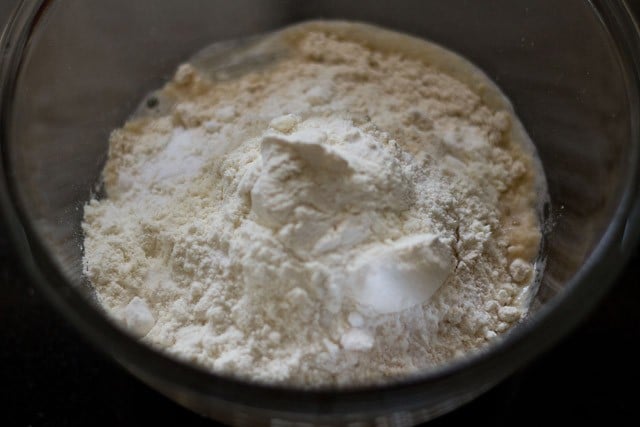
3: Add the 1.5 cups whole wheat flour, 2 tablespoons all-purpose flour, ½ teaspoon salt, and 1 tablespoon oil to the bowl with the yeast mixture.
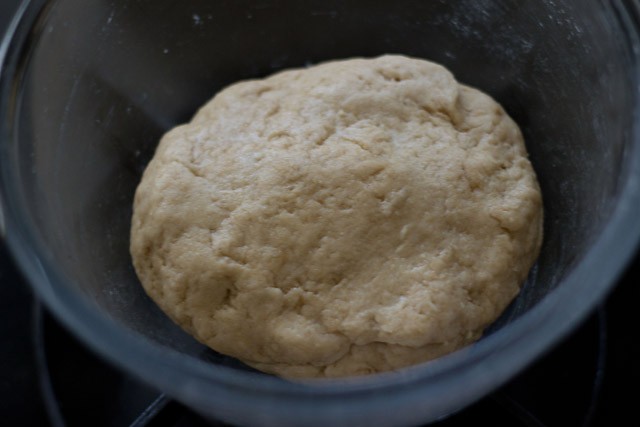
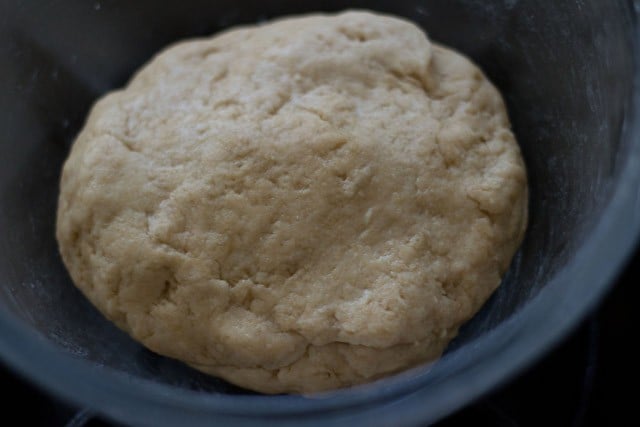
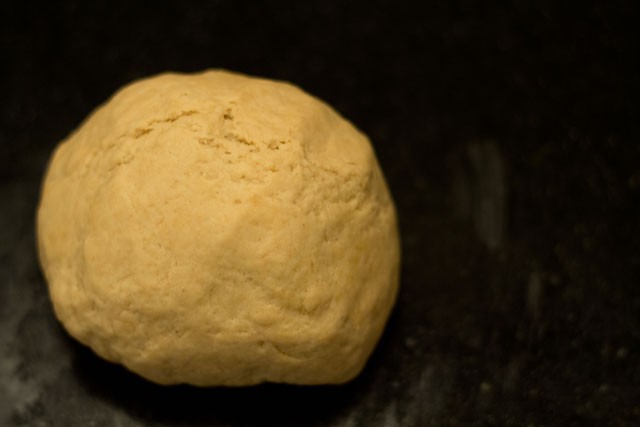
4: Knead into a smooth, soft, and springy dough.
First Rise
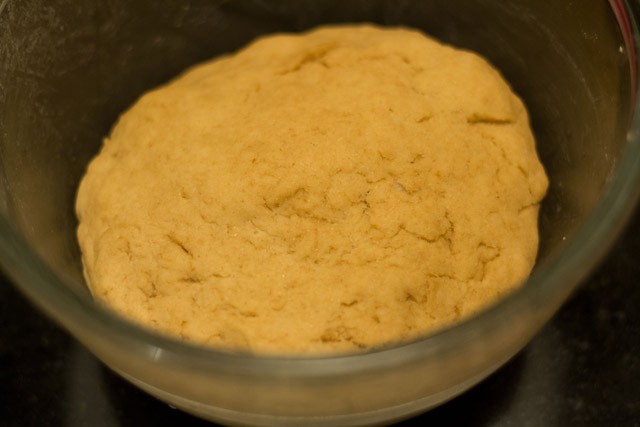
5: Rub oil on the whole exterior of the dough, cover with a clean kitchen towel, and set in a warm, draft-free place to rise, approximately 1:30 to 2 hours until leavened.
6: The dough should be roughly double in size after leavening.
Assemble Garlic Rolls
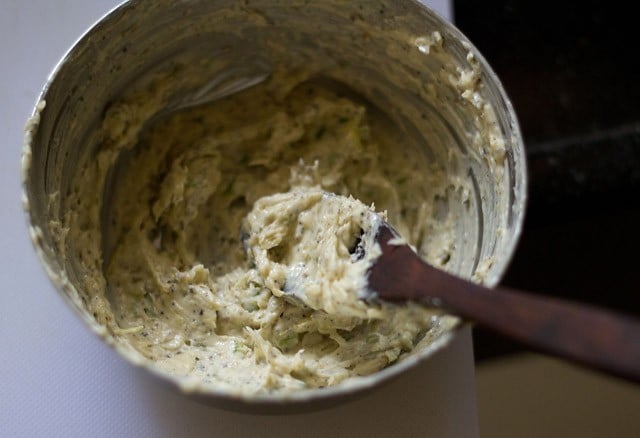
7: Make the garlic butter: beat 2 tablespoons softened butter (plant-based or dairy) and ½ tablespoon sunflower oil or olive oil with a spoon till light and fluffy.
Add all the following spices and herbs and mix well:
- ½ to ⅔ tablespoon minced or finely chopped garlic or finely crushed garlic
- 1 teaspoon finely chopped celery
- ¼ teaspoon dry oregano
- 2 light pinch of pinch carom seeds, optional
- 1 or 2 teaspoons nutritional yeast, optional
- salt as required
- ground black pepper as required
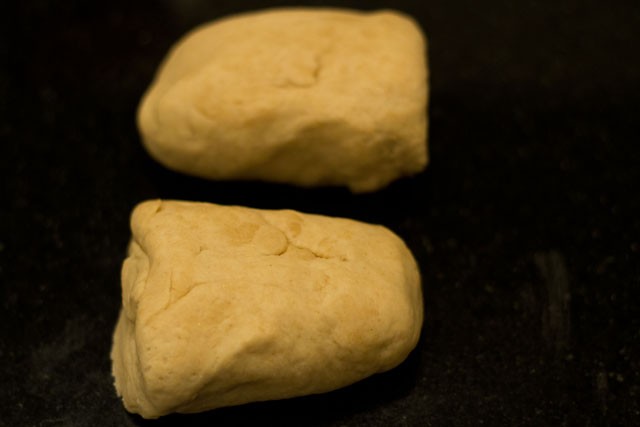
8: Lightly punch down the dough before making the rolls on a work surface.
9: Divide the dough into two roughly equal parts.
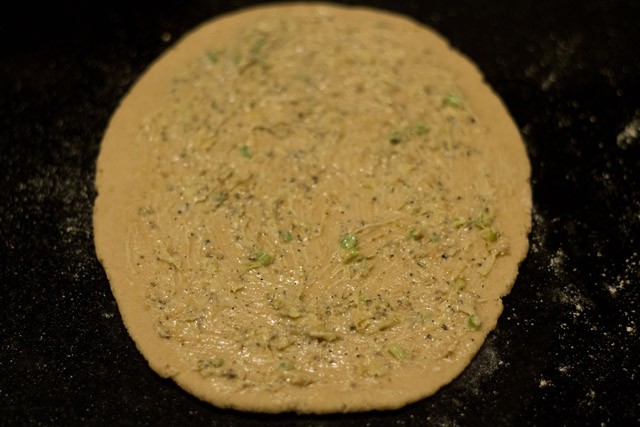
10: Dust your work surface with some dry flour. Take one part of the dough and roll to a round or rectangle that is about ½ inch thick.

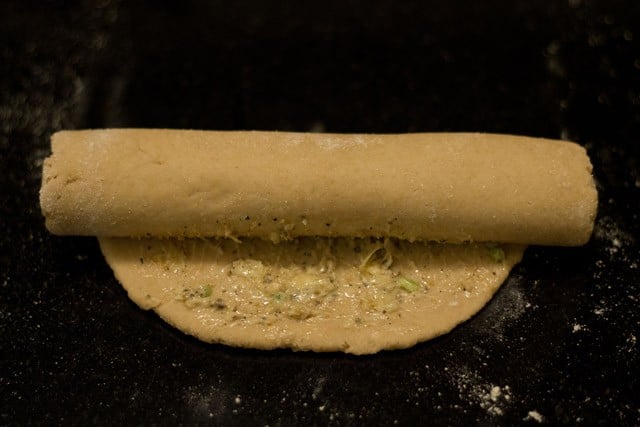
11: Spread ⅓ of the garlic butter spread evenly on the dough.
12: Roll the dough till the end.
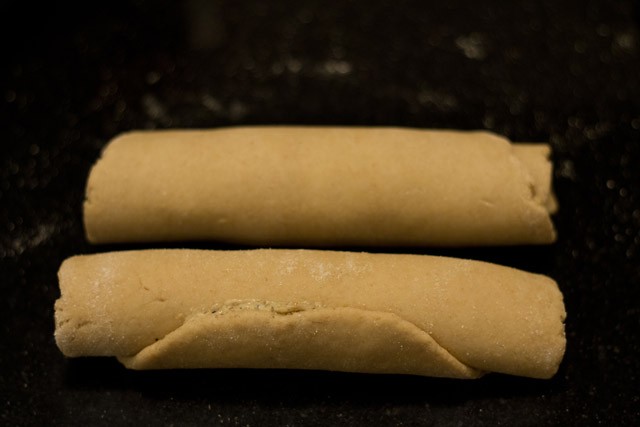
13: Repeat this process with the second piece of the dough. Now both the rolls are ready to be sliced.
Slice
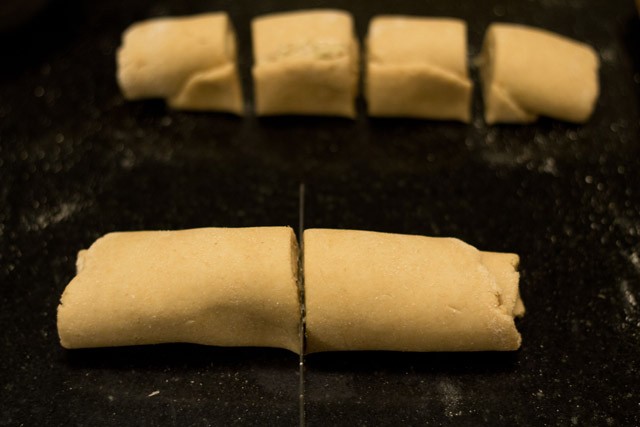
14: First give a cut from the center, and then equally cut the two parts. You should now have 4 equal slices of the rolled dough spirals. Repeat with the second log.
Second Rise
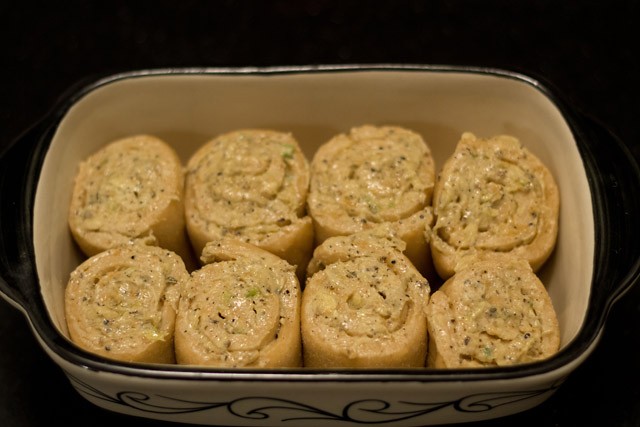
15: Grease a pan with softened butter or olive oil in which all the 8 rolls will fit snugly, without too much room on any side. Place the rolls with the cut edges facing upwards in the pan. Brush their tops with remaining garlic butter.
Cover with a clean kitchen towel and place in a warm, draft-free area to rise again. After about 30 to 40 minutes they should have doubled in size.
Bake and Enjoy!
16: Bake in a pre-heated oven for 30 to 35 minutes at 180 degrees Celsius/356 degrees Fahrenheit till the tops are golden and the garlic rolls sound hollow when tapped. Since I have a slow oven it took me 40 mins to bake the rolls.
Keep in mind that temperatures varies across various ovens and it can take less or more time for the garlic rolls to bake in your oven.
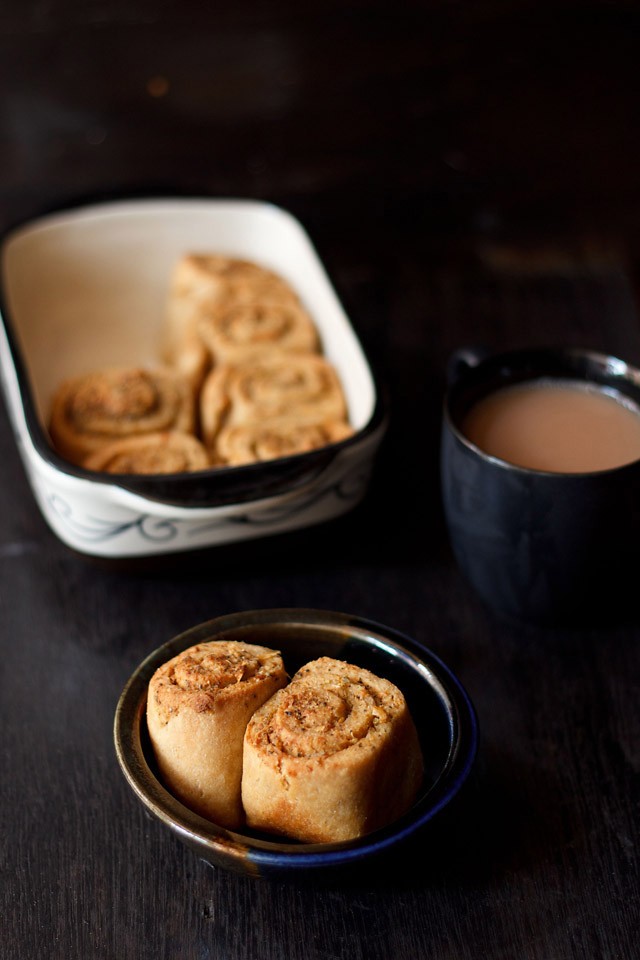
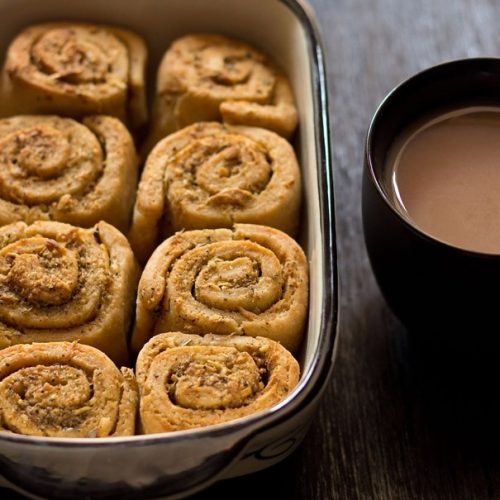
Serve them warm with your afternoon tea or coffee for a yummy snack, or serve them with soup, stew, or pasta as a dinner roll. Enjoy!
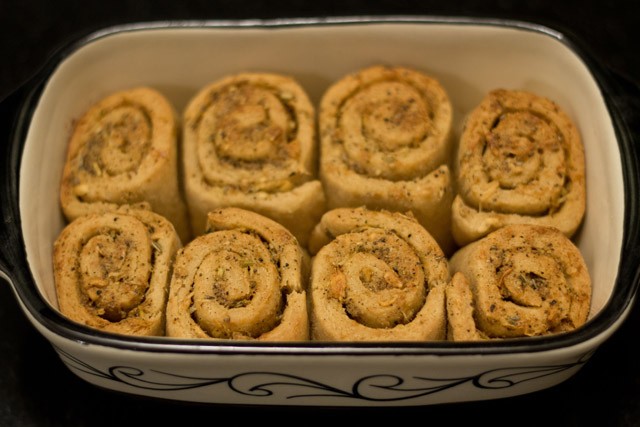
Here’s one more photo to inspire you to make these awesome and delicious pull apart garlic bread 🙂

Expert Tips
- Proof your yeast. The most important thing to remember about making these garlic rolls is that you’re dealing with live organisms. Dried yeast will remain dormant until you rehydrate them and give them a little food in the form of sugar. If your yeast is good, the mixture will foam and froth. If your yeast is expired, it will not. DO NOT MOVE FORWARD WITH THE RECIPE IF YOUR YEAST HAS EXPIRED. You will end up with a rock rather than a pillow!
- Give your bread a cozy spot to rise. Rising time is greatly affected by temperature. If you are living in a cool climate, I suggest using your oven as a proofing box. With the oven off, set a bowl at the very bottom and fill it with boiling water. Pop your covered bread dough bowl on a rack, then close the door. The water will give off enough heat to provide the perfect climate for your bread to rise!
- Roll tightly. As with making cinnamon rolls, you need to roll your garlic rolls nice and tightly. If you don’t, they’ll have a tendency to lose shape and bake unevenly.
FAQs
Sure! Just be sure to chop them very finely and to sauté them very well until there is no liquid left in the pan.
Absolutely! It will go beautifully with this recipe.
Yes. Add about ½ teaspoon of instant or rapid rising yeast. You’ll just need to cut back the rising time to about 45 minutes or an hour.
Yes, but I suggest that you wrap them in foil to start. Convection ovens have a tendency to brown the tops quite quickly, leading you to believe the bread has finished cooking while the middles are still soft. Remove the foil in the last 5 minutes of baking to get a beautiful browned top with perfectly cooked centers.
They are the very best quality when they are fresh from the oven, but you can keep any cooled leftovers in an airtight container for 3 to 4 days.
Yes! Just increase to 2 teaspoons please.
More Bread Recipes To Try!
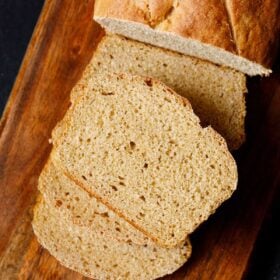
Bread Recipes

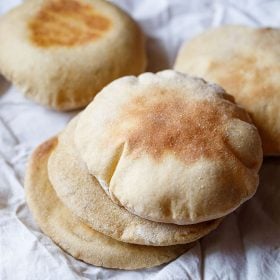
Bread Recipes
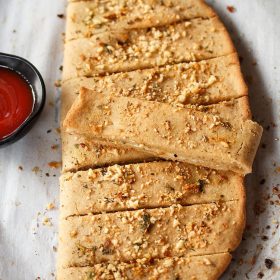
Bread Recipes
Please be sure to rate the recipe in the recipe card or leave a comment below if you have made it. For more vegetarian inspirations, Sign Up for my emails or follow me on Instagram, Youtube, Facebook, Pinterest or Twitter.
Pull Apart Garlic Bread | Garlic Rolls
Ingredients
For the dough
- 1.5 cup whole wheat flour
- 2 tablespoon all-purpose flour
- 1 teaspoon dry active yeast
- 150 to 160 ml water – approx ⅔ cup water *check notes
- ½ tablespoon sugar
- 1 tablespoon oil – any neutral oil or olive oil
- ½ teaspoon salt or add as required
For the garlic spread
- 2 tablespoons dairy-free butter or dairy butter
- ½ to ⅔ tablespoon minced garlic or finely chopped garlic or finely crushed garlic
- 1 teaspoon finely chopped celery
- ¼ teaspoon dry oregano
- 2 pinch carom seeds – optional
- 1 or 2 teaspoon nutritional yeast – optional
- ½ tablespoon sunflower oil or olive oil
- salt as required
- ground black pepper as required
Instructions
Making dough
- Mix the the sugar and yeast in warm water. Allow to sit at room temperature for 10 to 12 mins.
- After the yeast solution bubbled and frothy, add the flours, salt and oil to the bowl of yeast mixture.
- Mix well and knead to a smooth and soft dough.
- Rub or brush oil on the whole dough and keep covered for up to 1:30 to 2 hours until leavened.
Assembling and shaping garlic rolls
- Beat the butter with a spoon till light and fluffy. Add all the spices & herbs along with salt. Mix well.
- Check the seasoning in the garlic spread and add more of the herbs, spices or salt if needed.
- Lightly punch the dough before making the rolls on a work surface. Divided the dough into two parts.
- Take one part of the dough and on a lightly dusted flour, roll to a round or rectangle till you get ½ inch width in the rolled dough
- Spread the garlic butter evenly on the dough. Roll the dough completely.
- Make a similar roll with the other part of the dough.
- First give a cut from the center on each rolled dough and then equally cut the two parts. So you have now 4 equal slices from the rolled garlic dough.
Baking Garlic Pull Apart Bread
- Grease a baking pan or tray in which all the 8 rolls will fit. Place the rolls in the pan touching each other with the open sides facing up.
- Brush their tops with remaining garlic butter. Cover and let the rolls double up for 35 to 40 minutes.
- You can also sprinkle some sesame seeds on top of the rolls.
- Bake in a preheated oven for 30 to 35 minutes at 180 degrees Celsius/356 degrees Fahrenheit till the tops are golden. Remember to preheat the oven for 15 minutes at the same temperature of 180 degrees Celsius/356 degrees Fahrenheit.
- Serve garlic rolls with tea or coffee.
Notes
- Here I have added ⅔ cup water. However depending on the quality and texture of flour, you may have to add less or more. So add accordingly to get a smooth, soft and pliable dough.
- If the yeast mixture does not become bubbly and frothy, throw it away and start again.
- Note that the approximate nutrition info is for 1 garlic roll made with dairy-free butter.
Nutrition Info (Approximate Values)
This Pull Apart Garlic Bread Rolls post from the archives first published in August 2013 has been republished and updated on 3 May 2022.

Hii..Dassana I like yor bread…u explain very well..is ther any substitute for celary? How it is taste? ? Thanks:)
there is no substitute for celery. i cannot describe how celery tastes. no indian herb comes close to its taste. you can the garlic bread without celery.
Recently came across ur website must say it’s very good esp the photos at every step are very helpful when trying new recipe.
Tried bread it comes out well.
For garlic bread rolls somewhat it was tasting like baati of dal- baati dish. Do we bake them quite LNG so they become crisp or these are soft.
Pls confirm
these do not taste like baati. they are not baked that long. they are baked for about 30-35 mins. they are soft and not very crisp. a slight crisping is there but not like dal baati.
Hi,
I have seen ur posts and got interest in baking.
I am planning to start baking for my kid, so planning to buy otg, as iam interested in baking and grilling vegetables iam not not looking for microwave with convection. We are a family of 3.
I have searched for few models, i found one model with convection.
Is convection in otg required for baking?? without convection in otg can we get perfect bakes??
pls help me out, can u pls suggest which brand and capacity otg would be suitable for 3 members.
thanks a lot,
Hema
hi hema, OTG is based on convection mode of cooking. OTG is oven toaster grill. so you can bake, grill or toast. basically there are three modes of transferring heat – conduction, convection and radiation. OTG is built on the convection principle.
microwave oven uses two basic modes for cooking – microwave and convection. so in a microwave oven there may or may not be a convection mode. i don’t understand when you say that you found a model with convection. OTG is a convection oven. so i guess what you are referring to is a microwave oven with convection.
i hope i have cleared your doubts about convection and OTG. prestige, philips, bajaj are good brands. i have a philips oven (which the owner of the house kept) which is basic and has just two compartments. for three people this is enough. but if you plan to do extensive baking, then you may need to go for a better oven. i am also planning to buy a new oven. still not decided which one. 🙂
Hi, i dont have a oven /OTG. can we make it in mocrooven . I have one with convection
you have to use the convection mode of your microwave oven for baking anything be it breads or cakes. please read your oven’s manufacturer’s booklet on how to use the convection mode.
Thank you Dassana for your receipes. Have been hooked to your site for the past few months and have tried out a few of them. They all turned out well and have been appreciated by my husband and daughters. What I really appreciate is the way you make cooking look simple and also your use of healthy options like whole wheat flour whenever possible instead of maida.
thanks bindu for this motivating comment. its important to eat healthy considering the stressful time we are living… where air, water and food is all getting contaminated.