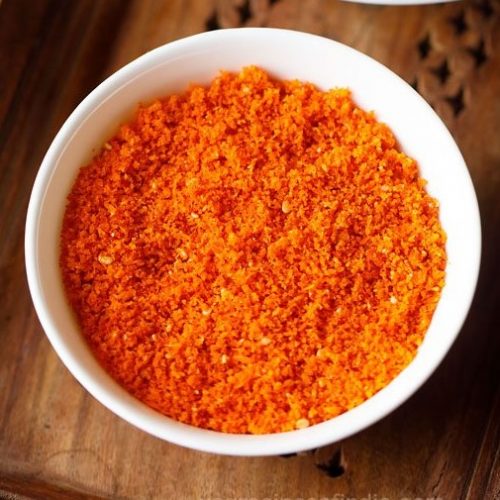
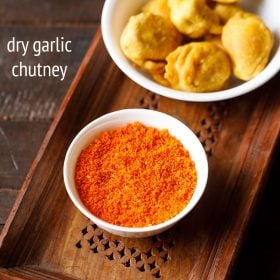
Spicy, piquant, and a gorgeous shade of sunset orange, this Maharashtrian dry Garlic Chutney Recipe is a family favorite. Perfect for serving with Vada Pav (or anything else that needs some extra heat), this delightfully fiery seasoning — also known as Lasun Chutney — requires just 6 ingredients and 15 minutes to make.
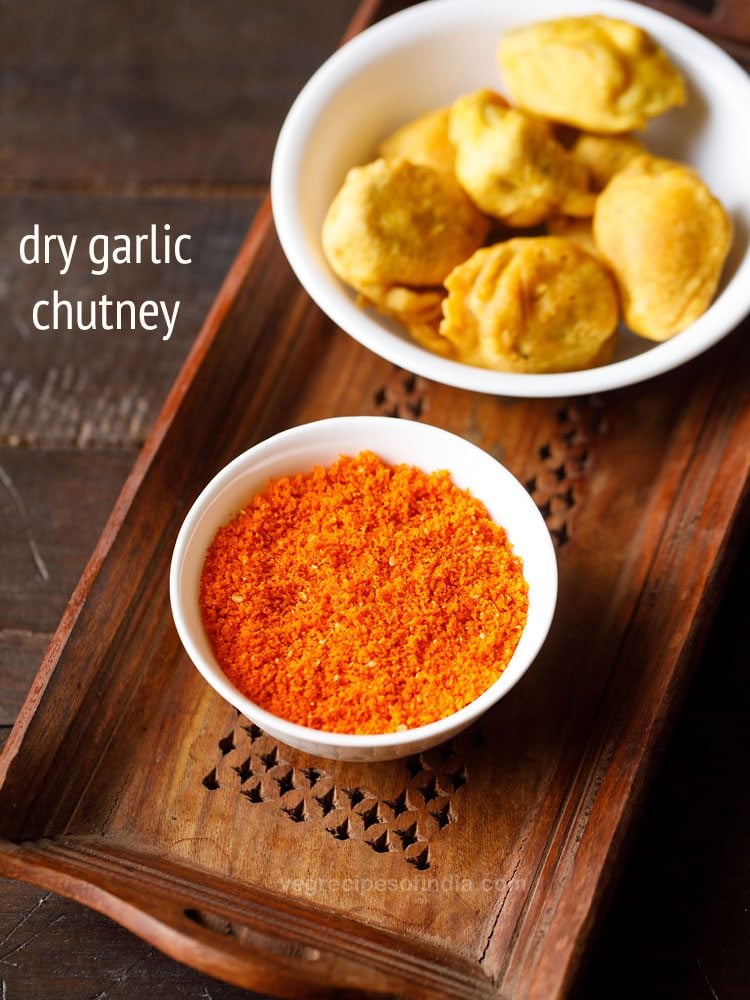
Table of Contents
About Lasun Chutney Recipe
If you’ve ever had the Indian street food known as vada pav, which are delicious potato fritter sliders, it’s likely that you have tasted the magic known as dry garlic chutney. Made with just 6 ingredients in 15 to 20 minutes, this easy recipe is a surefire way to add big flavor to any meal.
You can distinctly taste both the desiccated coconut and garlic in this chutney. The spice and heat comes from red chili powder. I used Kashmiri red chili powder to give the chutney a bright, deep reddish-orange color.
There are many variations of making this vada pav chutney where a few spices like coriander and cumin are also added. Some variations also add roasted peanuts. My recipe, however, is nut-free!
Typically, everything is mixed and then pounded or ground to a coarse dry mixture when making lasun chutney. Here I have sautéed the garlic first so its pungency is reduced and the raw bite of garlic goes away.
What is left is a delightful condiment that you’ll want to sprinkle on everything from Indian pav (sliders) to popcorn. Make a batch today and enjoy the flavor boost it brings for weeks to come!
Ingredients & Substitutions
As promised, you only need 6 ingredients to make this delightfully spicy dry garlic chutney or lasun chutney. Here is what you’ll need:
- Neutral Oil – I usually use peanut oil or sunflower oil, but any neutral oil that is liquid at room temperature will do.
- Small Garlic Cloves – Try to choose garlic cloves that are approximately the same size so they cook evenly.
- White Sesame Seeds – For richness and crunch. If needed, you can use black sesame seeds instead, but the end color of the chutney will be different. If you are allergic to sesame seeds, try using hemp seeds or flax seeds instead.
- Desiccated Coconut – This vada pav chutney can be made with either desiccated coconut or dried coconut meat. When you make it with dried coconut meat, you’ll end up with a deeper coconut flavor as compared to the same chutney made with desiccated coconut.
- Kashmiri Red Chilli Powder – For spicy heat and a gorgeous color. Feel free to add more to your liking! You can also use a 3/1 blend of smoked paprika and ground cayenne pepper if you don’t have Kashmiri red chili powder on hand, but the color will not be as vibrant if you do.
- Salt – For seasoning. I used coarse sea salt.
How To Make Vada Pav Chutney
This super flavorful dry chutney comes together in just 15 to 20 minutes. Here’s how it’s done:
Sauté Ingredients
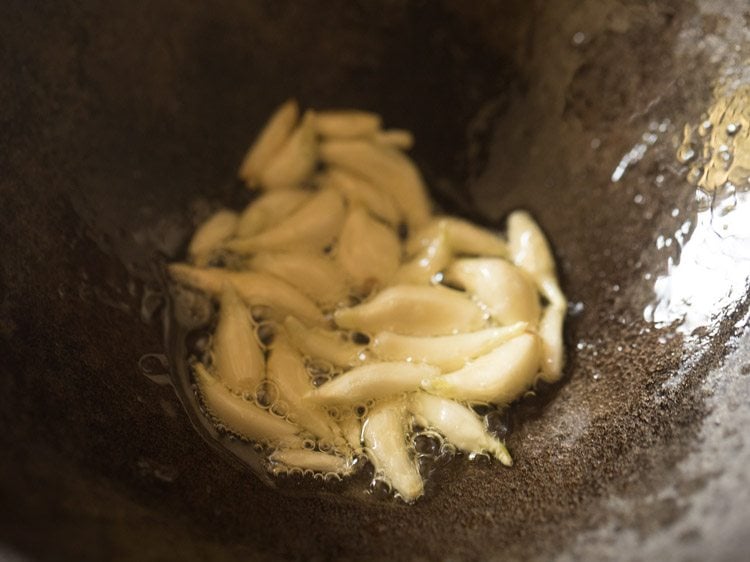
1. Heat 1 teaspoon oil in a small iron kadai or a heavy pan. Heat the oil at a low flame.
2. Add 22 to 24 small peeled garlic cloves, or approximately 1 tablespoon of small garlic cloves.
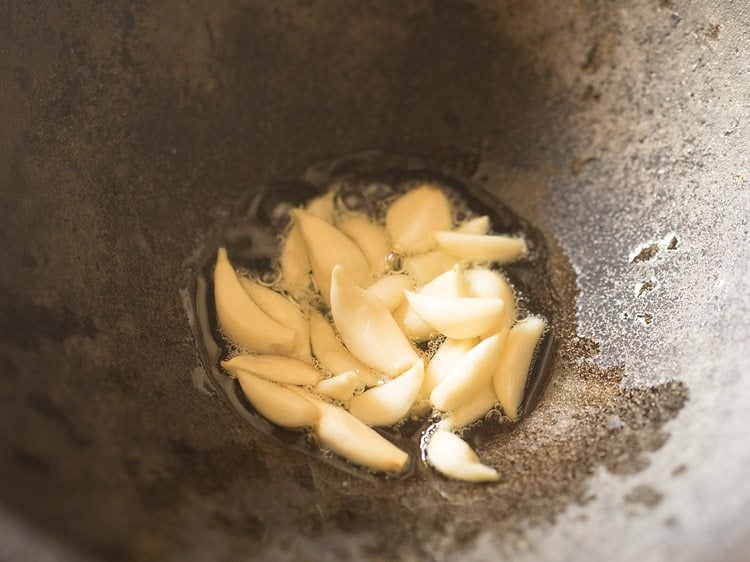
3. Mix to combine with oil.
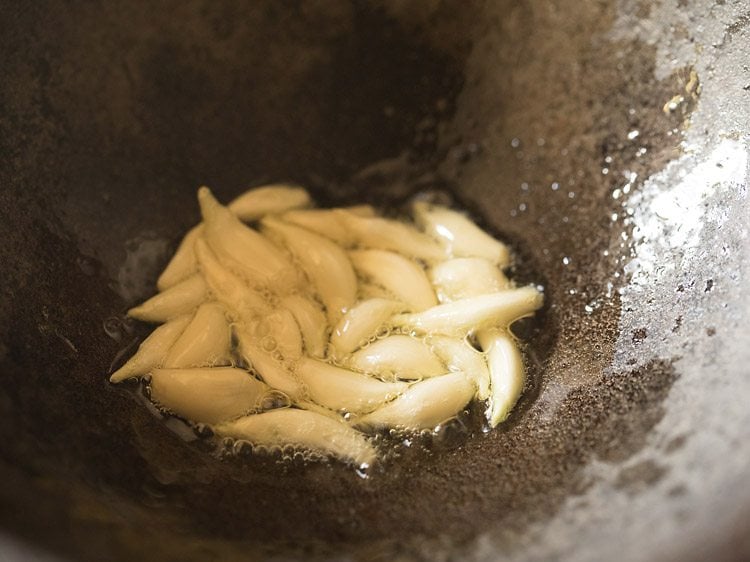
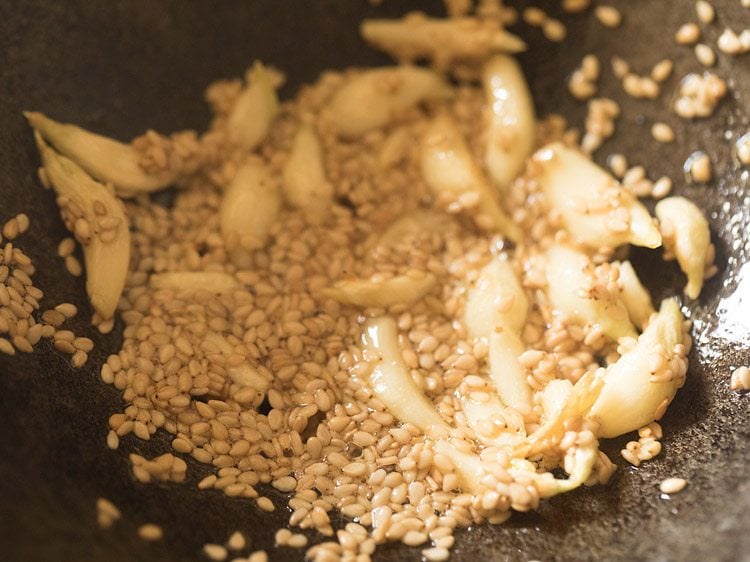
4. Sauté for about 30 to 40 seconds on low heat.
5. Add 2 teaspoons of white sesame seeds.
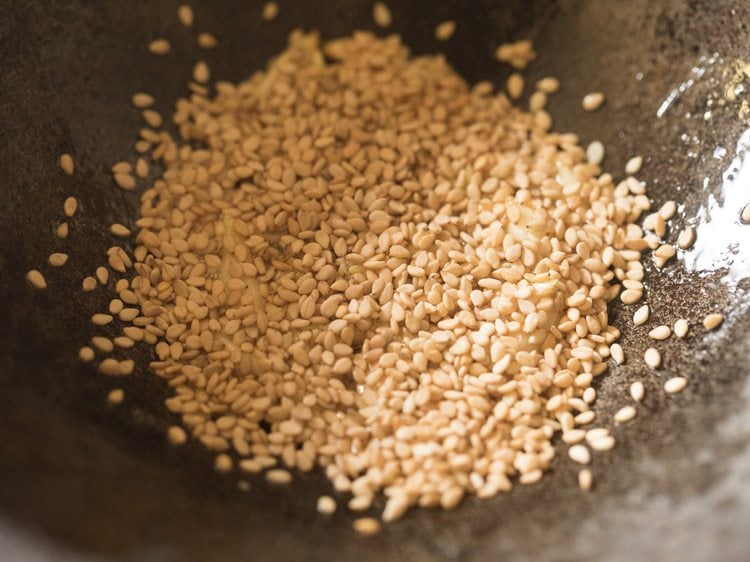
6. Sauté for 15 to 20 seconds, or till the sesame seeds change color.
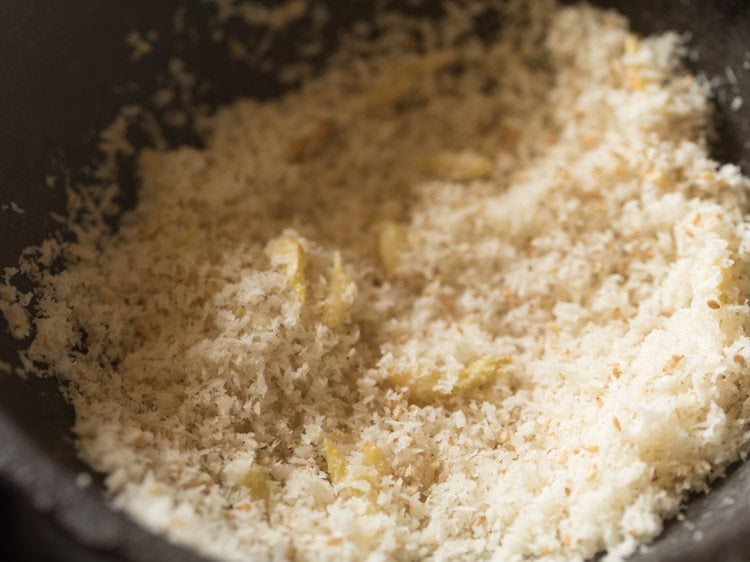
7. Switch off the heat. Add ½ cup of desiccated coconut.
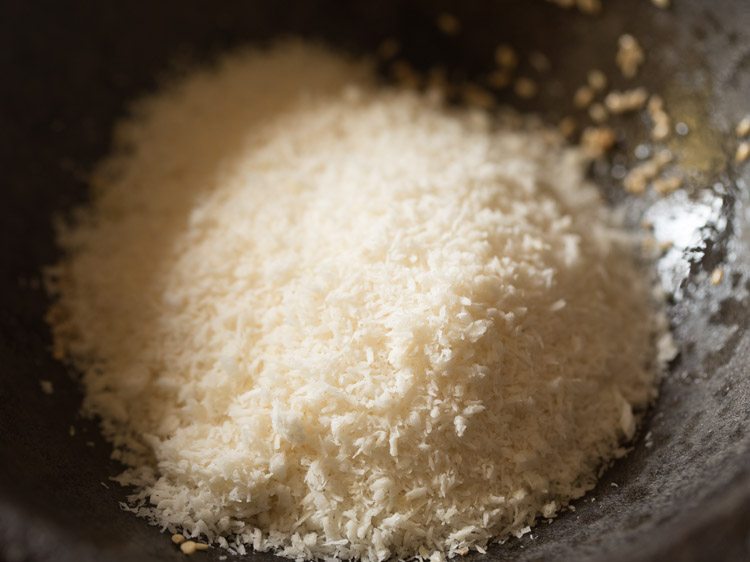
8. Mix very well.
9. Then add 1 tablespoon Kashmiri red chilli powder. You can reduce the amount of Kashmiri red chili powder if you want a less spicy chutney.
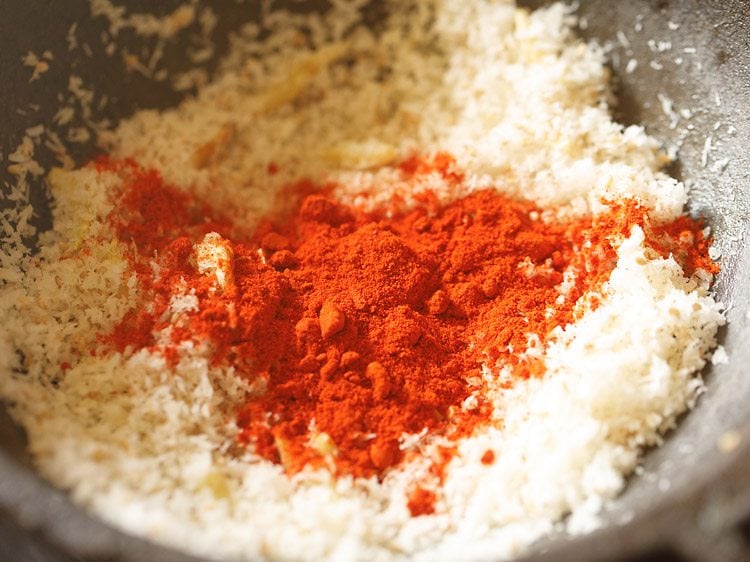
10. Mix again well.

11. Add ½ teaspoon salt, or add to taste.
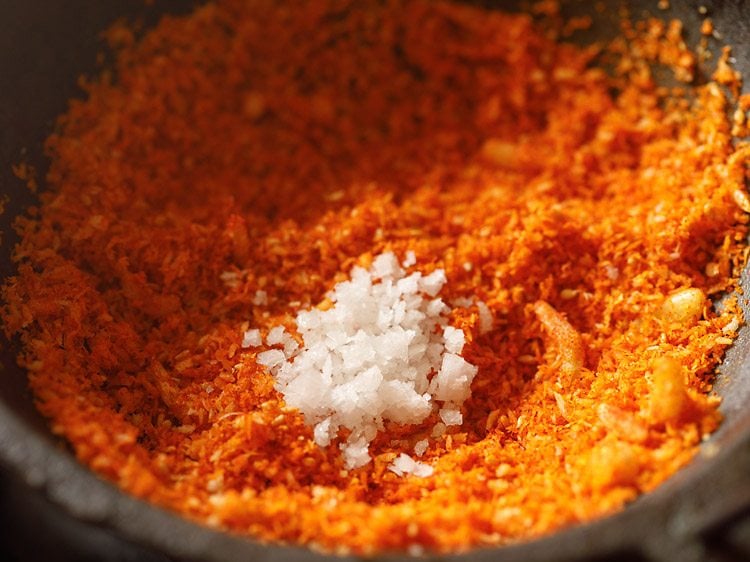
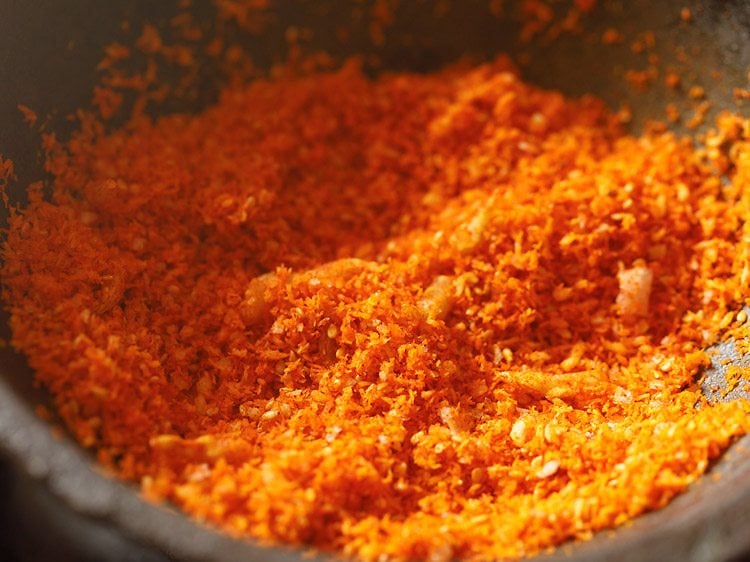
12. Mix again and let this mixture cool down.
Powder Vada Pav Chutney
13. When the mixture has cooled down completely, add in a small dry grinder jar.
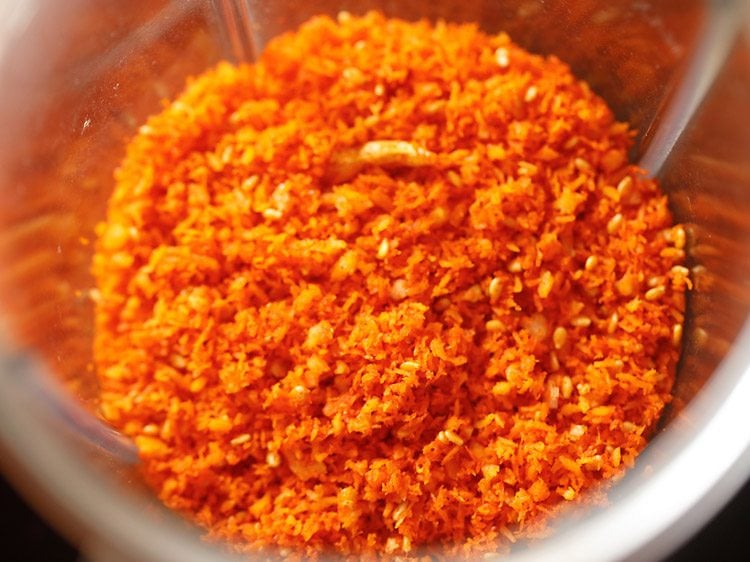
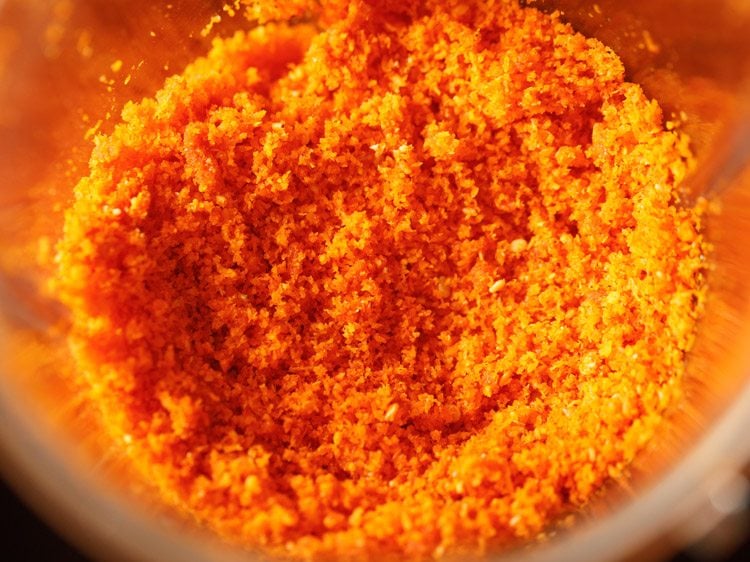
14. Grind in intervals of 4 to 5 seconds and stop. Do not grind continuously as then oil will be released from the coconut and sesame seeds.
You can use the pulse option of the mixer-grinder if you’re unsure. Grind to a coarse or semi-fine mixture.
Check the taste and, if required, add some more salt or red chili powder. If it tastes too salty, then add 1 to 2 tablespoons of the desiccated coconut and grind in intervals of 4 to 5 seconds.
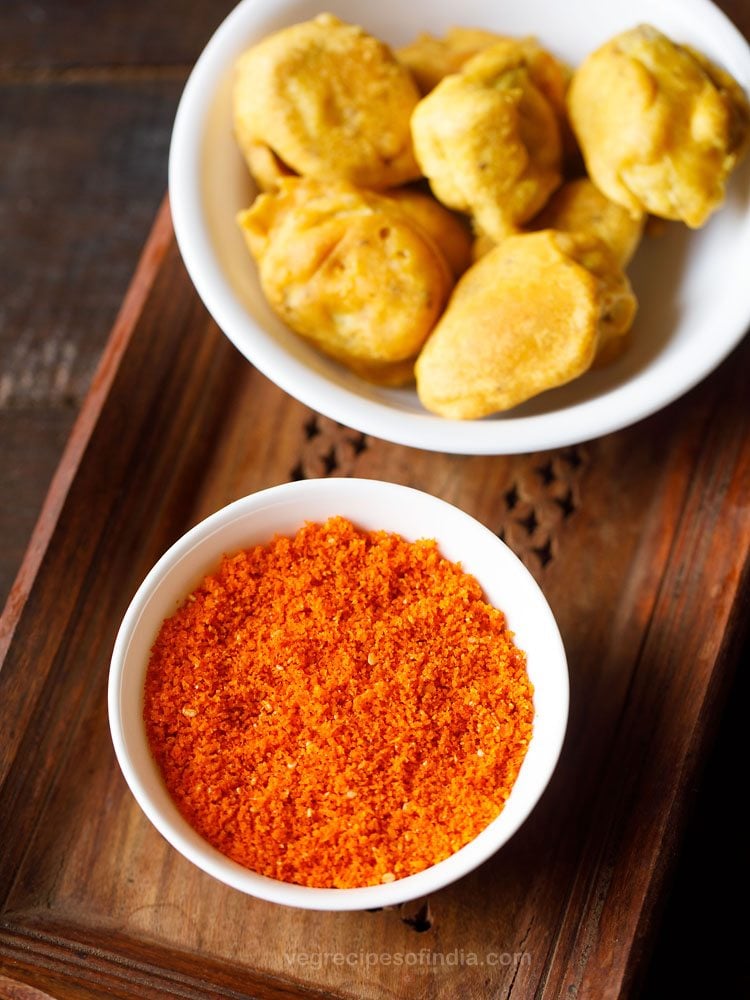
Spoon the lasun chutney in a small glass jar or bowl. Cover tightly and refrigerate.
15. Serve the chutney as required with any snacks like vada pav, potato vada (batata vada), or onion pakora.
Serving Suggestions
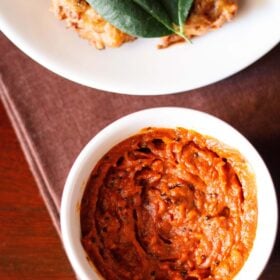
This tasty lasun chutney is sprinkled in the filling of Vada Pav, Kanda Bhaji pav and Samosa Pav. At times I also sprinkle this chutney on toasted buttered bread or have it with Khichdi.
You can even use chutney as a side condiment with snacks like Onion Pakoda, Aloo Pakora, Bread Pakora, or any pakoda snack. Use it as required when making Mumbai Indian street food. You can also have it with Sada Dosa or Masala Dosa.
Expert Tips for Vada Pav Chutney
- Store it in the refrigerator for up to a week, or in the freezer for up to 1 month.
- To make it spicier, add more red chilli powder. Alternatively the Kashmiri red chilli powder can be swapped with dry kashmiri chillies. Simply roast the chillies (seeds removed) before grinding the mixture.
- Be sure to use fresh garlic cloves and not wilted or dried.
- Feel free to use peanuts. Roast the peanuts separately so that they are cooked evenly and properly.
- The recipe can be scaled to make a big batch (or a small one!). Then freeze the chutney for a longer shelf life.
More Chutney Recipes To Try!
Chutney Recipes
Chutney Recipes
Chutney Recipes
Chutney Recipes
Please be sure to rate the recipe in the recipe card or leave a comment below if you have made it. For more vegetarian inspirations, Sign Up for my emails or follow me on Instagram, Youtube, Facebook, Pinterest or Twitter.
Vada Pav Chutney | Lasun Chutney | Dry Garlic Chutney
Ingredients
- 1 teaspoon oil – can use peanut oil or sunflower oil
- 8 grams garlic or 22 to 24 small garlic cloves or 1 tablespoon small garlic cloves
- 2 teaspoons white sesame seeds
- ½ cup desiccated coconut (unsweetened)
- 1 tablespoon kashmiri red chilli powder or add as required
- ½ teaspoon salt or add as per taste
Instructions
Sautéing ingredients
- Heat 1 teaspoon oil in a small iron kadai or a heavy frying pan. Heat the oil at a low flame.
- Add the garlic cloves.
- Mix and sauté for about 30 to 40 seconds.
- Next add 2 teaspoons white sesame seeds.
- Sauté for about 15 to 20 seconds or till the sesame seeds change color.
- Switch off heat. Add ½ cup desiccated coconut. Mix very well.
- Then add 1 tablespoon kashmiri red chilli powder. You can reduce the amount of kashmiri red chili powder if you want as 1 tablespoon gives a spicy taste.
- Then add ½ teaspoon salt or add as per taste.
- Mix again and let this mixture cool at room temperature.
Making Vada Pav Chutney
- When the mixture has cooled down completely, add in a small dry grinder jar.
- Grind in intervals of 4 to 5 seconds and stop. Do not grind at a stretch as then oil will be released from the coconut and sesame seeds. You can even use pulse option of the mixer-grinder.
- Grind to a coarse or semi-fine mixture. Spoon the lasun chutney in a small glass jar or bowl. Cover tightly and refrigerate.
- Serve the chutney as required with any snacks like vada pav or onion pakora.
Notes
- You could also add some peanuts. Roast the peanuts really well separately in the frying pan until crunchy. Cool them and remove the skins before grinding with the remaining ingredients.
- For a spicier lasun chutney, opt to increase the red chilli powder.
- If making a large batch, freeze the chutney for a longer shelf life.
- Note that the approximate nutrition info is for 1 small jar of the entire chutney made from this recipe.
Nutrition Info (Approximate Values)
This Garlic Chutney recipe from the archives first published in February 2018 has been republished and updated on November 2022.
خلطة الثوم صحية
thanks.